A group of friends decided to start a new baking challenge, 'tame the yeast'. I was tasked with providing a simple sandwich bread as the first challenge for the new group. Most of the sandwich bread I bake is in the form of boules using my sourdough starter. I decided to try this no knead light wheat loaf. It was the easiest bread I have ever made. It is a perfect bread to start with as no kneading is required. The long rise times ensure excellent flavor.

I made the bread with 50% all purpose flour and 50% whole wheat flour. I made the bread twice once using King Arthur whole wheat flour and a second time using the low protein/gluten chapati flour. I got denser crumb with the chapati flour as a result of using low protein flour. The crumb was more open with the stronger wheat flour. However, the end result in both cases was soft bread flavorful bread.

We loved the results and the bread was gone in a couple hours after I made these sandwiches. I think this will be my go to sandwich bread recipe. I found this recipe in an artisan baking group where Karen shared this recipe from her blog.

You will need
2 cups all purpose flour
2 cups whole wheat flour
3 tablespoons sugar
1 3/4 tsp. salt
3/4 tsp. instant yeast
2 cups + 1 tbsp. ice cold water
3 tbsp. oil
You can mix the flour at night and keep it overnight if your kitchen is cool or you are baking in winter. On hot humid days it would be best to mix the dough in the morning and watch the dough every few hours. Mine was done in 6 hours on a very hot and very humid day.
Sift the flour in a large mixing bowl. Add all the other dry ingredients. Pour the water and oil.

Whisk until all the ingredients are mixed together. Do not knead. Pour a few drops of oil on your palm and spread over the top. Cover with plastic wrap and keep aside.
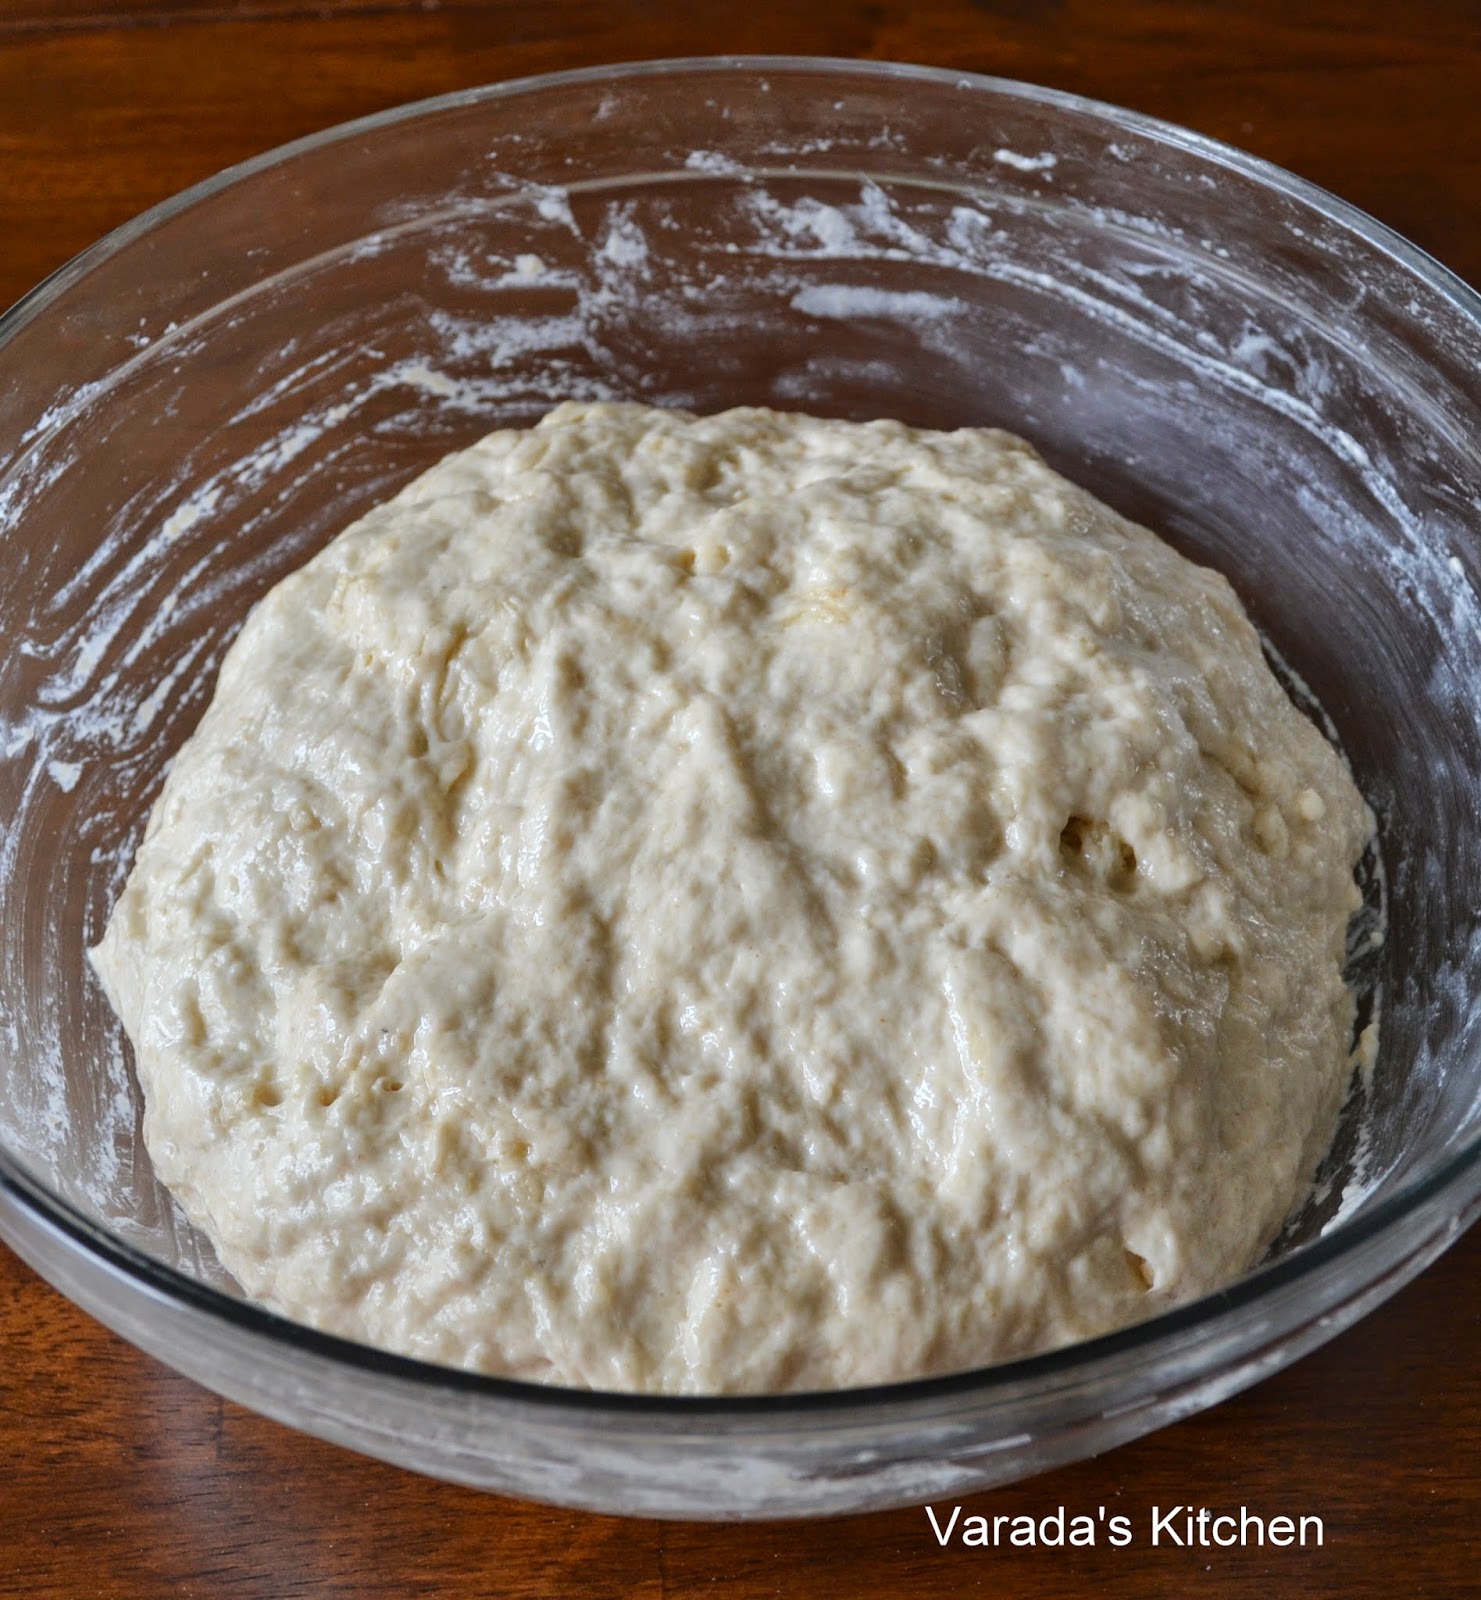
Lightly spread oil on a 10 x 5 loaf pan. When the dough has risen to twice its original volume you are ready for the next step.

Stir the dough together gently.

Fold it over itself a few times. You start on one side, push your hand under the dough and pull up the dough all the way to fold over the top.


Now fold the dough in half, lift it out of the mixing bowl and place it in the loaf pan seam side down.

Smooth out and even out the top with oiled hands. Using a sharp knife cut the top of the dough three times to score. Sprinkle half a tablespoon of whole wheat flour over the top. Cover with oiled plastic wrap and let it sit for a couple hours until the dough rises a quarter of an inch over the side of the pan. Preheat oven to 375 F during the last 15 minutes of the rise.

Bake the loaf in the center of the oven for about 50-60 minutes. If the top browns too fast tent it with foil. Let the loaf sit in the pan on the counter for 10 minutes.
Take it out of the pan and place it out on a cooling rack.

Do not slice until it has cooled.
Enjoy!
Note:
* This is a wet dough and will be hard to handle. Moisten you hand with water to make it easier to handle.
* If you are baking on a hot day or your kitchen temperature is high, consider putting the dough in the refrigerator after an hour. Cold temperature retards yeast growth so you will be able to get the flavors from the long rise without over-proofing.
* If you are baking on a wet rainy day, reserve a couple tablespoons of water. Mix the dough and add the remaining water only if it is not too wet. Dough absorbs moisture from the air.
I made the bread with 50% all purpose flour and 50% whole wheat flour. I made the bread twice once using King Arthur whole wheat flour and a second time using the low protein/gluten chapati flour. I got denser crumb with the chapati flour as a result of using low protein flour. The crumb was more open with the stronger wheat flour. However, the end result in both cases was soft bread flavorful bread.
We loved the results and the bread was gone in a couple hours after I made these sandwiches. I think this will be my go to sandwich bread recipe. I found this recipe in an artisan baking group where Karen shared this recipe from her blog.
You will need
2 cups all purpose flour
2 cups whole wheat flour
3 tablespoons sugar
1 3/4 tsp. salt
3/4 tsp. instant yeast
2 cups + 1 tbsp. ice cold water
3 tbsp. oil
You can mix the flour at night and keep it overnight if your kitchen is cool or you are baking in winter. On hot humid days it would be best to mix the dough in the morning and watch the dough every few hours. Mine was done in 6 hours on a very hot and very humid day.
Sift the flour in a large mixing bowl. Add all the other dry ingredients. Pour the water and oil.
Whisk until all the ingredients are mixed together. Do not knead. Pour a few drops of oil on your palm and spread over the top. Cover with plastic wrap and keep aside.
Lightly spread oil on a 10 x 5 loaf pan. When the dough has risen to twice its original volume you are ready for the next step.
Stir the dough together gently.
Fold it over itself a few times. You start on one side, push your hand under the dough and pull up the dough all the way to fold over the top.
Now fold the dough in half, lift it out of the mixing bowl and place it in the loaf pan seam side down.
Smooth out and even out the top with oiled hands. Using a sharp knife cut the top of the dough three times to score. Sprinkle half a tablespoon of whole wheat flour over the top. Cover with oiled plastic wrap and let it sit for a couple hours until the dough rises a quarter of an inch over the side of the pan. Preheat oven to 375 F during the last 15 minutes of the rise.
Bake the loaf in the center of the oven for about 50-60 minutes. If the top browns too fast tent it with foil. Let the loaf sit in the pan on the counter for 10 minutes.
Take it out of the pan and place it out on a cooling rack.
Enjoy!
Note:
* This is a wet dough and will be hard to handle. Moisten you hand with water to make it easier to handle.
* If you are baking on a hot day or your kitchen temperature is high, consider putting the dough in the refrigerator after an hour. Cold temperature retards yeast growth so you will be able to get the flavors from the long rise without over-proofing.
* If you are baking on a wet rainy day, reserve a couple tablespoons of water. Mix the dough and add the remaining water only if it is not too wet. Dough absorbs moisture from the air.
Thx for the recipe varada ! Can't wait to try it out ...
ReplyDeleteplannign to make this Varada. I have a 9 * 5 pan and a 8 1/2 * 4 1/2 pan.. which one would u recommend using !
DeleteI used a 10x5 pan. Given the rise and size of the bread it may fit into 9*5. The other pan would be too small.
Deletevarada you are a wonderful baker dear, perfectly made bread :) looks super soft !!
ReplyDeleteThis bread is simple awesome, love it and enjoyed thoroughly following ur detailed steps.
ReplyDeleteThe bread has turned out good with a perfect texture. i have decided to make it leisurely one of these days. :)
ReplyDeleteThat was a good one, the pictures says so..and all the results everybody has been having..hoping to bake it sooner...thanks for the challenge..
ReplyDeleteWow look at the texture too good hats off to you book marking,
ReplyDeleteYour bread always looks great ... Superb..
ReplyDeleteYou bake like a pro. .hats off Varada!
ReplyDeleteI am surely going to try this bread. Looks awesome.
ReplyDeleteI baked this bread twice already and absolutely loved it. Thanks for sharing a fool proof no-knead bread.
ReplyDeleteSimple and easy bread. Looks great. I have a doubt we use 3 cups of cold water or both hot and cold water. Pls let me know as that u have mentioned as 2cups +1 cup cold water. What is that mean?
ReplyDeleteIt means you will need 2 cups and an additional 1 tablespoon of ice cold water for the recipe. The ice water is to ensure the bread rises slowly, low temperature retards yeast growth allowing for more flavor to develop.
DeleteThanks for u r reply. 2 cups is normal water right?
ReplyDeleteI am guessing normal means tap water. You can use tap water just make sure it is refrigerated and is really cold. All the water used for this recipe should be ice cold.
DeleteHi Varada ! Am
ReplyDeletePlanning to halve this recipe and try out by next weekend.. All
Ingredients need to halved , incl d water ??
Yes all ingredients should be halved by weight. If using cup measurement reserve a couple tablespoons water and use only if needed.
DeleteLove it. Its an amazing bread. The girls want me to make it again.
ReplyDelete