Showing posts with label Food Art. Show all posts

Monday, December 17, 2018

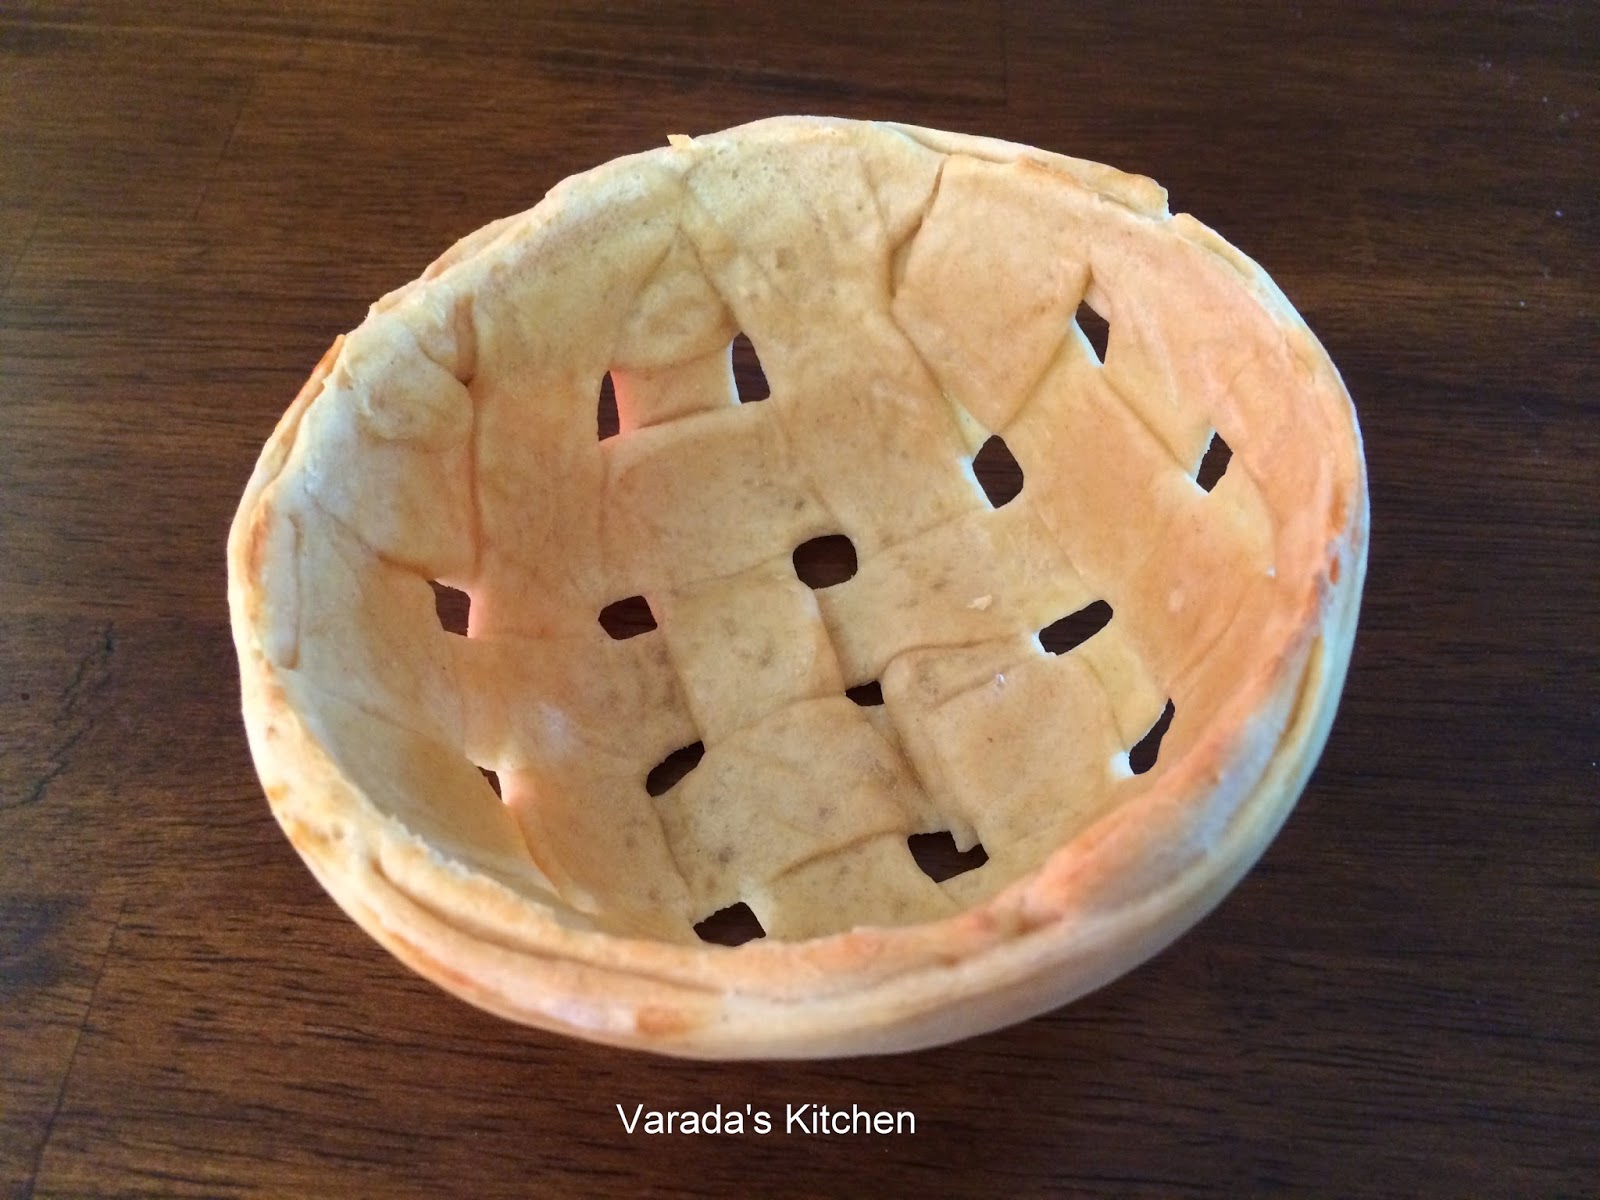
Edible Lattice Bread Basket

I few years back I baked two woven bread baskets. I have since found this edible spring basket referenced in a few easter articles. Both of my earlier versions of baskets used ropes and the weave was tight. I was very happy with those baskets but I wanted to try something different. I wanted a make a basket with open holes that looked like it was part of the weave. This is what I came up with.


This basket was not made with ropes. Instead I made the lattice using flat strips of dough. I used a different technique with the weave. Instead of weaving it on the mold I wove it on a flat surface and then transferred it to the mold. This caused the holes to form in between the strips something I was looking for. In the end I was very happy with the result.


This basket is a lot easier to make than the two I made before. It is much smaller and uses a small amount of dough. The weaving technique is simpler too. I used my sourdough starter for this recipe but you could use commercial yeast if you wanted to. If you use commercial yeast refer to this basic dough recipe to prepare your dough.

Roll out a large rectangle from the dough. Using a small custard or similar bowl to ensure you have coverage cut a portion of the rectangle as the base (portion on left below). Cut this rectangle into wide strips being careful not to cut all the way through. Cut the remaining dough into wide strips cutting all the way through. These strips are to be used for weaving.


Preheat the oven to 375 F. On the base fold back alternating strips. Place a strip horizontally such that it covers end to end. Unfold the folded strips. Now fold back the other set of alternating strips and place a weaving strip horizontally.
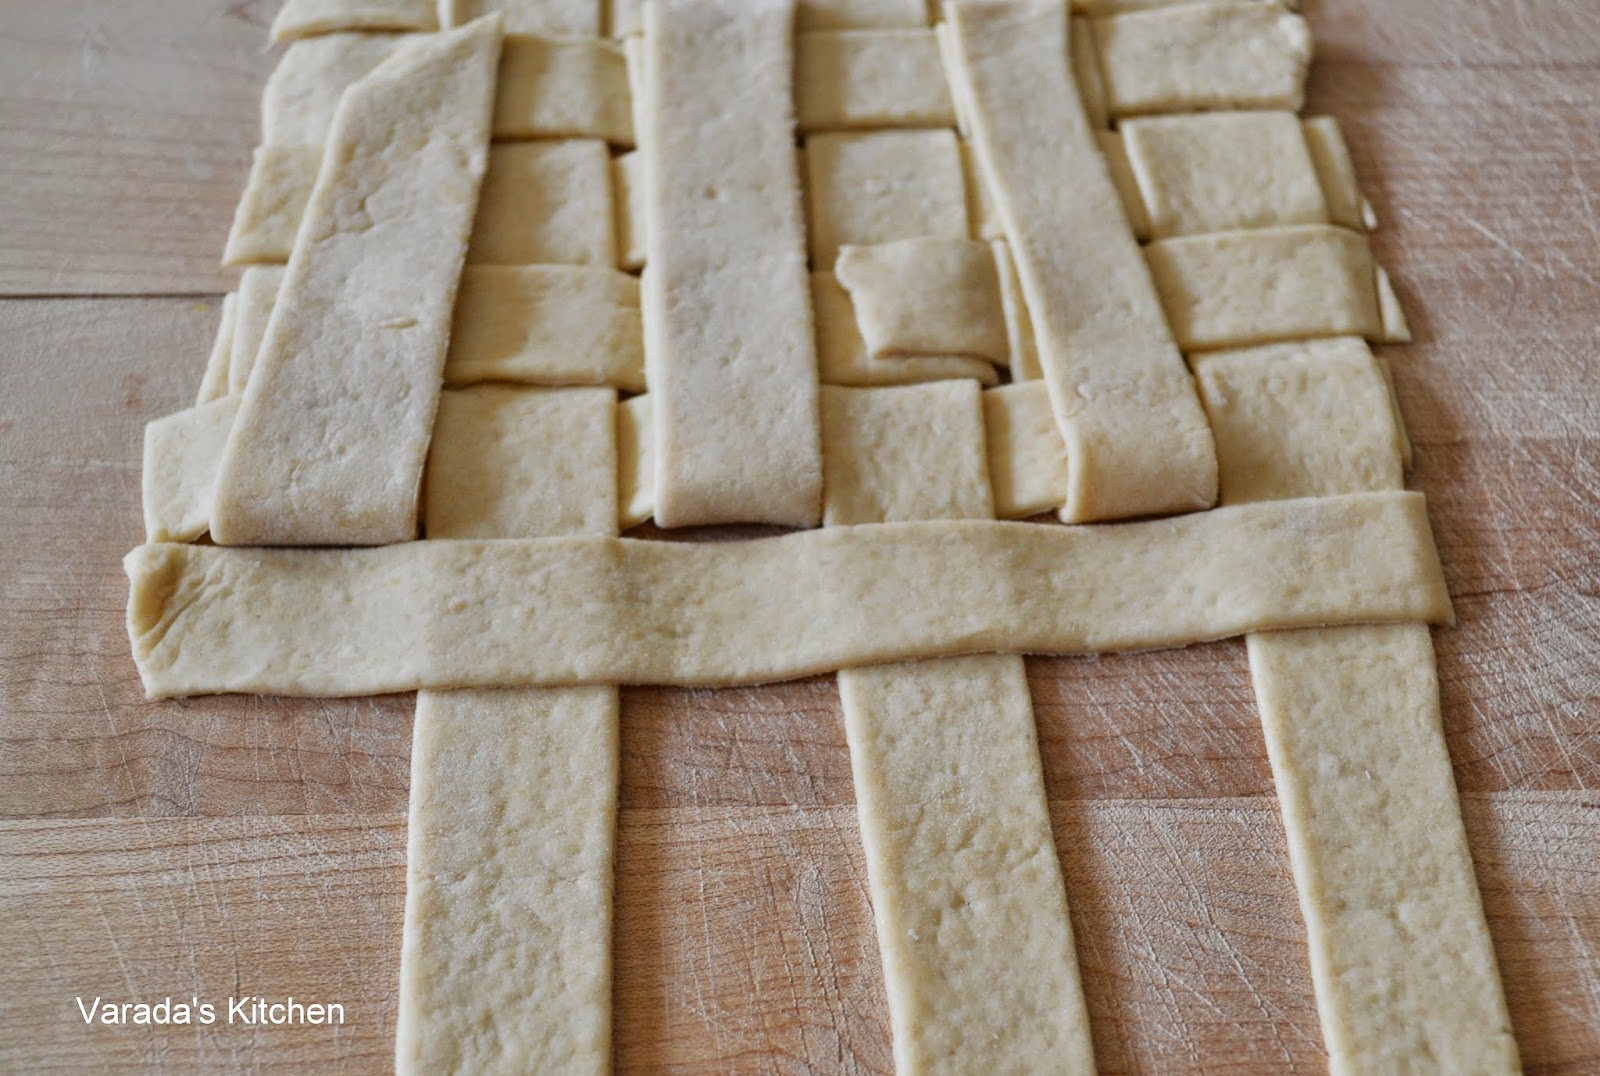

Continue working the weave until you get to the end. Cover the outside of the bowl with foil. Place the woven lattice over the bowl taking care to see it does not unravel. Cut off the access.


Trim the edges to get a smooth edge around the edge of the bowl.


Using the discarded dough roll out a strip long enough to circle the edge of the bowl with a little overlap. Trim the strip to get neat edges and place it around the bowl. Seal the ends together by pressing the overlapping ends over one another.


Place the bowl on a baking sheet and bake for 10-15 minutes. The bowl should begin to brown slightly. Allow it to cool on a rack for a few minutes. Unfold the foil over the bowl and remove the bowl carefully. Now carefully peel off the foil from the bread.


Enjoy!

Saturday, April 4, 2015

Whole Wheat Bread Spirals

From the time I first saw this bread in a picture I have wanted to try it. I thought it looked very pretty. This is another bread inspired by Valentina Zurkan. It looks a lot prettier when you use white flour or bread flour. But I rarely bake anything with just white flour these days so I used a substantial amount of white whole wheat flour and went easy on the butter. It may not brown as well with whole wheat flour but I think it looks a lot healthier and tasted great.


This week I am posting recipes that are fun to bake. Play with the dough and get a beautifully shaped bread. For this bread I used layers separated with a filling. The filling keeps the layers separate even after baking. Simple cuts and twists make the bread look dainty and pretty.


It was an afternoon well spent. It would be a great project with kids as the twisting is very forgiving. You can use any filling you like, savory or sweet.

You will need
1 3/4 cup whole white wheat flour
1/4 cup all purpose flour
2 tbsp. olive oil
3/4 tsp. salt
1/4 tsp. cardamom powder
1 tsp. Instant yeast
2 tbsp. water
1/2 cup milk

For the wash
1 tsp. butter melted

Between the layers ( double if you want it really sweet)
1 tbsp. butter
2 tbsp. cinnamon powder
3 tbsp. sugar

Sift the flours and add it with the other dry ingredients in a bowl. Add the wet ingredients. Combine and form a soft dough. Cover and keep it aside until it doubles in volume, about an hour an a half.

Flour a working surface and transfer the dough on it. Divide it into 4 portions and roll each portion into a disc about a forth of an inch thick. In a small bowl mix the ingredients for the filling. Spread a third of it on one of the discs. Place another second disc over it. Spread half the remaining filling on this layer. Place another layer on it. Spread the remaining filling over it and place the last layer over it. Roll gently with the rolling pin. Then cut it as shown in the picture below.


Pick up all four layers of one of the triangles as shown below. Now twist it in one direction several times and place it back.


Repeat with all the other triangles.


Brush the top with melted butter. Let it rest for 15-20 minutes. Meantime preheat the oven at 425 F.


Bake for 10-15 minutes or until the top starts to brown. This is whole bread bread so it will not brown like all purpose flour.


Enjoy with a cup tea!

Friday, April 3, 2015

Whole Wheat Sourdough Bread Flower

Shaping breads and watching it transform in the oven is magical. Valentina Zurkan is a name that comes to mind when I think of beautifully shaped bread. This bread is inspired by her work. She can transform five layers of dough into amazing shapes. I had tried one such very elaborate bread last year. This one is simpler and made on a much smaller scale. It was just as much fun to make.


I made this with my regular whole wheat sourdough bread dough. I did not enrich the dough as I wanted a simple bread to accompany the evening meal of hot soup on a cold day. Enriched white flour dough would give a better shinier finish and if I were baking just this one bread I would go all for it. But I bake a lot and so I stick to whole wheat and healthy dough. I took pleasure in the shape rather than the shine on the finished product. If you want the shine refer to the dough recipe on the very elaborate bread and then use this shaping technique.


This is day 3 of my week of fun bakes.

You will need
1 3/4 cup whole white wheat flour
1/4 cup all purpose flour
2 tbsp. olive oil
3/4 tsp. salt
1/4 tsp. cardamom powder
1 tsp. Instant yeast
2 tbsp. water
1/2 cup milk

For the wash
1 tsp. butter melted

Between the layers
1 tbsp. butter
2 tbsp. cinnamon powder
3 tbsp. sugar

Sift the flours and add it with the other dry ingredients to the bowl. Add the wet ingredients to it. Combine and form a soft dough. Cover and keep it aside until it doubles in volume, about an hour an a half.

Flour a working surface and transfer the dough on it. Divide it into 4 portions and gently roll each portion into a disc about a forth of an inch thick. In a small bowl mix the ingredients for the filling. Spread a third of it on one of the discs. Place another second disc over it. Spread half the remaining filling on this layer. Place another layer on it. Spread the remaining filling over it and place the last layer over it. Roll gently with the rolling pin. Then cut it as shown in the picture below. I used a bottle cap to keep me from cutting all the way to the center.


Next cut from the center to the outer rim but do not go all the way.


Now for the fun part. Gently tuck under the wings of one of the cut pieces and pull up the dough through the slit as shown in the picture below.


Repeat all around the circle and you will have the center of a flower.


At this time you could bake it as is or you could tuck in the corner and pull them up from the center to form the petals.


Preheat oven to 425 F. Let the finished flower rest for about 20 minutes. Bake for 15-20 minutes or until it starts to brown.


Enjoy!

Monday, November 24, 2014

Fall Harvest Bread / Wheat Sheaf Bread

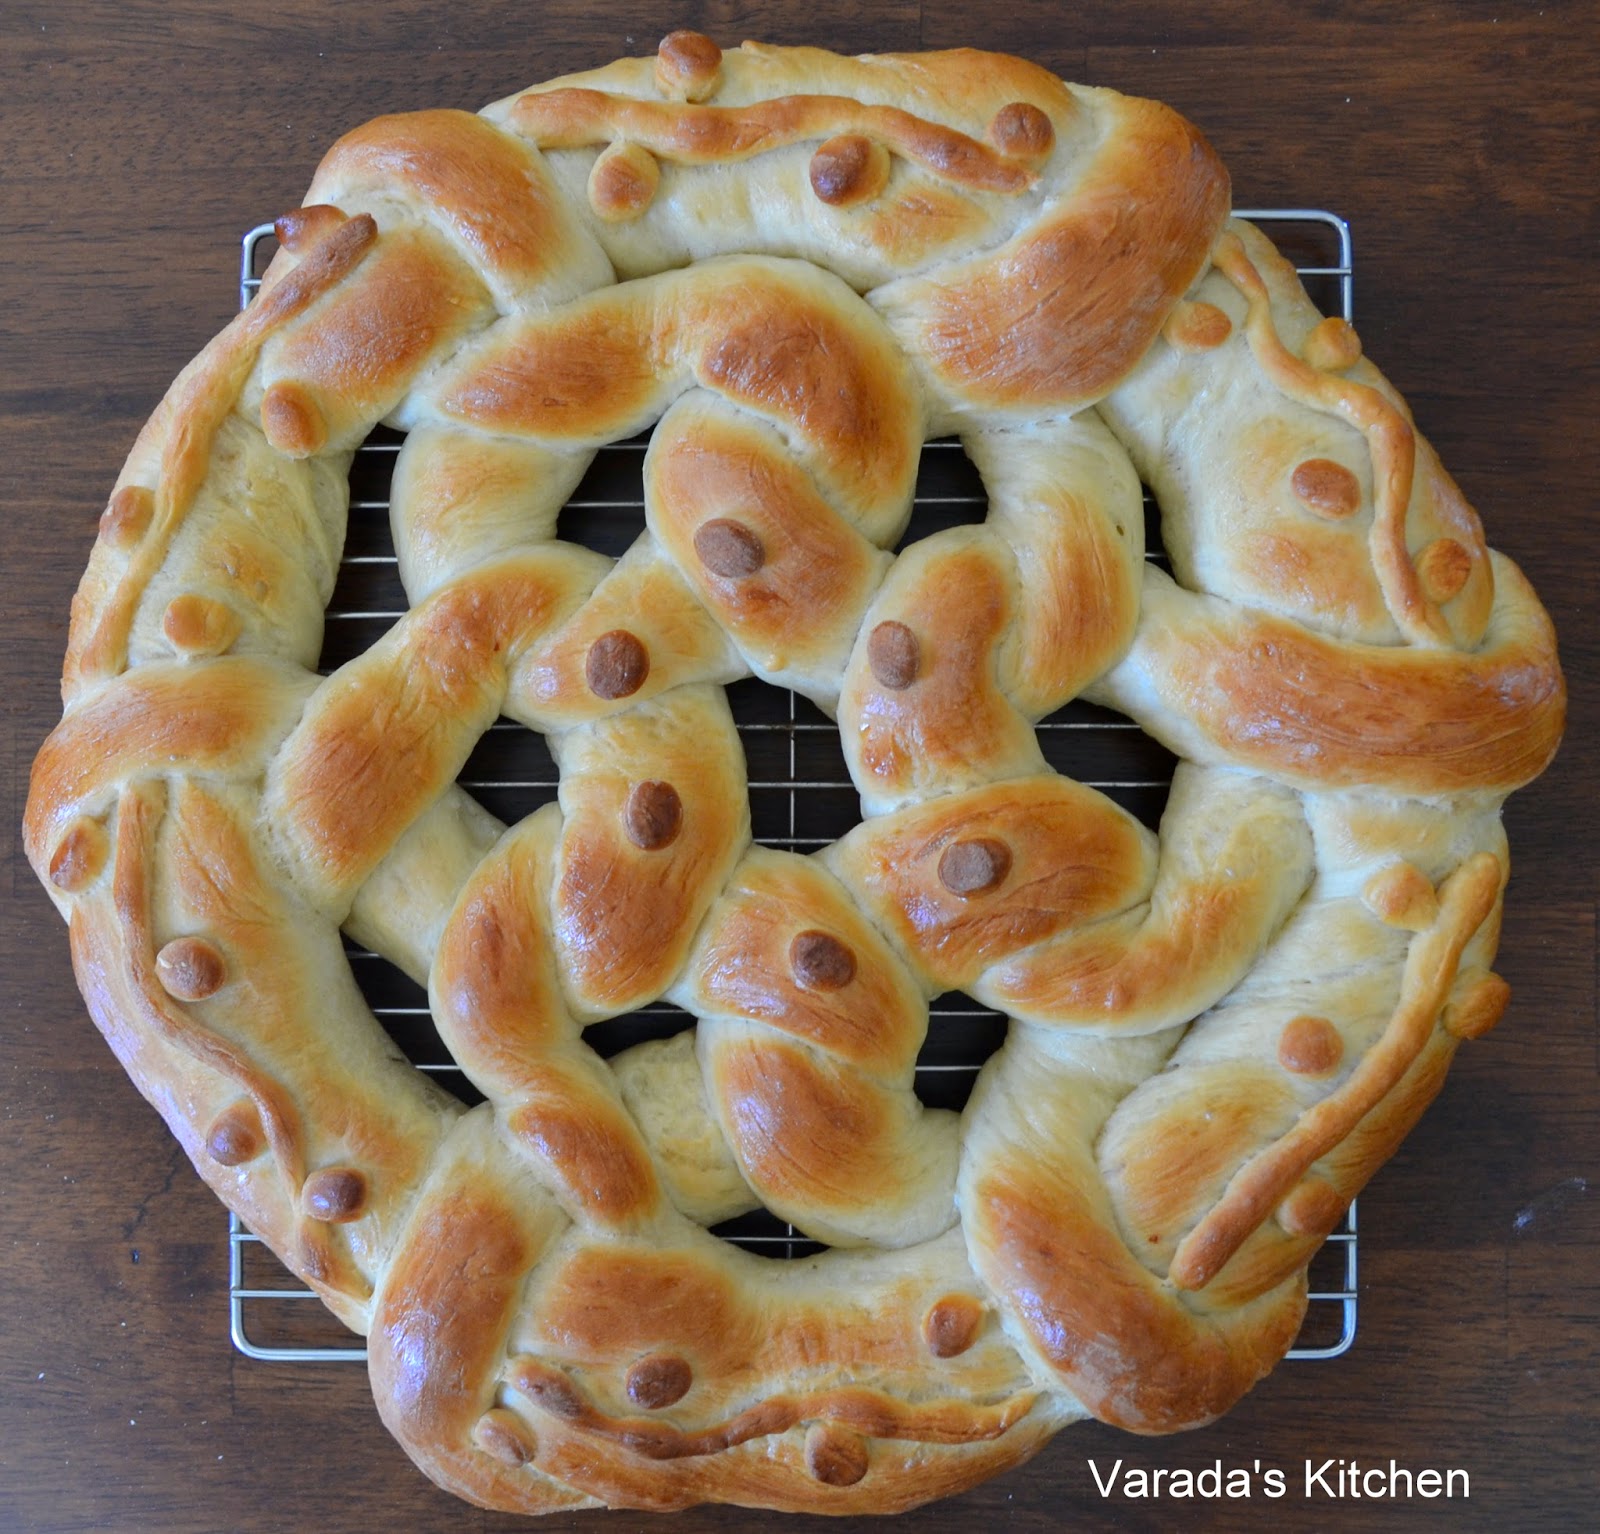
Bread made to look like a sheaf of wheat is a classic way to celebrate fall. I wanted to try my hand at making this traditional fall harvest bread. I added a mouse under the tie when I found that it is customary to add a mouse to the sheaf. I think is reason behind it is rather interesting. The mouse seeks shelter in the fields, when harvested the shelter is destroyed so the mouse is brought home with the sheaf.


I love fall. I love the beautiful colors, the cooler temperatures and the holiday season starting with Ganesh Chaturthi, Dasara, Diwali and finally Thanksgiving. Today I am posting my version of the fall harvest bread. I looked at pictures online and created this piece entirely on my own. Even the dough is mixed using bakers percentages and my gut feeling of the hydration level I would need.


To shape this bread I knew I would need a stiff dough. I started with 200 gm of whole wheat flour. I decided to keep hydrated at 70%. A added a tablespoon of butter and appropriate proportions of salt and yeast. I also added some sugar and substituted half the water with milk. I layered cinnamon sugar between the wheat stalk and the base of the bread so I could enjoy it with a cup of tea.

You will need
200 gm whole white wheat flour
6 gm salt
5 gm yeast
1 tsp. cinnamon powder
3 tbsp sugar
80 gm cold milk
40 gm cold water
1 tbsp. butter at room temperature

Topping
1 tsp. cinnamon
2 tbsp. sugar

Mix the dry ingredients together in a bowl. Add the wet ingredients.


Mix together to form a stiff dough. Knead well for 5 minutes. Cover and keep aside for an hour until soft. Break away about 30% of the dough. Keep the rest covered. Roll out the cut portion into a the shape of a skinny mushroom. This is the base on which the bread is built.


Mix together the cinnamon powder and sugar for the topping and sprinkle over the the base. If you want you could mix the mixture with some melted butter and then spread it all over the base.


Now start cutting small portions of dough and rolling them thin to form the stalks. Vary the length slightly and width. Place then randomly over the base. Next cut additional pieces and roll them into cylinders. Using a kitchen shear snip away at the cylinder to form the tops of the stalk. Place these around the top of the mushroom head. Then add a few more lower near the stalks. Keep some pointed up, some bend over to create variety. Roll a couple of thin ropes and place then around the seed heads. Cut three pieces and create a braid. Place it as seen in the picture. Create mouse with two tiny pieces of dough. Attach a tail and place the mouse on the sheaf.


Preheat oven to 425 F. Cover and allow to rise for 20 minutes. Wash with milk and bake for 10 minutes. Lower heat to 375 F and bake another 10 minutes. Cool completely.


Enjoy the harvest bread. You could use it as a centerpiece on your Thanksgiving table or you could eat it with your cup of tea.

Friday, July 25, 2014

Braided Bread

I have always been fascinated with fancy braids. In my college dorm I used to braid my roommates long hair. My daughter has waist length hair but she would not let me play with it. Then I found braided bread. I really like the bread with 8 or 9 strands. Today I present braided bread with 6, 8 and 9 strands along with a 4 strand round bread.


The turtle was made by my daughter. She said the round braid looked so much like a turtle she had to give it a head, hands and feet. It was a lot of fun making these as my daughter was a very willing participant. Guess she loves braiding as much as I do.


You will need
Dough prepared using my basic dough recipe

To make the braided bread you need rolled strands. I find it it easiest to roll the dough in a flat rectangle, cut out strips and roll each one into shape.


This gives me ropes of the same size and diameter that are evenly finished. To start place all the ropes parallel to one another. Bring one edge together and squeeze together. Now you are ready to begin.

To make the 9 strand braid
Start on the right. Place the right most strand to the left over the next two adjacent strands and under the following two strands. Do the same with the left most strand.


Repeat this process and the braid will start to appear.


Continue to the end as far as you can go. Tuck all the strands together under the dough to finish. Cut off about a half inch at the end from which you started and tuck the strands under.

For the 8 strand braid
Before you begin arrange the 8 strands the same way you would for the 9 strand bread. Pick up the rightmost strand and place it over the top of all the other strands to the left. Repeat with the leftmost strand.


Now place the right strand in the middle of the remaining strands. Place the new rightmost strand over to the left. Place the leftmost strand in the middle of the remaining strands and place the new leftmost strand to the right.


Continue to the end. Finish similar to the 9 strand braid. The finished 8 and 9 strand braids look like this.


For the 6 strand braid
This is very similar to the 8 strand braid except you have 2 fewer strands to work with.


For the 4 strand round braid and turtle
The 4 strand round braided bread is a little different from the above. To start place the 4 strands as shown in the picture below.


Now twist the adjoining strands such that the one that went under goes over and vise versa as shown in picture below.


Continue this process until you reach the end. Pick up the braid in your hand, turn it over and tuck the end on the underside. For the turtle attach head, hands and feet. Add cloves for eyes if you like. Wash everything with a milk to egg white and milk wash.


Bake at 400 F for 15-20 minutes. I used leftover pizza dough to bake these breads.


Enjoy!
Thursday, July 24, 2014

Hungarian Ring Bread

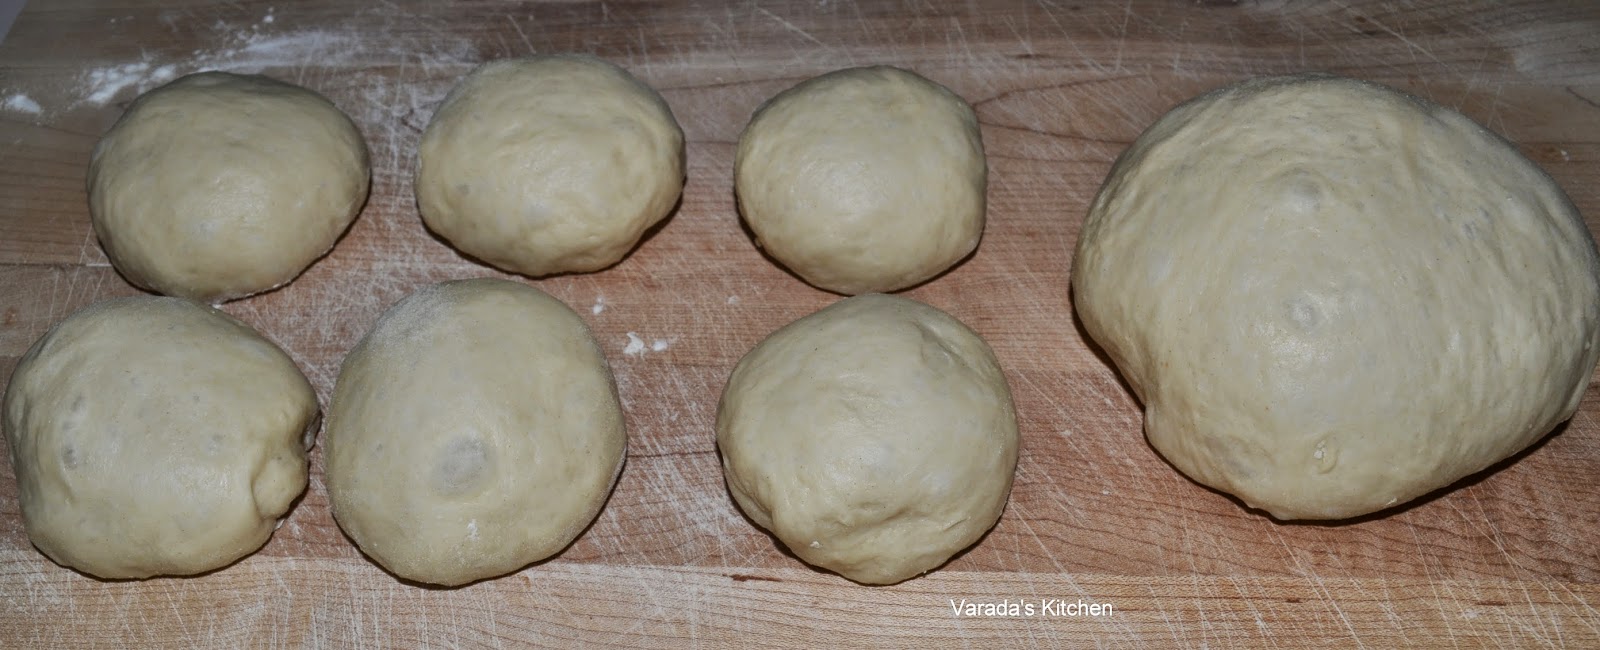
Hungarian ring bread is made for special occasions like weddings. There are seven rings, one on the outside and six on the inside, that intertwine with no apparent start or end. I have always wanted to try this bread and have had it on my wishlist for a very long time.


I made a decorative bread without sourdough after a long time. I am now used to sourdough and its long rise times. I let this bread rise a little longer than I should have before I shaped it. The end result was a delicious flavorful bread that was not exactly suitable for shaping. The dough kept rising. I am glad the shapes are still visible and did not blend into each other completely.


The bread was pretty easy to shape and I always have fun when I am playing with dough.

You will need
500 gm bread flour
40 gm sugar
37 gm egg yolks
70 gm whole eggs
37 gm vegetable oil
160 gm water
7 gm salt
15 gm fresh yeast


Combine the wet ingredients in a mixing bowl. Sift the flours and add all the dry ingredients. Combine to form a soft dough. Knead well until the dough is elastic and smooth. Cover and keep aside until it doubles in volume. Divide into 7 pieces, 6 small (~70 gm) and one large (~ 300 gm). If you want to decorate it put a little dough aside before you divide into above mentioned portions.


Prepare a baking sheet with parchment paper. Roll the large portion into a rope and shape as a ring. Place it on the prepared sheet.


Shape the other portions as ropes. Intertwine as shown in the picture.


If you want you can add a few decorations.


Cover in egg wash and let it sit for 20 minutes. Preheat oven to 375 F. Bake for 25-30 minutes. Cool on a rack.


Enjoy!