Showing posts with label Fruit Dessert. Show all posts

Wednesday, July 25, 2018

Baked Peaches with Ice Cream

I first tasted these baked peaches at a restaurant and fell in love with them. I have always wanted to try this recipe at home. The caramelized sugar infused with the juices of the fresh peach makes a fabulous sauce for the soft baked peaches. It is a very simple recipe but every summer for some reason or the other I never got around to making it. Last weekend on our weekly grocery trip I insisted on taking my time finding perfectly ripe peaches that were perfect for this recipe. I also bought a small tub of vanilla gelato made by a company called Talenti. It was the perfect combo with the baked peaches.


You could use any stone fruit for this recipe like nectarine or apricot. Make sure the fruit is ripe. The recipe works even if the fruit is not ripe, but for best results use ripe fruit.

You will need (4 servings)
4 small ripe peaches
8 tbsp. brown sugar
2 tbsp. butter

Preheat the oven to 400 F.
Cut the peaches in half and remove the seed. Keep aside.


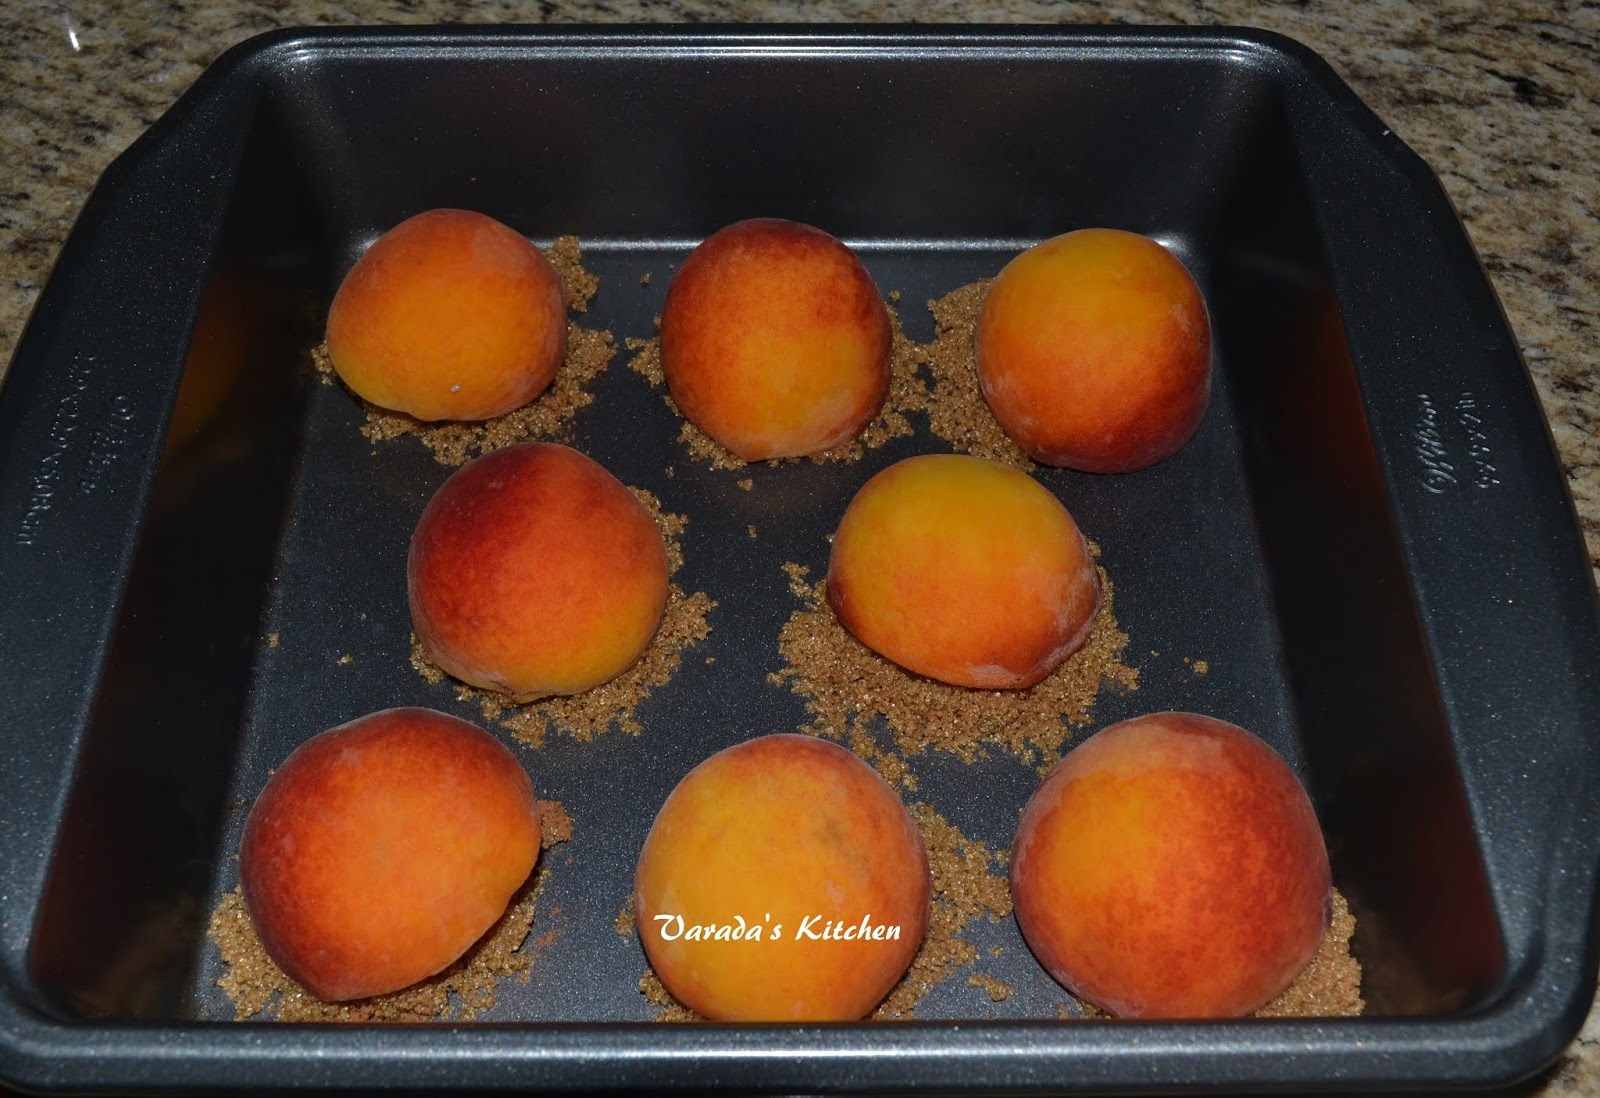
Cut the butter in half. Continue to half the butter until you have 8 equal pieces. Keep aside. Prepare a baking tray. Using a tablespoon measure place a mound of brown sugar in the baking tray. Repeat seven more times so you have 8 mounds. Place a piece of butter on the sugar and one half of a peach, cut side down. Repeat for all the pieces.


Bake for 15 minutes. The peaches should be soft and done. Flip them over so the cut side is facing up. Pour some of the caramelized sugar from the baking tray over the top and return the tray to the oven for another 5 minutes.


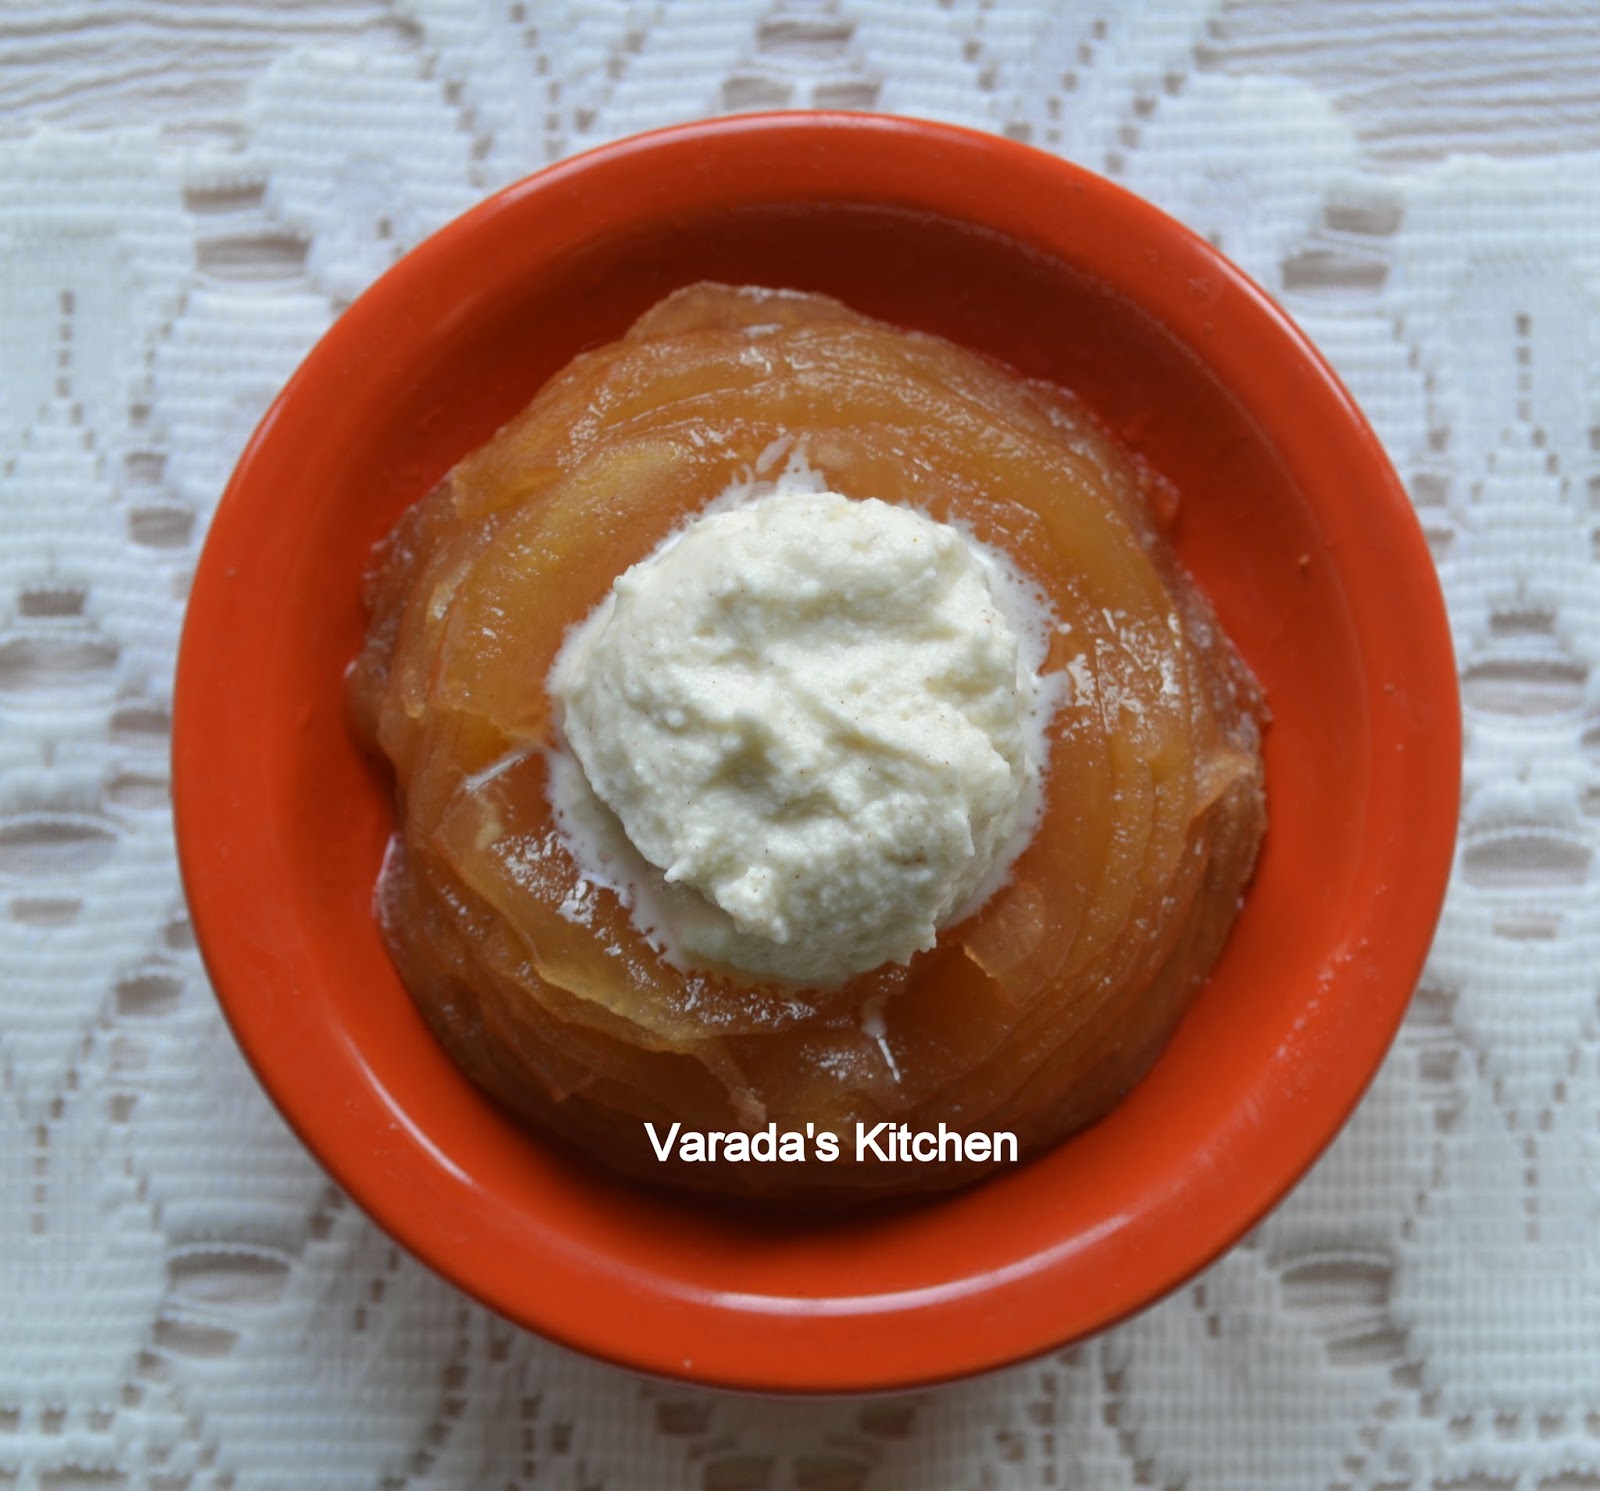
Plate the baked peaches with your favorite ice cream and serve. Drizzle the sauce over the top.


Enjoy!


Thursday, November 12, 2015

Chocolate Covered Strawberries

I made these strawberries the same day I was making truffles. While I posted that recipe over a year ago, the strawberries remained in my picture folder. Until today when I went looking at old pictures of recipe that never made it to the blog and found this one.


These are not your regular chocolate dipped strawberries. Not only are they dipped in dark chocolate, they are then rolled in dark chocolate shavings. Mu daughter loved these and they were gone pretty quickly. Use large strawberries so the double chocolate coating is balanced out with the strawberry flavor. This is a perfect recipe to use you dark cocoa brick.

You will need
10-12 Strawberries
1 oz. dark chocolate cut from a 70-100% dark cocoa brick
2 tbsp. dark chocolate shavings from a 70-100% dark cocoa brick
parchment paper

Rinse and dry the strawberries leaving the stem hat in place. Keep aside until needed. Shred the dark chocolate over a grater to get the chocolate shavings. Keep aside. Melt the dark chocolate in a double boiler.

Dip the strawberries about 3/4 of the way in the melted chocolate and place on the parchment paper. When the melted chocolate starts to dry sprinkle the chocolate shavings over the top. Continue until you have dipped and covered all the strawberries. Leave them on the parchment paper until the chocolate has thickened.


Enjoy!


This is my entry for week two, day three of BM #58 for the theme Tea Time snacks. Check out the Blogging Marathon page for the other Blogging Marathoners doing BM#58.

Wednesday, November 11, 2015

Caramelized Pears

Pears are always in season but they are rather plain. They rarely make it into my grocery list as there are so many other fruits to choose from. Caramelized pears on the other hand taste great and make a great dessert or an afternoon snack. You can serve it with ice cream or eat it on its own.


You could let the sugars caramelize until they are a darker brown. It does take a while so be patient. You could stop where I did, when the sugar are a light brown and the pears taste just as great. This was an experiment I wanted to try for myself just as I wanted to try grilled peaches for the longest time. Fruit are rarely cooked in my house so I have to plan in advance whenever I cook up a recipe with fruit.

You will need (single serving)
1 pear
1 tsp. butter
1 tsp. sugar

Peel the pear and and cut it in half. Remove the seeds. You could cut it into smaller pieces with desired. Keep aside. Heat the butter in a pan and sprinkle sugar over the melted butter. Add the pear and let it look on medium heat until the pear is cooked through and sugar begins to caramelize. Once you get to the desired color turn off the heat. Serve with ice cream or by itself.


Enjoy!


This is my entry for week two, day two of BM #58 for the theme Tea Time snacks. Check out the Blogging Marathon page for the other Blogging Marathoners doing BM#58.

Tuesday, May 5, 2015

Semolina Porridge

My mother used to make the best porridge. She did not make it often but I loved it every time she made it. Back then I did not know if it was easy or difficult to make the porridge. All I knew was that I loved the sweet creamy goodness.


Today I made this porridge for breakfast for my daughter. Like my mother I do not make it often. I prefer oatmeal. But just like me my daughter enjoys a warm cup of porridge. I like a moderately thick porridge. Adjust the ratio of semolina to milk based on whether you like the porridge runny or thick.

You will need (2 servings)
2 cups milk
1/2 cup semolina
2 tbsp. sugar (adjust to taste)

Warm the milk and keep aside. Roast the semolina in a pan over medium heat. When there is a very slight change in color add the sugar and the warm milk. Bring it to a boil and turn off the heat.


Enjoy!


Sending this to the Kid's Delight event hosted this month by Mireille who blogs at Chef Mireille's East West Realm.


This is my entry for week one, day three of BM #52 for the theme Creamy Foods. Check out the Blogging Marathon page for the other Blogging Marathoners doing BM#52.

Sunday, May 3, 2015

Pineapple Mousse

With summer right around the corner all the cold comfort foods are making their way back into the menu. It was when I was planning ahead for the week that I realized I did not have a recipe for mousse in this space. The light and airy foamy dessert is perfect for a hot summer day.


I had some crushed pineapple in the refrigerator so I decided to puree it and made pineapple mousse. I used agar agar to thicken it and heavy whipping cream as the base. Since the pineapple was not sweetened I used a little sugar. The end result for so light and creamy! I liked the mildly sweet taste. My daughter on the other hand said she would have preferred chocolate mousse.

You will need
3 cups crushed pineapple in juice or cubed pineapple
3/4 cup cream (I used heavy whipping cream)
2 tbsp. sugar (adjust to taste)
1/2 cup water
2 tsp. agar agar

Puree the pineapple chunks and keep aside. Heat the water and add agar agar. Stir to dissolve and turn off heat. In a separate bowl whip the cream and sugar until fluffy. It should visible double in size. Add the fruit puree and agar agar. Blend together. Do not allow the aerated cream to deflate. Transfer to single serving bowls and refrigerate for 3-4 hours.


Enjoy!


Sending this to the Kid's Delight event hosted this month by Mireille who blogs at Chef Mireille's East West Realm.


This is my entry for week one, day one of BM #52 for the theme Creamy Foods. Check out the Blogging Marathon page for the other Blogging Marathoners doing BM#52.

Thursday, March 26, 2015

Aeblekage (Applesauce and Breadcrumb Dessert)

Aeblekage is a Danish dessert made with apples and sweetened breadcrumbs. I first made it as part of the Danish meal I cooked last September. However I did not like some of the dishes in the meal. I cooked the entire meal again but I decided to switch to aebleskiver for the dessert. This recipe remained in the drafts until today.


I made breadcrumbs from day old soft buns. I had baked a few extra just to make this dessert. I made the apple sauce using Gala apples. The alternating layers of fresh made applesauce and browned breadcrumbs makes this dessert very appetizing.

You will need
For the breadcrumbs
1 cup breadcrumbs
1/2 tbsp. sugar
3 tbsp. butter

For the applesauce
1 apple (I used Gala)
2 tbsp. sugar

For the garnish
Whipping cream to garnish
1 tbsp. sugar

To make fresh breadcrumbs cut the day old buns into pieces and bake on a sheet for about 5 minutes. Leave them uncovered to cool and harden. When cool run them through the food processor. To a cup of these fresh breadcrumbs add the sugar and butter and brown them in a pan. Keep aside to cool.

Meanwhile core and peel the apple. Cut it into slices and put it in a pan to cook with a tablespoon of sugar. Let it cook until it is very soft and can be crushed with a fork. Turn off heat. Your applesauce is ready. You can adjust the texture from chunky to paste depending upon your taste.


In a serving bowl place alternating layers of breadcrumbs and applesauce until the very top. Top with breadcrumbs. Chill for a few hours. To serve whip some sugar with whipping cream to garnish the bowl.


This is my entry for week four, day three of BM #50 for the theme Bookmarked recipes. Check out the Blogging Marathon page for the other Blogging Marathoners doing BM#50.

Wednesday, September 10, 2014

Gelo di Melone (Vegetarian Mellon Jello)

This is a light dessert ideal for the hot months when watermelon is available. I really like the use of cornstarch to thicken the liquid instead of gelatin. Jiggly jelly without gelatin and a delicious watermelon flavor!


Do not overcook the liquid or the end result will not be jiggly.

Recipe adapted from here

You will need for 2 servings
250 ml watermelon juice
20 gm corn starch
82 gm sugar
1 inch cinnamon (the one used for desserts)
1-2 drops vanilla extract

Cut the watermelon into pieces small enough to fit into the blender. Puree the watermelon and strain it through a fine sieve. You will need 250 ml of this juice.


To 50 ml of the juice add the corn starch and whisk until it dissolves. To a thick bottomed pan add the remaining watermelon juice, the corn starch mixtures, sugar, cardamon and vanilla. Bring it to a boil stirring frequently. Lower the heat and simmer for 15-20 minutes until it thickens. Whisk almost continuously to prevent burning. Turn off heat.


Rinse the molds. Pour the jello into the wet molds. Chill overnight in the refrigerator. Invert mold on a plate and garnish with pistachios.


Enjoy!

Thursday, September 4, 2014

Æbleskiver

Æbleskiver is the classic Danish dessert made in an Ã†bleskiver pan. The recipe is simple and with practice you can learn to make the perfectly round Ã†bleskiver.


Sprinkled with sugar these pancake like dessert balls make a delightful dessert. As the name suggests these dessert balls were stuffed with pieces of apple. Today the name remains but they are not always filled with apple. I used pieces of gala apple softened in a little butter.


You can serve aebleskiver for breakfast too but I made it for dessert as it is made in Denmark during the holiday season.

Recipe adapted from here
You will need
egg white from 1 egg
1 cup flour
2 tsp. sugar
1/2 tsp. cinnamon powder
1 tsp. baking powder
a pinch baking soda
2 tbsp. butter, melted
1 cup buttermilk
salt to taste

1/2 gala apple, peeled, cored, cut into cubes.
Butter for the pan

Heat a little butter in a saucepan and add the apple cubes. Cook until softened. Turn off heat and let the cubes cool.

In a mixing bowl sift the flour. Combine it with sugar, cinnamon, baking powder, baking soda, melted butter and buttermilk. Add salt to taste. In a separate bowl beat the egg white until white peaks form. Fold it into the batter.


Heat an Ã†bleskiver pan on medium heat. Add a little butter to each of the holes in the pan and drop a spoonful of batter in. When the batter starts to bubble add a couple pieces of softened apple.


Using a skewer or a knitting needle turn them over in half turns until they are cooked all round to a beautiful golden crust. 


Keep turning them around to prevent burning until cooked through. The skewer pricked in the center should come out clean. Sprinkle sugar just before serving.


Your dessert is ready.

This is my entry for week 36 of the 2014 52 week challenge for the theme apples.

Monday, September 1, 2014

Apfelstrudel / Apple Strudel

Apfelstrudel is a very delicate dessert made with thin flaky pastry dough. The dough is rolled on a cloth which makes it easier to handle. The thinly rolled out dough is made thinner by running it over the knuckles of your hand. When done it is possible to read a newspaper or see the pattern on the tea cloth on which it is laid.


Crisp apfel (apple) strudel is a well known Austrian dessert. For those of us not living in Europe it was made popular by the song 'Raindrops on roses and whiskers on kittens...' from the Sound of Music.


The thin pastry is really easy to make at home. The process of rolling and stretching the dough is very calming and enjoyable. Simple pleasures in our otherwise busy lives. When you plan on making this pastry block out a half hour to take your time with it and experience the joy of being able to make see-through pastry.

You will need
For the dough
125 gm flour
60 ml water
2 tsp oil
salt pinch

For the filling
600 gm apples
70 gm sugar
50 gm breadcrumbs
40 gm butter
40 gm raisins
2 tsp cinnamon

40 gm butter
powdered sugar for topping

Ideally peel the apples before slicing. I had invested in organic apples so I decided not to peel them. Next time I will. Prepare the breadcrumbs by browning them in a little butter. Soak the raisins in water so they plump up. Melt the butter.


Prepare the dough by mixing all the ingredients except water. Add water a little at a time until you have a soft non-sticky dough. Let it rest for an hour. Preheat the oven to 425 F. Flatten the dough and using a rolling pin roll it into a flat pastry. Transfer it to a tea towel. Use flour to prevent the dough from sticking to the towel.


Apply a thin layer of butter on the top and let it rest for a 10 minutes.


Now roll it as thin as you can go. Lift it up with the knuckles of your hands and roll the dough over the knuckles to spread it thin. When you are done you should be able to clearly see the towel through the pastry.


Spread the remaining butter, breadcrumbs and drained raisins.


Now add the apples slices.


Turn in the long sides of the dough. Start rolling from one of the shorter sides to make a thick tight roll. Take care to not stretch the dough too thin so it does not tear.


Seal the edge with a little butter.


Transfer the roll to a baking sheet covered with parchment paper. Brush on some butter.


Bake for 40 minutes until the strudel is brown and crisp. Sprinkle some powdered sugar over the top. You can eat it either hot or cold.

Sunday, August 17, 2014

Chocolate Covered Banana Bites

Banana, chocolate and peanut butter - what more could your child want? Bite sized treats are always the most loved and these chocolate covered bananas filled with peanut butter are no exception.


My daughter has a sweet tooth and likes something small after a meal. She is not really fond of anything very sweet so this is a perfect treat for her. She can make it herself and it satisfies her need for something sweet.


I made these on a very hot day and even in my temperature controlled kitchen I had a hard time piping the peanut butter. I finally put the piping bag in the refrigerator for a few minutes along with the chocolate dipped bananas and that did the trick.

You will need
1 banana
1 handful of chocolate chips (I use Nestle semi sweet chips)
1 tbsp. milk
3 tbsp. peanut butter

Peel and cut the banana into 1-1 1/2 inch pieces. Using a spoon scoop out the center.


Place the chocolate chips in a bowl and melt them in the microwave. About 30-35 seconds stirring twice should do the trick. Add in the milk and stir the chocolate well. Swirl the banana pieces in the chocolate and place them upright on a plate. Refrigerate for an hour until the chocolate hardens. Put peanut butter in a piping bag with a wide nozzle. Pipe it into the hollowed banana letting it spill over the top. Refrigerate for about 10 minutes.


Enjoy!

This is my entry for week three, day one of BM #43 for the theme Healthy Desserts. Check out the Blogging Marathon page for the other Blogging Marathoners doing BM#43.

Sunday, June 8, 2014

Apple Confit

Apple Confit is a delicious dessert that is made by baking layers of apple, butter and sugar at a very low temperature for a very long time.


You will need
2 Fuji apple
4 tbsp. sugar
2 tbsp. butter
2 tbsp. orange zest
2 pinches cinnamon powder

For the topping
3 tbsp. heave whipping cream
1/2 tsp. sugar
a couple drops vanilla extract
a pinch cinnamon

Preheat oven to 250 F. Grease two oven proof bowls. Rinse the apples and peel. Cut the apple through the stem and core. Now using a sharp knife cut the apple into slices as thin as possible. Now add a single layer the apples in the greased bowl. Sprinkle some sugar over it and place a little blob of butter. Repeat the layers until you use up all the ingredients.


Sprinkle some orange zest and cinnamon powder over the top. Cover with a parchment paper cut to shape. Over the parchment paper place foil and seal the bowl. Put the bowl in a baking sheet with sides and place a weighted bowl over the top.


Bake for 2 1/2 to 3 hours. Refrigerator for 2 hours. When you are ready to eat warm the bowls in the oven at 300 F for two minutes. Loosen the sides with a knife and invert it on to the serving dish.


For the topping whisk all the ingredients until you get stiff peaks. Alternately run all the ingredients through a blender until thickened. Place a blob over the top of the inverted confit.


Enjoy!

I submitted this as my entry for week 23 to the 2014 52 week cooking challenge for the theme Confit.