Showing posts with label Marathi Snacks. Show all posts

Thursday, October 5, 2017

Dal Vada in Appe pan (Not Deep Fried)

I have made a lot of different vada in the appe pan, dahi vada, batata vada, sabudana vada, methi vada etc. This is my latest experiment. I used the dals I had on hand in the proportion that felt good at the time. Mung dal makes the vada lighter and easier to cook, channa dal and lentils add a lot of flavor.


I made these as a evening snack but you may want to add them as a side to a dinner menu. They would also make great appetizers at a party.

You will need for 15-20 vadas
1/2 cup toor dal
1/2 cup red lentils
1/2 cup urad dal (split black lentils)
1/4 cup channa dal (split chickpea)
1/4 cup mung dal
1 1/2 tsp roasted cumin coriander powder
1 tsp turmeric powder
1 tsp paprika
1 tsp fennel seeds
Salt and black pepper to taste
Oil

Add all the dals to a bowl. Add enough water to the bowl to cover the dals and aside for about 2-3 hours. Drain the water. Blend the dals to a paste using a little water such that it has the consistency in the bowl in the picture below.


Mix in all the remaining ingredients except the oil.


Heat the appe pan on the stove top over medium heat. Add a drop of oil in each of the wells. Next using a tablespoon add the heaping spoonful of the mixture to each of the well. Cover and let it cook for 2-3 minutes on medium-low heat.


Check if the under side is done using a knitting needle or a skewer. If brown flip the vada.


Flip the remaining vada, cover and let it cook until done.


Dal vada is ready. East on its own as a snack or part of a meal.


Enjoy!

Wednesday, March 18, 2015

Jowar Chivda / Sorghum Chivda / Jondhalyachya Lahya Chivda

Chivda is savory snack made with a variety of grains or with fried batter. My favorite has always been the churmure chivda (or puffed rice chivda). During Diwali I make the pohe chivda. Both are very easy to make and are great as a snack. This week my father is visiting and so I decided to make churmure chivda for him. I went with him to the Indian store to bring back supplies when he asked if jondhalyacha lahya or puffed sorghum was available. He said the chivda made with sorghum tastes really good and is very healthy too. I checked the store and luckily they had packets of puffed sorghum so that is what I went with.


This recipe is very similar to the churmure chivda. I used a whole 7 oz. packet of puffed sorghum as chivda is very popular in my house.

You will need
1 7 oz. packet of jondhalyacha lahya or puffed sorghum
3 tbsp. oil
3/4 cup roasted peanuts
a handful of curry leaves
1/2 cup cashews
3/4 cup raisins
3/4 cup daala (roasted yellow gram)
2 tsp. turmeric powder
2 tsp. cayenne pepper powder (adjust to taste)
1 tsp. sugar
salt to taste (~ 1 1/2 tsp.)

Place the puffed sorghum in a wide mouthed pan and roast until hot and crispy.


Keep aside. In the same pan heat the oil and add the peanuts. Saute until they begin to change color. Next add the curry leaves. Watch out they will splatter oil. Then add the cashews and raisins. Saute them for a few minutes. Next add the daala or yellow gram, turmeric powder, cayenne pepper powder and sugar. Add salt to taste judging the amount based on the sorghum to be added.


Combine everything and finally add the puffed and roasted sorghum. Combine everything and turn off the heat. Let the chivda cool completely before storing.


Enjoy!

Wednesday, December 3, 2014

Pav Bhaji

Pav bhaji is classic street food from Mumbai. Mixed vegetables cooked in butter served with fresh butter roasted rolls. Pav bhaji is now available in restaurant menus. It is also very popular on the party or potluck menu. I make pav bhaji almost every weekend to finish all the weekly leftover vegetables before I go grocery shopping again.


Pav bhaji is very loved in my house. I bake the pav or buns fresh for the day and everyone loves the spicy bhaji with the hot pav. I usually cook the bhaji in oil and use butter very sparingly if at all. You could however, use butter instead of the oil. Since the pav is hot and fresh I do not roast it on the pan in butter. However, if you are using store bought pav or day old pav you might want to brown them in butter on a hot griddle.

You will need
For the bhaji
1 large russet potato
3 carrots
2 large handfuls of green beans
1 onion
3 tomatoes
1 tbsp. olive oil (vegetable oil)
1 tsp. ginger garlic paste
1 tbsp. pav bhaji masala
1 tsp. sugar
1 green chili pepper, minced
salt to taste
1 lemon

For the Pav Bhaji
Laadi pav
Bhaji from recipe above
garnish with raw onion and lemon juice

To make the bhaji
Wash, peel the carrot and cut into big chunks. Wash the green beans and cut the ends to remove the side strings. Cut in big pieces. Wash and clean the potato, Boil the vegetables in a pressure cooker for 5 minutes. You could also cook them in a steamer like I do.

Meanwhile dice the onion and tomatoes separately. Heat oil in a pan and add the onions. Saute on medium low heat until they are translucent and change color. Add the ginger garlic paste, pav bhaji masala, sugar and green chili pepper. Saute for another minute. Then add the tomatoes along with a cup of water. Cook the masala on medium heat until mushy and falling apart. Using a masher mash the masala. Do not grind in a blender. Continue to cook on low heat.

Peel the cooked potato and mash it. Mash the carrots and green beans.


Add the vegetables to the pan with the tomato masala.


Combine well so that the vegetables and masala are mixed together. Add salt to taste and continue to cook for another 5 minutes. Turn off heat. Squeeze the juice of a lemon over the top and mix together.


The bhaji is ready.

To put it together
Cut the pav in half and toast them on a heated pan. Heat the bhaji and garnish with lemon wedges and onion slices.


Alternately, if using oven fresh pav serve hot pav with hot bhaji.


Enjoy!

Saturday, October 25, 2014

Vada Pav

Vada Pav is a street food from Mumbai. Until I started working in Mumbai I had never tasted it or even heard of it. I was very wary of getting sick when I first started working in Mumbai so I stayed away from the street foods. Later a friend introduced me to it. She and I roomed together. She was from Nasik and had visited Mumbai many more times than I had. She insisted I try the vada pav from a street vendor. I was very skeptical. It was one thing to try grilled corn on the cob. The hot coals killed all the germs. But bread and vada were a different animal. After a lot of coaxing I tried it and really liked it. That version of vada pav was too spicy for me and I had to wash it down with lots of water. But the combination was great. And I did not get sick.


I am told there are wada pav chains in Mumbai now. I did not venture out to try it the last time I was in Mumbai but that may be because I was in a hotel close to the airport and the Mumbai office in Andheri, far away from these outlets.

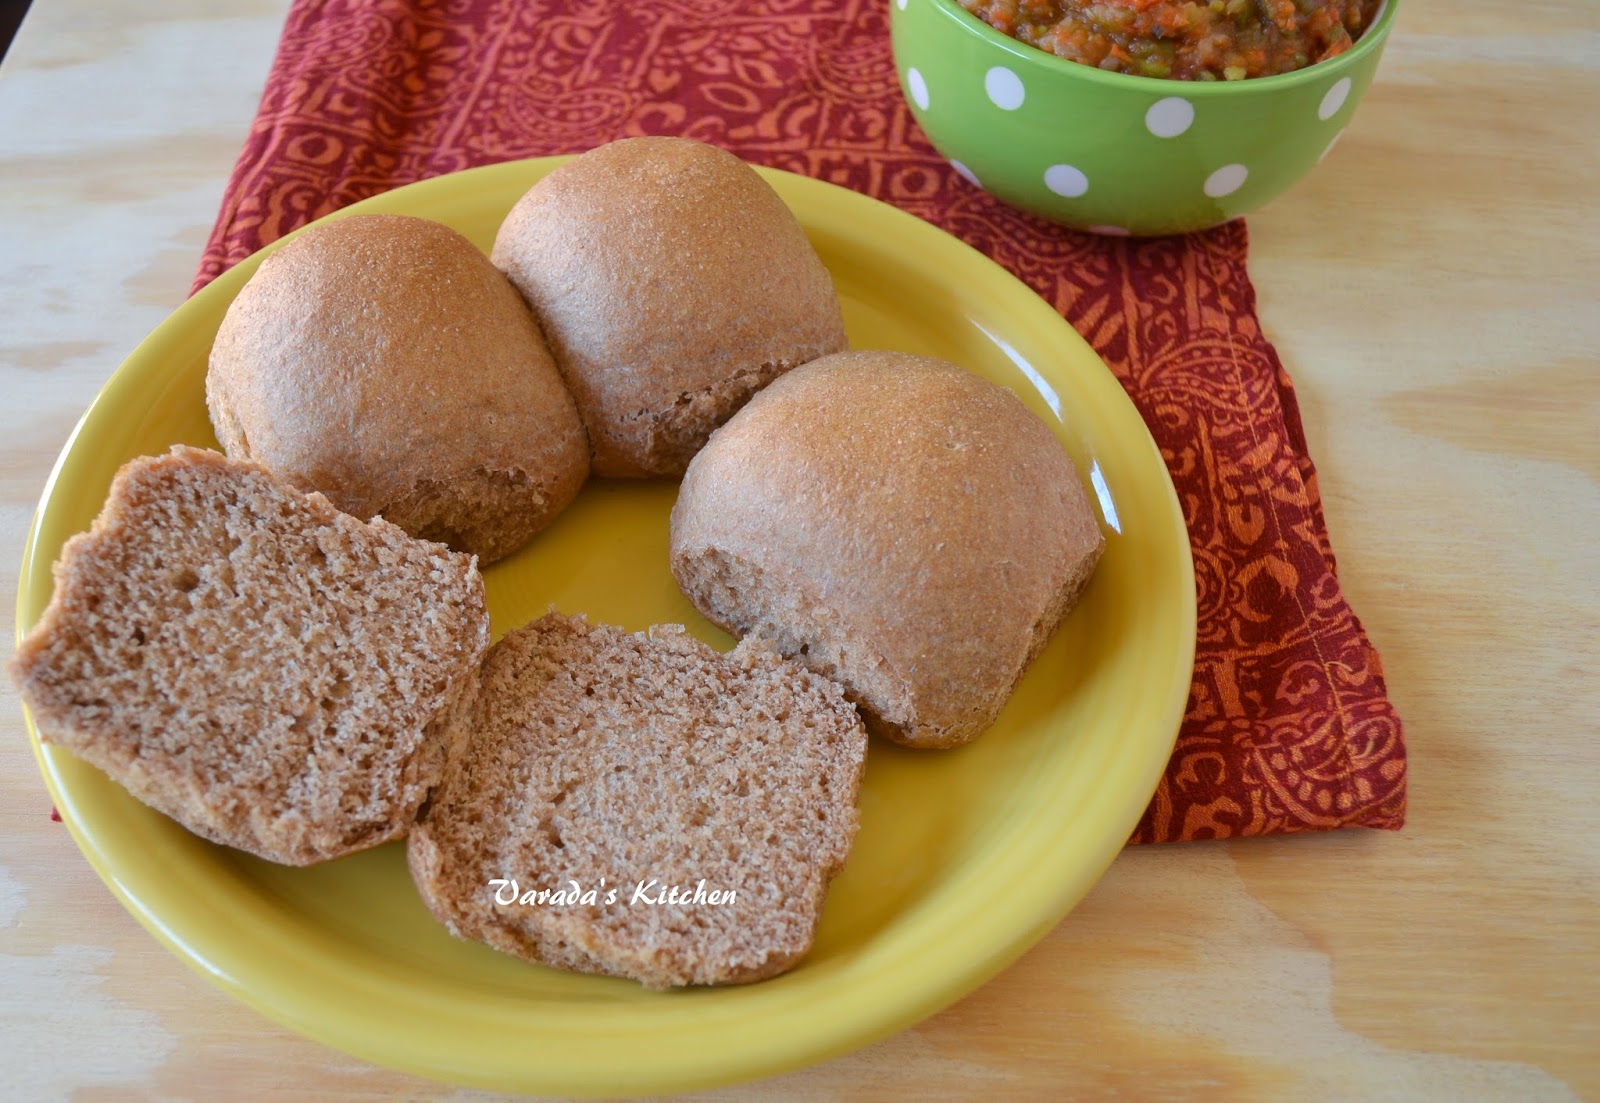
After all these years the taste stayed with me and when I was wondering how to use these laadi pav I had baked I kept going back to vada pav. Finally I made vada pav at home. I made the garlic coconut chutney but deliberately kept it is very mild. You can spice it up with dry red chili peppers if you want. I had posted the recipe for batata vada a few days ago. I posted whole wheat laadi pav yeasterday. Today I bring it all together to present the wada pav.


It was only when I edited the pictures that I realized I had not put any green chutney on the bun I used for the pictures.

You will need
Laadi pav or Dinner roll
Batata vada
Green chutney

For the garlic coconut chutney
1 cup dry coconut flakes or powder
1 tsp. tamarind pulp
2 cloves garlic, minced
1 tbsp sesame seeds
1-2 red chili peppers (depends upon how brave you are, I am a wimp I skipped this)
1 tsp. red chili pepper powder (optional, use if not using red chili peppers)
3 tbsp. peanuts
salt to taste

Heat a small saute pan and add the dry coconut to it. Mix in the tamarind pulp such that it is distributed evenly. Continue to roast the coconut on low medium heat mixing it up occasionally so it does not burn. Remove from pan when done and add the minced garlic to the same pan. When roasted remove from pan and add the sesame seeds. Next add the red chili pepper. Let all the roasted ingredients cool before adding them to a grinder along with the peanuts and salt. Grind to a powder.

If you used red chili peppers your chutney will turn an orange red. Since I used red chili pepper powder mine was a dull orange.

To put it all together
Cut the pav though the center. Add the garlic chutney to one side and apply the green chutney to the other. Place the vada over the garlic chutney and place the other half of the pav over the top.


Enjoy!

Sunday, October 19, 2014

Baked Bhajani Chakli

Chakli is Diwali faral that is made year around as a snack. In Maharashtrian homes chakli is usually made with bhajani. Whole grains are roasted separately, combined together and milled. Roasted coriander and cumin seeds are added for flavor. The resultant flour or bhajani is combined with sesame seeds and carom seeds (ajwain or ova) to form a dough. The chakli is shaped from this dough and is usually deep fried. I baked it.


I do not have the ability to mill grains so I started out with store bought flours. I roasted them separately and then combined them together with roasted coriander and cumin powder. Thereafter I followed the traditional process to prepare the dough. Once the dough was prepared I shaped the chakli and baked them.


Chakli is an integral part of the Diwali faral. It is one of the must have savory faral. I kept the chakli mild so we could all enjoy it.

You will need
Special equipment to shape the chakli

For the bhajani
3 cups rice flour
2 cups channa dal flour (besan or bengal gram flour)
1/2 cup urad dal flour
1/2 cup moong dal flour
1/2 cup coriander seeds
1/4 cup cumin seeds

For the chakli
3 cups water
2 tbsp. oil
1/4 cup sesame seeds
1 tbsp. ova (ajwain, carom seeds)
1 tsp. red chili pepper powder (optional)
2 tsp. salt (adjust to taste)
3 cups bhajani

To make the bhajani, roast all the ingredients one by one. Put the roasted coriander and cumin seeds in a grinder and grind to a fine powder. Combine all the flours and the ground powder in a mixing bowl. The bhajani is ready. It can be stored in an airtight container for a couple of weeks.


For the chakli
Bring the water to a boil in a pan along with the oil, salt, sesame seeds and red chili pepper. Working quickly lower the heat and add the bhajani. Mix it well with the water for a couple of minutes. Take the pan off of the heat, cover and keep aside for half an hour. Knead the dough well or run it through a food processor until you have a soft pliable dough. Keep this dough covered with a moist tea towel while you work.


Preheat the oven to 350 F. Prepare a baking sheet with parchment paper. Prepare the chakli mold. Break off a lemon size ball of the dough. Knead well in the palm of your moistened hands. Place it inside the mold. Press the lever to form the chakli. Try not to make them too big so they are baked evenly. Continue until you fill the baking sheet.


Bake for 20-30 minutes flipping them over once after 10 minutes. Transfer to a cooling rack and continue with the remaining dough. Store in an airtight container when completely cooled.


Enjoy!

This is my entry for week three, day three of BM #45 for the theme Healthy tea time snacks. Check out the Blogging Marathon page for the other Blogging Marathoners doing BM#45.

Saturday, October 18, 2014

Batata Vada in Appe Pan (Not deep Fried)

I am in love! With my appe pan. This simple pan has changed the way tea time snacks are prepared in my house. My first experiment dahi vada was very successful. No one could tell the difference. That gave me a lot of confidence to experiment with other deep fried snacks. I tried dal vada, paneer kofta and a variety of other foods that I did not photograph or blog about. Over time I have gotten better at using the pan which is not surprising since I use it so often. I have better judgment of the size and shape of the food I cook in it. I am also better able to end up with perfect rounds instead of flat discs. By the time I made sabudana vada I knew I could make anything in this pan. Batata vada is my newest experiment.


The best part about using this pan is that I use a fraction of the oil that would otherwise be needed. Oil is mainly fat and fat is good for you in moderation, in fact fat is needed. However, the main problem with deep frying foods is not the oil itself but the effect it has on the nutrients in the food being fried. Science is all over the place on this one so I decided to stop deep frying foods and instead get the fat from other sources. While baking is a natural alternative some recipes do not do well when baked. And so I am in love with this pan. It allows me to enjoy a whole variety of snacks that I stopped making when I stopped deep frying foods.

Batata vada was one such snack. I loved it as a child - the crisp coating and the soft potato filling inside. My mother made the best vadas and she made them as starters frequently when we had guests over. Even though I helped her umpteen times with the preparation I cannot recollect her recipe. I do remember burning my fingers in the oil when I accidentally went too low while dropping the vadas in the oil.


Batata vada at its simplest is mashed spiced up potato rolled into balls, dipped in gram flour (besan) batter and deep fried. The vadas I made follow the traditional recipe except they are cooked in the appe pan with a few drops of oil. They taste just as good!

You will need (for 6 vadas)
For the filling
1 large Russet potato
3 springs cilantro, diced (I ran out so I did not add any)
1 tbsp. oil
1 tsp. mustard seeds
1 tsp. cumin seeds
5-6 curry leaves
1 tbsp. channa dal (bengal gram split dal)
1 green chili pepper
1/4 tsp. asafoetida
1 tsp. turmeric powder
1 tsp. sugar
1 tsp. red chilli pepper powder
salt to taste

For the batter
1/4 cup besan or bengal gram flour
1 tsp. red chilli pepper powder
salt to taste

Wash the russet potato to remove all the dirt. Prick with a fork all over and place it in the microwave with a cup filled about 3/4 of the way with water. Cook the potato for 2 minutes, turn over and cook again for 2 minutes. Repeat until the potato is done. Wrap in aluminium foil and keep aside for 5-10 minutes.

Meanwhile in a small pan heat the oil and add the mustard seeds. When they crackle add the cumin seeds, curry leaves, channa dal and the chili pepper broken into a couple of pieces. Add the asafoetida and turmeric powder and take it off the heat. Keep aside to cool.

Remove from foil, peel and discard the skin and place it in a bowl. Mash the potato and add the cilantro. Add the oil, mustard mixture, the sugar, red chilli pepper powder and salt to taste. Combine everything together without kneading and form into lemon sized balls. Keep aside.


Whisk the ingredients for the batter with a little water to get a thick batter.


Heat the appe pan and add a few drops of oil in each well. Drop the mashed potato balls into each of the wells and let them cook on mediun high heat.


Turn them over using a knitting needle or skewer.


Cook evenly on all sides.


When done take it off heat and enjoy it while it is hot with chutney or ketchup.

Friday, October 17, 2014

Sabudana Vada in Appe Pan

Sabudana vada or sago fritters make a very tasty snack provided they are cooked right. Unfortunately, they are deep fried. That is one of the reason I have not made them in years. Recently I acquired an appe / aebleskiver pan and I started experiments to replicate all the traditionally deep fried snacks. Sabudana vada was one such experiment and I am very happy to report it was a huge success. In fact, they were gone before I knew it and I was left with just these three for my pictures.


Sabudana vada are made as a tea time snack. As all the ingredients are accepted as fasting food some people indulge in these when they are fasting. I am glad I found a way to make them without having to deep fry them. Now I can make them often.

You will need
1 cup sabudana or sago
1 small potato
1/4 cup roasted peanuts, coarsely ground
5-6 sprigs cilantro
1 tsp. red chilli powder
1 green pepper, minced
1 tsp. sugar
salt to taste
Olive oil to cook the wada

Rinse the sabudana and place it in a bowl with a cup of water. Cover and keep aside. After an hour sabudana should have soaked up most of the water. Stir the bowl of sabudana. If it is dry sprinkle some more water, if not cover and keep aside for another 2-3 hours. Do not let it dry out completely. It should be moist.

Meanwhile boil the potato. When cool enough to handle peel and discard the skin, cut it into cubes. Roast the peanuts, mince the green pepper and wash and dice the cilantro. Add all the ingredients together except the oil. Mix well together.


Using your hands squeeze the mixture together to get the juices to bind the mixture together. This will help you to form round lime sized balls. The picture below has bad lighting but it gives you an idea of the transformation.


Heat the appe / ableskiver pan on medium high heat and add a few drops of oil in each of the wells. Pace a round tablespoonful of the sabudana mixture in each of the wells. Be careful, it will sizzle and may splatter.


When the underside begins to brown turn the vada on its side. As it cooks continue to turn it until all sides are completely brown.


Enjoy!

Sunday, October 12, 2014

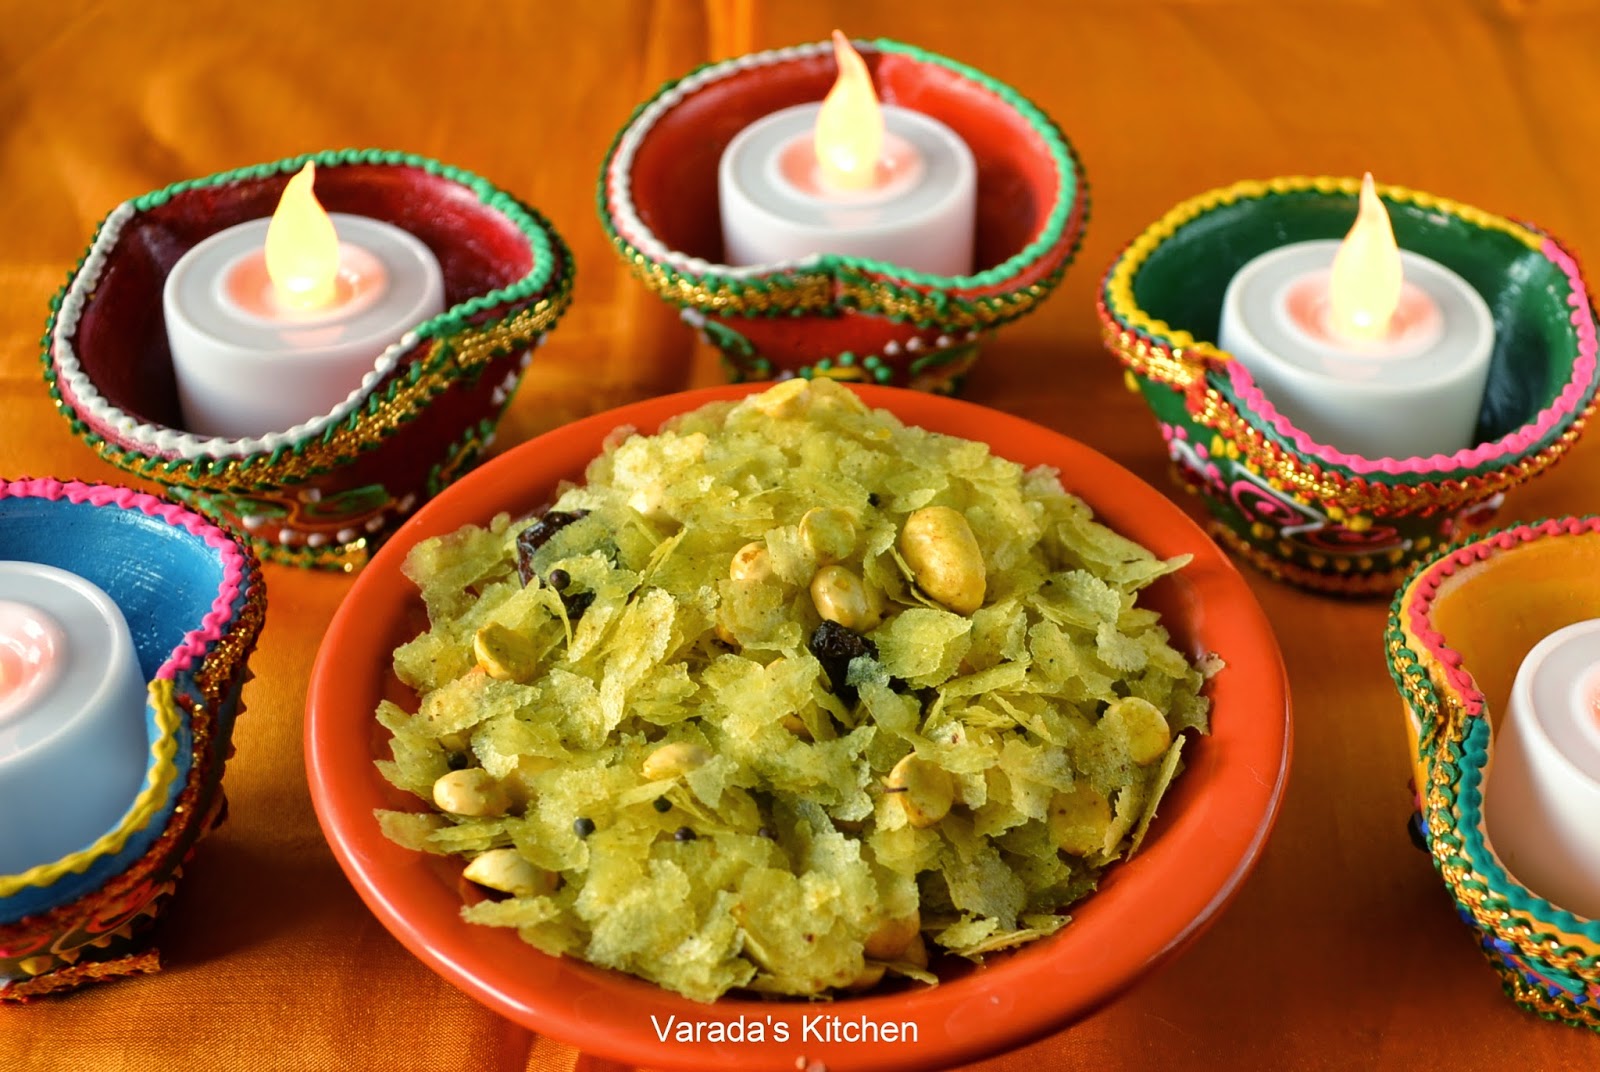
Bhajke Pohe Chivda (Flattened Rice Chivda / Poha Chivda)

Chivda made with pohe or flattened rice is one of the favorite savory faral dishes on the Maharashtrian Diwali platter. This chiva is similar to churmure chivda, which is made with puffed rice.


I like to use thin pohe for this chivda. The pohe are spread on a flat tray or baking sheet and put out in the sun for a couple hours. Unfortunately, it was a rainy gloomy day when I made this chivda so I used the alternative. I preheated the oven to 200 F and put the baking sheet with the pohe in it for about an hour. During the last 10 minutes I started making the chivda. The pohe were warm and crisp when I needed them.


You will need
6 cups pohe
1/4 cup oil (I used olive oil)
1 tsp. mustard seeds
2 Serrano peppers, cut into 1/2 inch pieces along the length
7-8 curry leaves
juice of half a lime
1/2 tsp. turmeric powder
1/4 tsp. red chilli powder (I used paprika)
salt to taste
1 1/2 cups roasted unsalted peanuts
1 cup daala (roasted yellow gram)
a handful raisins
1 tsp. sugar

If it is a sunny day and you are able to keep the pohe in the sun then put the pohe on a sheet, cover with a cloth or plastic sheet and keep in the sun for a couple hours. If keeping the pohe in the sun is not an option then preheat oven to 200 F. Spread the pohe on a baking sheet and put it in the oven for an hour. After every 15 minutes shake the pohe and put them back in the oven. The pohe will not change color, they will become crispy.


Gather all the ingredients needed for the chivda.


During the last 10 minutes of roasting the pohe start making the chivda. Heat oil in a deep pan and add the mustard seeds, the curry leaves and pieces of chilli pepper.


When the mustard seeds crackle add the lime juice and stand back. The lime juice will cause the oil to splatter. Once it stops add the turmeric powder, red chilli powder and salt. Mix well.

Now add the peanuts and saute them for a minute.


Add the daala (roasted yellow gram) and continue to saute for another minute.


Add the raisins and saute for a minute.


By this time the roasted pohe should be done. Add them to the pan along with the sugar. Turn off heat and working quickly mix everything together. Transfer to another container and allow to cool.


The chivda is ready!


Enjoy!

Note:
Turning off heat after adding the pohe and then transferring them to another container ensures that the chivda does not reek of oil.


Wednesday, August 27, 2014

Churmure Chivda

I few days ago my sister was visiting and I decided to make bhel. For some reason I believed the small bag of churmure would not suffice so decided to get the big one. The big one was really big but I went ahead and got it. Well, needless to say it was too big and I had a lot of churmure left over. When my sister was ready to leave I put half of what was left into a large ziploc bag for her. Even with that gone there was so much left. I have started making every snack I know using churmure.


This chiva is one of the simplest you will ever make. It takes no more than 15 minutes but is so tasty it will gone before you know it. My father was staying with us for a few days and he loves chivda. That was reason enough to make a big batch.


Unfortunately, I have enough churmure to make another 5 such batches of chivda. You will see a lot more posts from me with churmure in the near future. This recipe is very similar to what my mother made. I got it from a Marathi cookbook my father bought for me.

You will need
2 tbsp olive oil
1/2 cup peanuts (I used Planters roasted unsalted peanuts)
a handful cashews
5-6 curry leaves
a handful raisins
1 tsp. paprika
1 tsp. turmeric powder
3 cups churmure
salt to taste

It is best to collect all the ingredients before you start as this recipe moves very quickly.

Heat oil in a pan and add the peanuts. Roast them on low to medium heat until they are beginning to change color.


Add the curry leaves and cashews. Careful, fresh the curry leaves tend to splatter oil. When cashews look done add the raisins, paprika and turmeric powder. Add salt to taste talking into account the churmure you are going to add. Combine everything that is in the pan.


Add the churmure and mix well.


Turn off heat. The chivda is ready!


The chivda makes a great afternoon snack.


To store, let the chivda cool completely then store in an airtight container. Should last a couple of weeks.