Friday, February 14, 2014

Spanakopita (Greek Spinach Pie)

This is a recipe from Greece. It is a delicious, flaky spanakopita - a spinach pie in a phyllo pastry shell.


I have eaten spanakopita in Greek restaurants and always wanted to try it.


The prep time is long but the end results were awesome! This would be a great recipe to make with family. There are a lot of simple but distinct steps and multiple people would cut down on the prep time.

The recipe after I halved it is given below. I adjusted the proportion of onion to cater to the taste of my family.


You will need
1 box of baby spinach
1 box frozen whole wheat phylo dough sheets
1 red onion
2 shallots
7-8 scallion, white and some green
1 leak,, white and some green
a bunch dill
6 oz. feta cheese crumbles
1 egg
1 pod garlic
1 tsp. grated nutmeg
salt and black pepper to taste


To start defrost the frozen phyllo dough. Chop the baby spinach and put it in a large mixing bowl.


Chop red onion, shallots, scallion, leeks, garlic and the dill. Add it to the spinach.


Add the feta cheese crumble. Grate nutmeg and fresh ground black pepper over the mixture.


Now is the time to get your hands dirty. Mix and knead the mixture until the volume reduces to a fourth of the original. It is amazing how the mixture comes together.


Pick up a handful of the spinach mixture and squeeze out the juice.


Place the spinach in another bowl. Continue until all the spinach is in another bowl and the liquid remains. Add couscous to the liquid and let it sit for at least 5 minutes.


The couscous will expand and absorb the liquid.


Now put the spinach back into the bowl with the liquid. Season with salt, note that feta is salty. Add black pepper if needed. Add an egg and mix well.


The filling is ready.

Preheat oven to 375 F. Prepare a mixture of butter and oil. Grease the casserole dish. Cut the phyllo dough sheets to fit the dish and keep under a damp towel. Using butter and oil mixture coat a sheet of dough and place it in the dish. Using another 9 sheets cover the bottom and sides of the dish completely. Coat every alternate sheet with the butter and oil mixture. Let the sheets overhang from the sides. Spoon in the filling into the dish.


Spread the filling evenly in the dish.


Fold the dough hanging over the sides and smooth it out. Place another 6-9 sheets to cover the top coating every alternate sheet with the butter and oil mixture.


Cut the pie into squares. Ensure the knife goes through all the layers to the bottom of the dish.


Place in the oven for about 45 minutes to an hour. The top of the pie should be a golden brown.


Serve hot.

The pie tastes just as good the next day. Leftovers can be warmed in the microwave.

Thursday, February 13, 2014

Kobichi Bhaji (Cabbage Side)

I try new dishes all the time and my family enjoys that. However, I also make a lot of popular everyday dishes that I have made for years. I realized the other day that I rarely blog these recipes and decided to change that. Every few days I plan on blogging a simple every day side or salad. Kobichi bhaji is a simple Maharashtrian side.

I used frozen peas in the bhaji today. You can use fresh peas or potatoes or both. In that case you will want to cook the peas or potatoes for a couple minutes before adding the cabbage.


You will need
1 head of cabbage, shredded
1 cup frozen peas, not thawed
1 tsp. mustard seeds
1/4 asafoetida
1 tsp. turmeric powder
salt to tast
1 tbsp. olive oil

Heat olive oil in a pan and add the mustard seeds. When the seeds crackle add the asafoetida and turmeric powder. Add the shredded cabbage and frozen peas. Cook the cabbage in the open pan for about 5-10 minutes on medium low heat.


Add salt to taste. Cover and cook until tender but not mushy. Serve hot with poli.

Wednesday, February 12, 2014

Marinara Sauce

Marinara sauce is the most popular Italian sauce known the world over. It is a vegetarian sauce supposed to date back to 17th century Naples. The name marinara appears to be derived from 'marinade' rather than 'marine'. However, people from Australia may beg to differ. Their marinara contains seafood.

Marinara is the simplest of the basic sauces and takes less than half an hour to prepare. To make good marinara you need good quality tart tomatoes. Try to find good quality ripe tomatoes to provide the tart flavor. Unless you grow tomatoes in your yard or have a really good source you might want to use canned tomatoes. Use good olive oil. You can substitute fresh basil for the dried oregano if you wish.


This sauce is used as a base or starting point for other tomato based sauces. It is used in stews, as a dip for bread sticks and nuggets or to top pizzas. However, it is most commonly used to top cooked pasta.


This sauce can be stored without refrigeration for a few days thanks to the acid in the tomatoes. It lasts longer when refrigerated.

You will need
6 large tomatoes
3 tbsp. olive oil
3 pods garlic
1 tbsp. oregano
2 dried red chilies
salt to taste

Bring  water to a boil in a large pan. Score and put the tomatoes int he water. Take them out after 5 minutes and let them cool a little. Peel the skin off, you can remove the seeds if you like. Dice the tomatoes and keep aside. Remove the shell from the garlic and slice it. In a large skillet heat the olive oil. Add the garlic slices to the hot oil and let them sizzle. Do not let them brown.


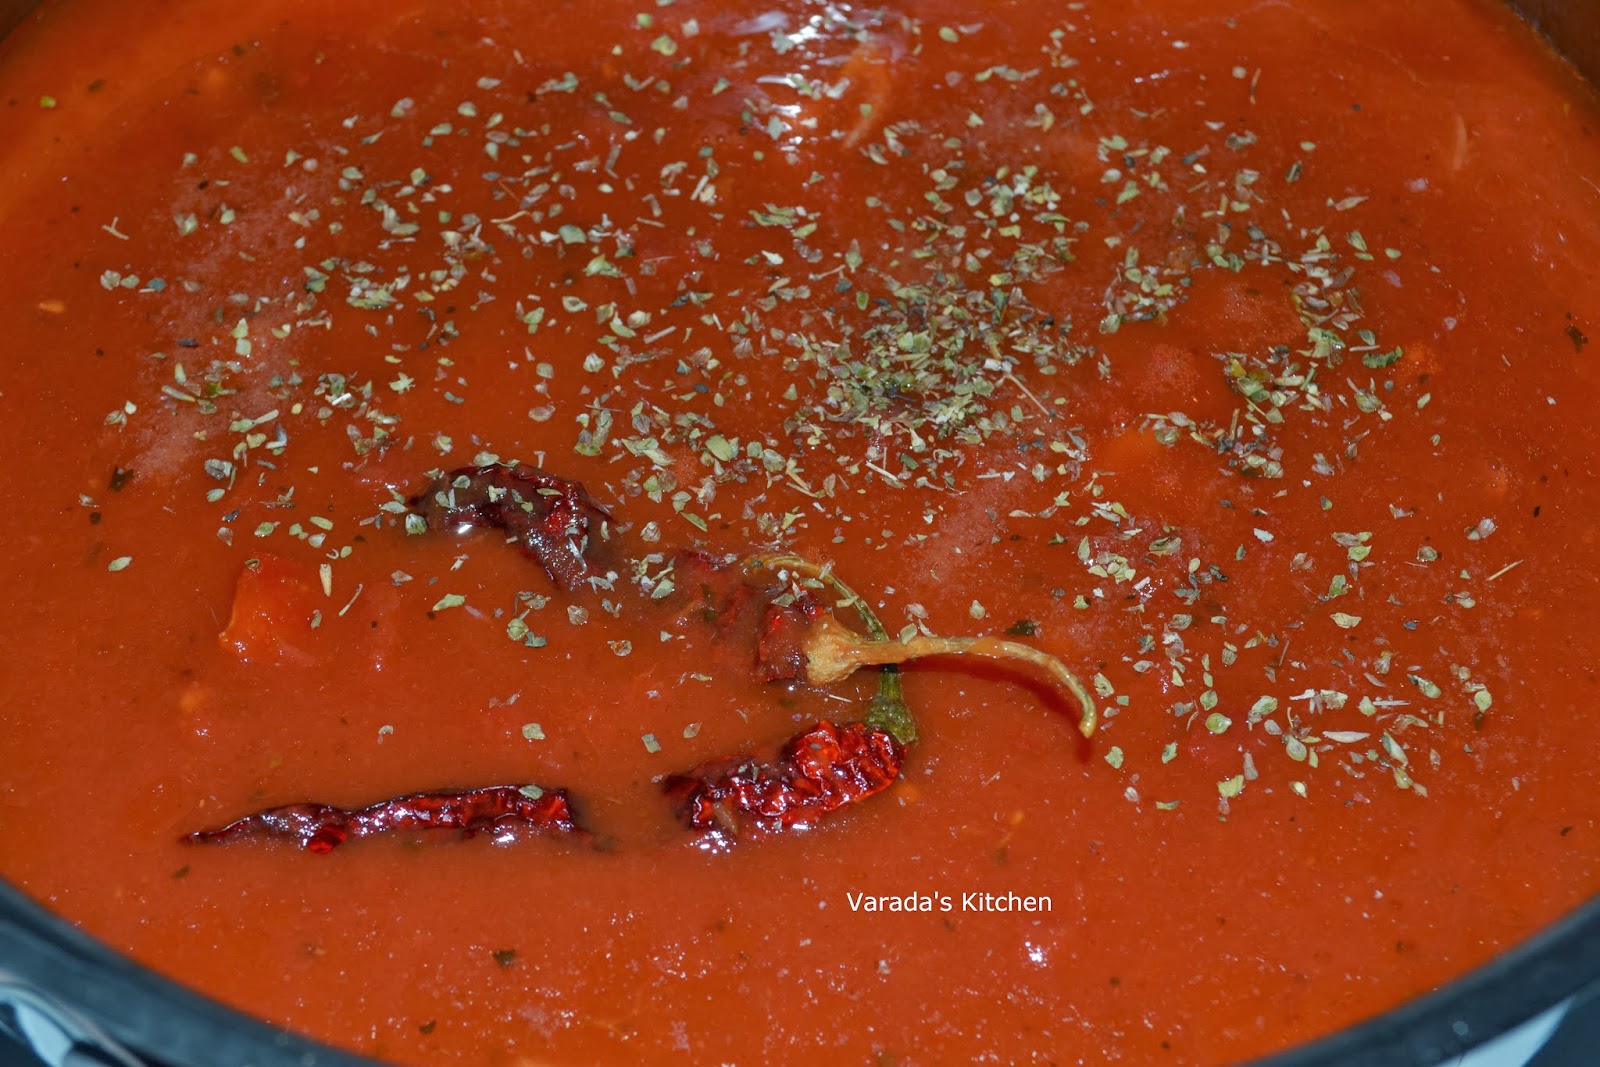
Add the tomatoes, red chilies and oregano. Season with salt to taste.


Bring it to a quick boil and let it simmer for about 15 minutes. Taste and adjust salt and oregano. Turn off the heat and remove the chilies.


Use as needed.

Tuesday, February 11, 2014

Vegetable Stock

Vegetable stock is used to add flavor and body to a lot of dishes. Soups and stews taste a lot better with fresh stock. Most store bought stock is full of preservatives and even if one were to find preservative free stock the flavor may not be to your liking. Making fresh stock at home gives you the ability to control the flavors in the recipe in which the stock is to be used.


I love this recipe because it produces flavorful stock every time that does not overpower your final dish.

You will need
1 potato
2-3 stalks celery
1 carrot
1/2 onion (optional)
5-6 sprigs fresh thyme
1 bay leaf

Chop the potato, celery, carrot and onion (if using) into cubes.


Bring 8-10 cups of water to a boil. Lower the heat and add the chopped vegetables, bay leaf and thyme. Do not add salt or oil.


Let the liquid simmer for about 40 minutes. Turn off heat.


Let it cool completely before straining. Store in the refrigerator for up to 5 days.

Note:
If you need to use the stock immediately, you do not have to wait for it to cool completely. Allowing the liquid to cool allows more of the flavors to seep into it.

You can adjust the proportions of the vegetables to change the flavor of the stock.

Monday, February 10, 2014

Blueberry sauce

Blueberry sauce is a one of the easiest of fruit sauces used to enhance the flavor and appearance of desserts and pancakes. It is sweet and tart, the taste dependent upon the blueberries used. It is a nice to know basic recipe best made with fresh blueberries.

If the blueberries are sweet decrease the amount of sugar. If they are tart increase the sugar. If you like the sauce thick decrease the amount of water.


You will need
6 oz. fresh blueberries
1/2 cup water
1/2 cup sugar

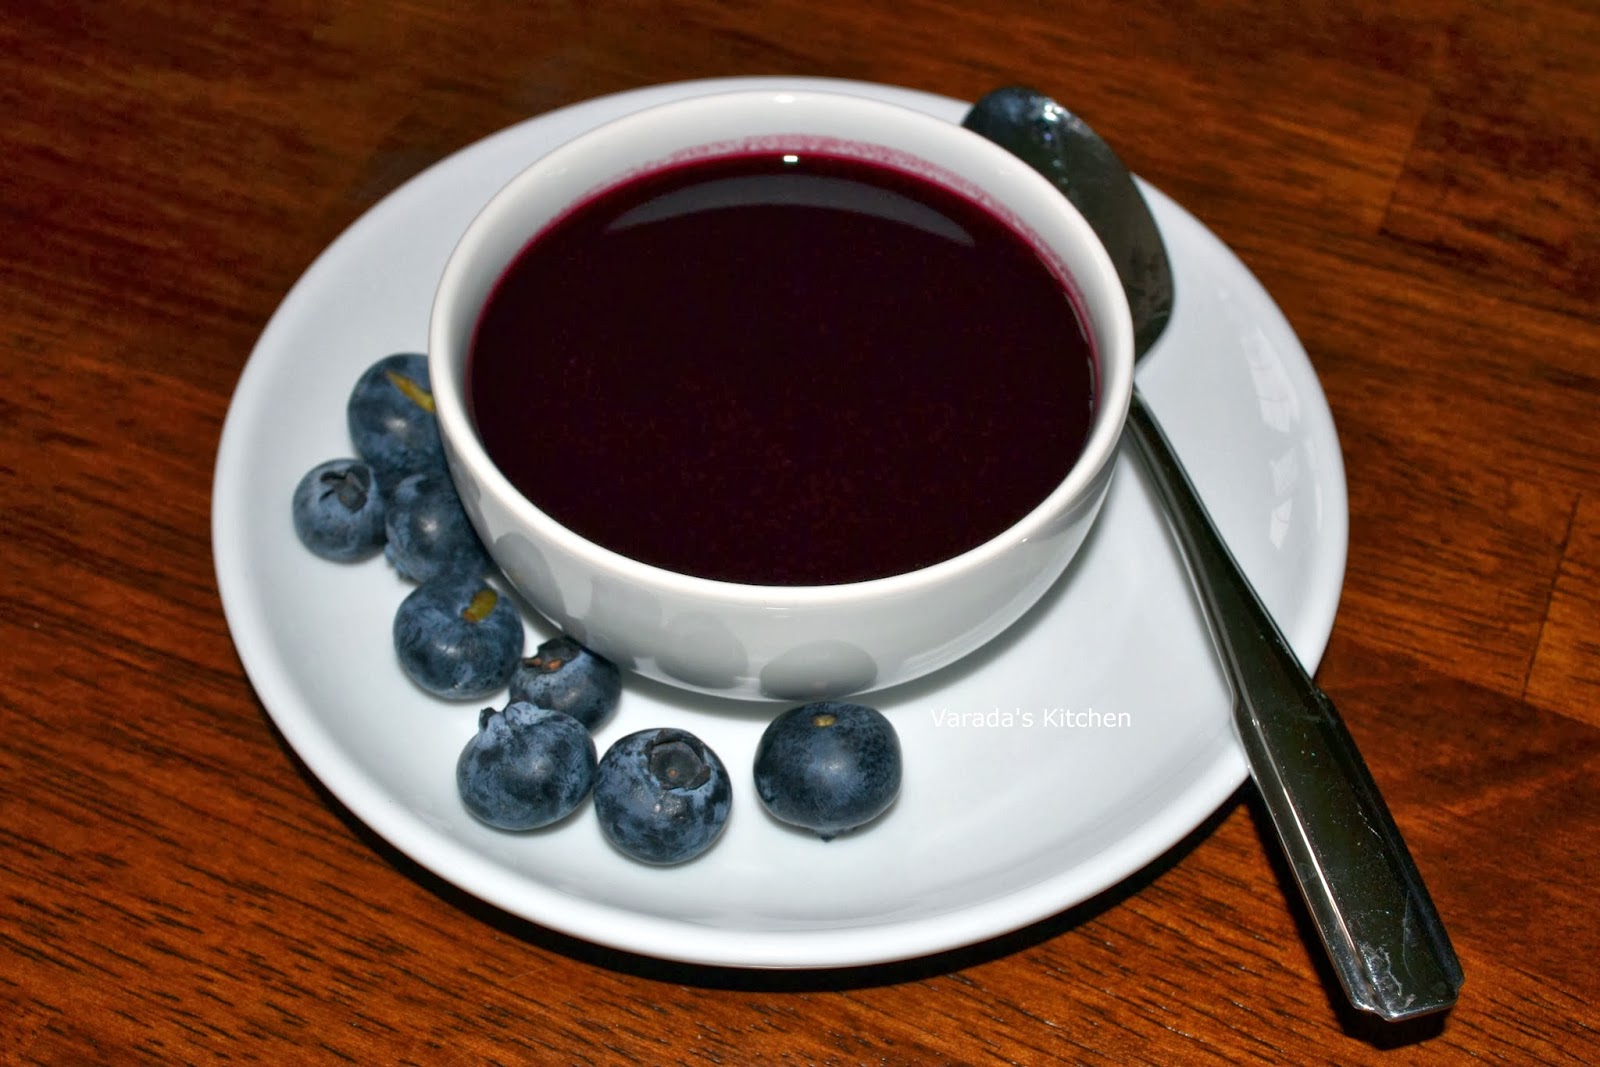
Bring water and sugar to a boil in a pan on the stove top. Add the blueberries and let the liquid simmer for 2-3 minutes until the berries break open. Turn off the heat and let the sauce cool.

Microwave version: Heat the water, sugar and blueberries in a microwavable bowl for 1-2 minutes or until the water boils. The exact time depends upon the microwave. Stir it for 5 seconds and return to the microwave for another 15 seconds. It does boil over so watch it carefully.


You could use the sauce with blueberry chunks on pancakes. Or you could run it through a blender if you plan on using it in a dessert.

Straining the sauce gets rid of the blueberry seeds and gives you a finer sauce. The seeds do not alter the taste so you may choose to leave them in the sauce.

Saturday, February 8, 2014

2 minute chocolate cake in a mug

Craving chocolate cake? Make this quick microwave version that takes just 2 minutes to bake. This is my 100th post on this blog and I wanted it to be something sweet. Cakes are always a hit and with this microwave recipe I can have it ready in 2 minutes.


When my daughter returned from school on a cold winter evening I asked her if she wanted chocolate cake. She thought I was pulling her leg when I told I would bake her one in a couple of minutes. I asked her to standby and watch.


She was very amused watching me put the dry ingredients in the cup. Then she looked on in disbelief when I mixed the wet ingredients in to it. It was fun watching her watch me finish the cake and hand her a fork and the cup.

This recipe is all over the food blogs so I found it impossible to tell where it originated.

You will need
3 tbsp. all purpose flour
3 tbsp. sugar
1.5 tbsp. cocoa powder
a pinch of salt
a pinch baking soda
3 tbsp. milk
3 tbsp. olive oil

In a large mug add the dry ingredients and mix them together.


Add the wet ingredients and mix well again.


Microwave for 1 to 1 1/2 minutes. Watch for overflow. If the batter rises too close to the edge open the door to let the cake settle down, then close the door and restart. When done the cake is ready.


This cake is moist and gooey.

Thursday, February 6, 2014

Coriander Cumin powder (Dania Jeera powder / Dane Jeere pud)

A lot of Indian recipes call for a teaspoon or tablespoon of Coriander and Cumin powder. It is very easy to make this powder and fresh made powder tastes so much better than the store bought version. Besides if you make it in small quantities you can store it at room temperature and it will retain its flavor.


You will need
a handful of coriander seeds
a handful of cumin seeds

Roast the seeds in a dry warm pan on medium heat. Shake the pan around frequently to keep the seeds from burning. It takes about 5-7 minutes. You will know they are done by the fragrance and the seeds will begin to turn color. Turn off heat and let it cool for a few minutes. Dry grind to a fine powder and store in a air tight container to be used as needed.


Wednesday, February 5, 2014

Vegetarian Pad Thai

Pad Thai is the national dish of Thailand. It is believed to have started its life as pho in neighboring Vietnam. Once it was imported to Thailand it was modified to suit thai tastes. It is a popular street food and is available in restaurants all over the world. Phad Thai is stir fried rice noodles and vegetables in Pad Thai sauce.


This used to be my husband's go to dish in Thai restaurants. I always found it spicy. Whenever I make it I cut down on the spices. I also cut down on the peanuts as my daughter does not care for them.

Fish sauce and tamarind give the sauce its classic taste. Recently, I read that fermented bean curd is a good substitute for fish sauce. I don't use fish sauce so I tried to make the Pad Thai sauce using fermented bean curd in place of fish sauce. Before mixing it with the other ingredients I did a taste test with the family. My husband did not care for the taste and my daughter thought it was too sour because she does not care for tamarind. The soy sauce and lime juice based recipe got 5 stars on the taste test. I figured it was better to cook something everyone liked. So I went with the recipe given below.

You will need
8 oz. rice noodles
2 carrots
1/2 onion
2-3 pods garlic
8 oz. extra firm tofu
5-6 shitake mushrooms
small bunch chives
2 scallion

For the sauce
4 tbsp. soy sauce
4 tbsp. light brown sugar
2 limes (you could use 1 tbsp. tamarind paste)
1/4 cup water

For the garnish
10-15 roasted unsalted peanuts (you can crush then if you like)
10 chives, chopped
1 scallion, chopped

To make the sauce
Cook all the ingredients for about 10 minutes on medium heat stirring occasionally. Turn off heat and keep aside.


Chop the onion. Crush the garlic. Wash, peel and cut carrots into matchsticks. Slice the tofu and the mushrooms. Chop the chives and scallion. In a pan fry the tofu in 2 tbsp. olive oil until brown. Take it out of the pan and cut it into pieces.


Heat olive oil in a pan and saute the onion on high heat.


Next add the garlic and carrots and saute until the carrots are cooked but crunchy.


Prepare rice noodles as per package instructions. Mine had to be boiled in water for 8 minutes. Some rice noodle have to be soaked in cold water. Drain the water once the noodles are al dente (cooked but not mushy) and keep aside.


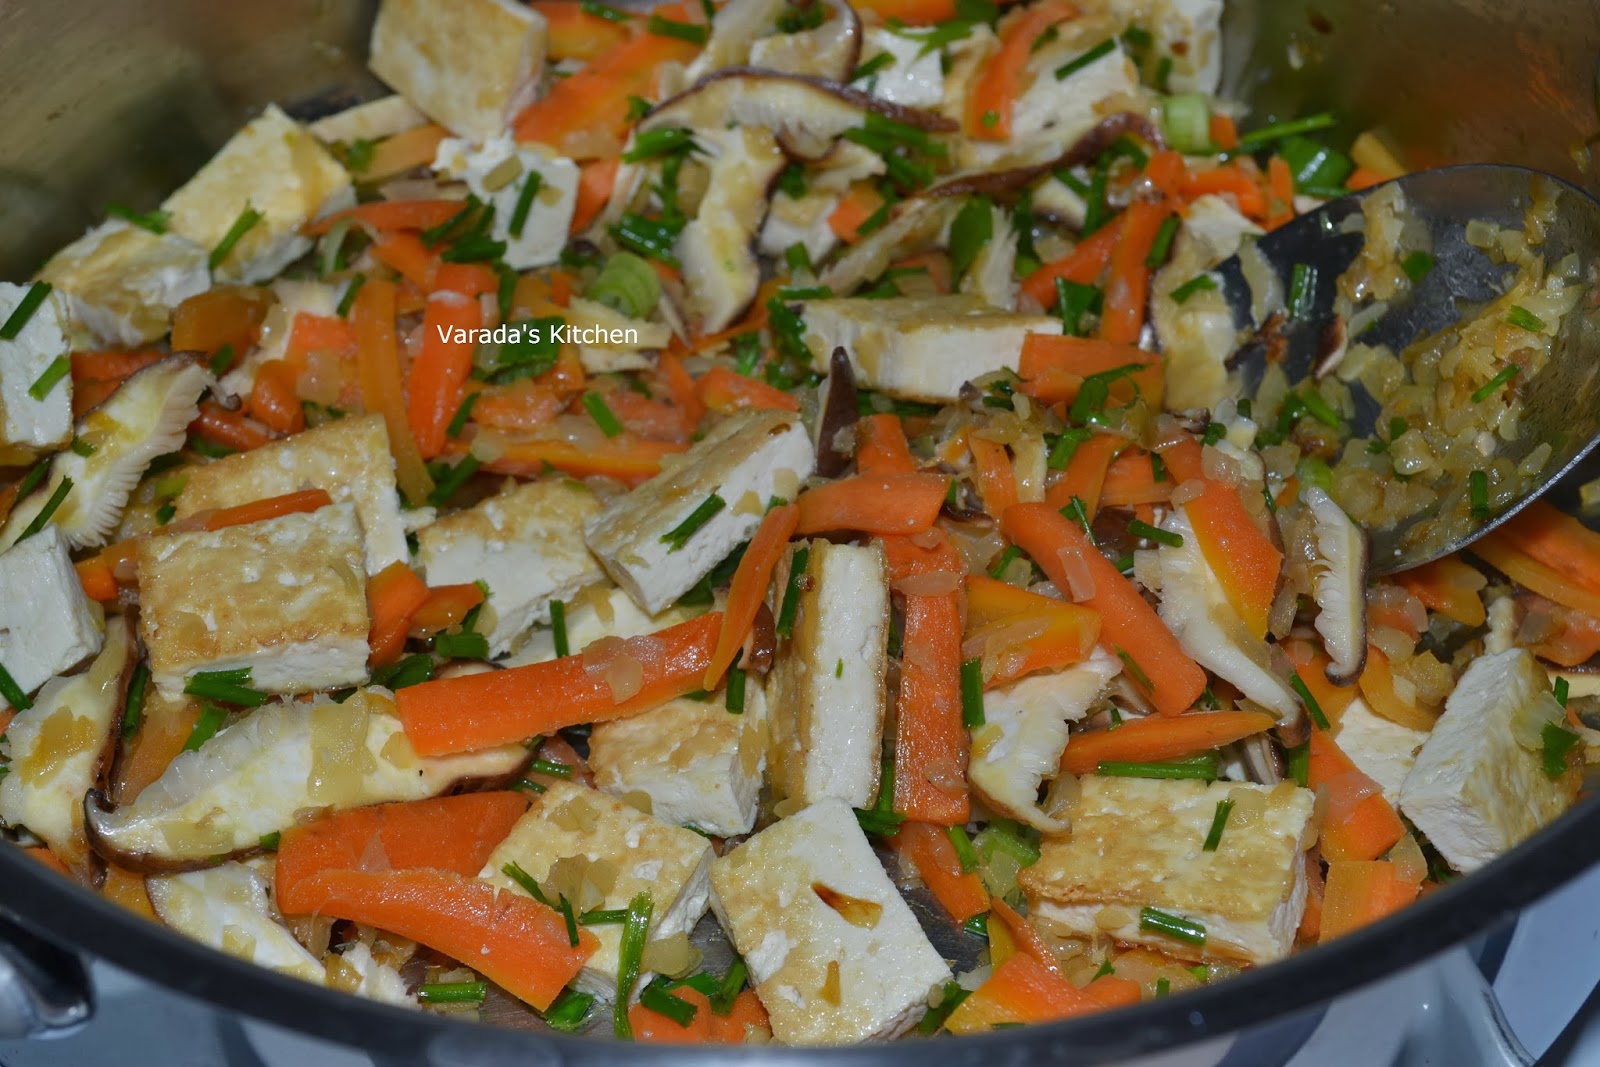
Add the mushrooms and tofu to the pan with onions and carrots.


Add the noodles and the sauce to the pan along with chopped chives and scallion. Mix well.


To serve put the Pad Thai in a bowl and garnish with peanuts, scallion and chives.


Serve hot.

This is my entry for week one, day three of BM #37 for the theme National Dish. Check out the Blogging Marathon page for the other Blogging Marathoners doing BM#37.

Tuesday, February 4, 2014

Vegetarian Pho

Pho is the national dish of Vietnam. Cooked noodles with blanched vegetables and protein are served with salty broth and topped with garnishes. Pho pronounced 'fuh' is a street food in Vietnam. It is also one of the best known dishes from Vietnam.


I was introduced to this dish by a friend back in Arizona. We worked a few blocks apart and caught up with each other over lunch once a month. Her favorite restaurant was a Vietnamese place and I had my first bowl of Pho there. Soon it was the dish to order whenever we visited that restaurant.

Authentic Pho is not a vegetarian dish. The broth is the hardest to make as it needs fish sauce. I had read somewhere that fermented bean curd provides a taste very similar to the fish sauce. I tried that today and it worked well. It is however, an acquired taste.

You will need
For the broth
1/2 onion
1 carrot
2 star anise
4 cloves
3" cinnamon
1 tbsp. coriander seeds
6 cups vegetable stock
2 tbsp. fermented bean curd
2 tbsp. soya sauce

For the blanched vegetables and protein
10 oz extra firm tofu
1 small bok choy
1 carrot
5-6 Shitake mushrooms
2 tbsp. olive oil

For the garnish
1 scallion
1/2 lime
1/4 onion
10-15 cilantro leaves
Hoisin sauce

For the noodles
10 oz rice noodles

To make the broth
Broil the onion on high until charred. Chop the carrots. In a pan heat the cloves, star anise, cinnamon and coriander seeds. Add the charred onion and carrots.


Add 6 cups of heated vegetable stock. When it comes to a boil lower the heat and let it simmer. Add the fermented bean curd and soy sauce. Keep the sauce hot until everything else is ready.


To blanch the vegetables and for the protein
Bring water to a boil. Separate the leaves of the bok choy. Cut off the stems and chop into matchsticks. Wash, peel and chop the carrots to a size of matchsticks. Chop the shitake mushrooms.


Drop each of the above into boiling water and blanch for a couple of minutes. Remove from the liquid and drain. Keep aside.

Cut the tofu into 1/2 inch slices and fry in a pan with a tbsp of olive oil. Cut the slices into 1/2 in by 2 in pieces and keep aside.


To make the garnish
Chop the scallion into tiny pieces. Cut the lime in wedges. Finely chop the onions.


To put it all together
Cook noodles as per package instructions. Strain the broth and save the liquid. Bring all the ingredients to the table and prepare the bowl. Place the garnishes in a dish for easy access.


First place the noodles in the bowl. Then place the tofu and the blanched vegetables.


Next ladle the broth over the noodles until they are partially submerged.


Enjoy hot Pho!

This is my entry for week one, day two of BM #37 for the theme National Dish. Check out the Blogging Marathon page for the other Blogging Marathoners doing BM#37.