Thursday, February 20, 2014

Matar Paneer

Matar Paneer is a savory north Indian side. The addition of cashews and cream makes the gravy creamy. This is not a gravy you would have every day. I had some left over paneer that I wanted to finish and matar paneer seemed like a nice way to get that done.


You will need
6 oz. paneer
6-8 cashews
1 onion, chopped
1 tsp. ginger garlic paste
1 tsp. coriander cumin powder
1 tsp. paprika
2 tomatoes, chopped
1 1/2 tbsp. tomato paste
6 oz. frozen peas
1 tsp. kasoori methi
1/4 cup cream (or milk)
salt to taste
3 tbsp. olive oil, divided
a handful cilantro, chopped

Soak the cashews in half a cup of water and keep aside. Heat 2 tbsp. olive oil in a pan. Cut the paneer into cubes and brown them on both sides in the oil on medium heat. Take the paneer out of the oil and place on a paper towel to drain,


Heat the remaining oil in the same pan. Add the onion and cook for about 5-7 minutes until it starts to turn color. Add the ginger garlic paste, coriander cumin powder and paprika and saute for a couple minutes.


Add the tomatoes and the tomato paste. Let it cook until the tomatoes are soft. Turn off the heat and let the mixture cool.


Grind the cooled onion and tomato mixture. Return the onion tomato paste to the pan and heat it through on medium heat.


While it is heating grind the soaked cashews with their soaking liquid to form a watery paste. Add it to the onion tomato mixture in the pan.


Add the frozen peas without thawing. Mix well and cook covered until the peas are cooked but are not mushy.


Mix in the fried paneer and half the cilantro. Let it cook uncovered for 2-3 minutes. 


Garnish with the rest of the cilantro and serve hot with poli.


Enjoy!

Wednesday, February 19, 2014

Banana Bread with Ice Cream

After an unusually cold winter we are finally thawing out. We had a really good week with warm temperatures. It seemed like the perfect evening to have banana bread with ice cream for dessert.


If you like to bake then you have most likely baked a banana bread. It is one of the easiest ways to use ripe or over ripe bananas. Today I baked a banana bread with a little twist. I adapted this recipe from the King Arthur flour website. This recipe uses honey and apricot jam. As luck would have it I had just enough apricot jam left over after baking the German Tree cake. I also used mostly whole wheat flour instead of all purpose flour. The resultant bread was moist and flavorful. And the best part of it was I used up the overripe bananas.


You will need
1/2 cup brown sugar, packed
1/4 cup unsalted butter, softened
1/4 cup olive oil
1 tsp. cinnamon
1/4 tsp. grated nutmeg
1 tsp. baking soda
1 tsp. baking powder
1 tsp. vanilla extract
1 tsp. salt
2 large ripe bananas
2 eggs
1/4 cup honey
3 tbsp. apricot jam
1 1/2 cup whole wheat flour (I used chappati flour)
3/4 cup all purpose flour

Preheat oven to 325 F if using a glass loaf dish. Preheat to 350 F if using metal.
In a mixing bowl beat the sugar with the butter and oil. Add the cinnamon, nutmeg, baking soda, baking powder, vanilla and salt and beat again. Add mashed bananas and mix together. Add the eggs, honey and apricot jam and mix well together. Now stir in the flours a little at a time. You will get a sticky batter.


Pour the batter into a greased loaf pan. Bake for 45 minutes. My pan was too small for all the batter so I put some of it into a 6 muffin pan. I set the temperature at 325 F as I used a glass pan. The muffins were done after 45 minutes.


Cover the loaf pan with aluminium foil and bake for another 20 minutes. Let it rest on the counter top for 10 minutes before transferring it to a cooling rack. Let it cool completely before storing.


To serve, cut up a slice and place it on a plate. Put a scoop of vanilla ice cream on the top.


Enjoy!

Monday, February 17, 2014

Lemon Tart

When I think of fruits in dessert I think of lemon tart. On our trip to Paris we indulged in lemon tarts in the little cafes along the side of the road. Most of them had outdoor seating as well and since we visited in summer we sat outside.

The crust for this recipe was adapted from here. I had noted down the lemon curd recipe a long time ago but never made it before. Though it was a good first attempt I would call this recipe a work in progress. Over time I will continue to refine it and update this post.


You will need
For the crust
1 1/3 cup all purpose flour
1/3 cup olive oil
3 tbsp. milk
1 tsp. salt

For the filling
3 lemons
1/2 cup sugar
4 tbsp. butter
2 large eggs
2 egg yolks

To make the crust
Preheat oven to 425 F. Mix the flour and the salt. Add the oil and cold milk and mix together to form a sticky dough. Roll out the dough between parchment paper and transfer to a round pan. Prick the bottom with the tines of a fork about 8 times. Bake for 12-15 minutes or until the crust begins to brown. Take it out of the oven and put on a cooling rack to cool.


To make the filling
Lower the heat in the oven to 350 F. Grate the zest of one of the three lemons. Now squeeze the juice of all three lemons and add to the zest in a pan. Cut the butter into pieces and add to the pan along with the sugar. Heat the pan and stir the mixture frequently until the sugar and butter melts.


Whisk the eggs yolks with the egg whites in a separate bowl. Ladle a little of the lemon mixture into the eggs stirring continuously. Lower the heat and pour the beaten eggs into the pan whisking continuously. The mixture will thicken gradually. Continue whisking until the lemon curd is cooked and heated through. You will notice the color begin to change and the mixture would have thickened considerably.


Pour it over the baked crust and bake for 5 minutes to set the curd. Let it cool completely. Serve cut up into wedges.


This is my entry for week three, day one of BM #37 for the theme Fruit based desserts. Check out the Blogging Marathon page for the other Blogging Marathoners doing BM#37.

Saturday, February 15, 2014

Palkachi Peethperun Bhaji (Palak Bhaji with Besan)

A quick and tasty vegetable side cooked the Maharashtrian way. Spinach shrinks when cooked so you need a lot of spinach leaves to make this bhaji. I used two very large spinach bundles and I had enough to serve four people. You could use baby spinach. This bhaji can also be made with cilantro leaves.


You will need
2 large spinach bundles
3/4 cup besan
1 tsp. mustard seeds
1/4 tsp. asafoetida
1 tsp. turmeric powder
1 tsp. coriander cumin powder
1 tsp. agave nectar
1/2 tsp. paprika
1 tbsp. olive oil
salt to taste

Soak the spinach in water and wash it clean to remove any dirt on it. Break off the leaves and discard the stems. Cut the leaves in slender strips about an inch long. In a pan heat oil and add the mustard seeds. When they crackle add the asafoetida, turmeric powder and coriander cumin powder. Add the chopped spinach leaves and cook for about 5-7 minutes uncovered.


Add salt to taste, agave nectar and paprika. Mix well. Add the besan and stir it well.


Cover and let the besan cook for 2-3 minutes. Uncover and mix well. Repeat another couple times until besan is cooked. Turn off heat.


Serve with poli.

Friday, February 14, 2014

Spanakopita (Greek Spinach Pie)

This is a recipe from Greece. It is a delicious, flaky spanakopita - a spinach pie in a phyllo pastry shell.


I have eaten spanakopita in Greek restaurants and always wanted to try it.


The prep time is long but the end results were awesome! This would be a great recipe to make with family. There are a lot of simple but distinct steps and multiple people would cut down on the prep time.

The recipe after I halved it is given below. I adjusted the proportion of onion to cater to the taste of my family.


You will need
1 box of baby spinach
1 box frozen whole wheat phylo dough sheets
1 red onion
2 shallots
7-8 scallion, white and some green
1 leak,, white and some green
a bunch dill
6 oz. feta cheese crumbles
1 egg
1 pod garlic
1 tsp. grated nutmeg
salt and black pepper to taste


To start defrost the frozen phyllo dough. Chop the baby spinach and put it in a large mixing bowl.


Chop red onion, shallots, scallion, leeks, garlic and the dill. Add it to the spinach.


Add the feta cheese crumble. Grate nutmeg and fresh ground black pepper over the mixture.


Now is the time to get your hands dirty. Mix and knead the mixture until the volume reduces to a fourth of the original. It is amazing how the mixture comes together.


Pick up a handful of the spinach mixture and squeeze out the juice.


Place the spinach in another bowl. Continue until all the spinach is in another bowl and the liquid remains. Add couscous to the liquid and let it sit for at least 5 minutes.


The couscous will expand and absorb the liquid.


Now put the spinach back into the bowl with the liquid. Season with salt, note that feta is salty. Add black pepper if needed. Add an egg and mix well.


The filling is ready.

Preheat oven to 375 F. Prepare a mixture of butter and oil. Grease the casserole dish. Cut the phyllo dough sheets to fit the dish and keep under a damp towel. Using butter and oil mixture coat a sheet of dough and place it in the dish. Using another 9 sheets cover the bottom and sides of the dish completely. Coat every alternate sheet with the butter and oil mixture. Let the sheets overhang from the sides. Spoon in the filling into the dish.


Spread the filling evenly in the dish.


Fold the dough hanging over the sides and smooth it out. Place another 6-9 sheets to cover the top coating every alternate sheet with the butter and oil mixture.


Cut the pie into squares. Ensure the knife goes through all the layers to the bottom of the dish.


Place in the oven for about 45 minutes to an hour. The top of the pie should be a golden brown.


Serve hot.

The pie tastes just as good the next day. Leftovers can be warmed in the microwave.

Thursday, February 13, 2014

Kobichi Bhaji (Cabbage Side)

I try new dishes all the time and my family enjoys that. However, I also make a lot of popular everyday dishes that I have made for years. I realized the other day that I rarely blog these recipes and decided to change that. Every few days I plan on blogging a simple every day side or salad. Kobichi bhaji is a simple Maharashtrian side.

I used frozen peas in the bhaji today. You can use fresh peas or potatoes or both. In that case you will want to cook the peas or potatoes for a couple minutes before adding the cabbage.


You will need
1 head of cabbage, shredded
1 cup frozen peas, not thawed
1 tsp. mustard seeds
1/4 asafoetida
1 tsp. turmeric powder
salt to tast
1 tbsp. olive oil

Heat olive oil in a pan and add the mustard seeds. When the seeds crackle add the asafoetida and turmeric powder. Add the shredded cabbage and frozen peas. Cook the cabbage in the open pan for about 5-10 minutes on medium low heat.


Add salt to taste. Cover and cook until tender but not mushy. Serve hot with poli.

Wednesday, February 12, 2014

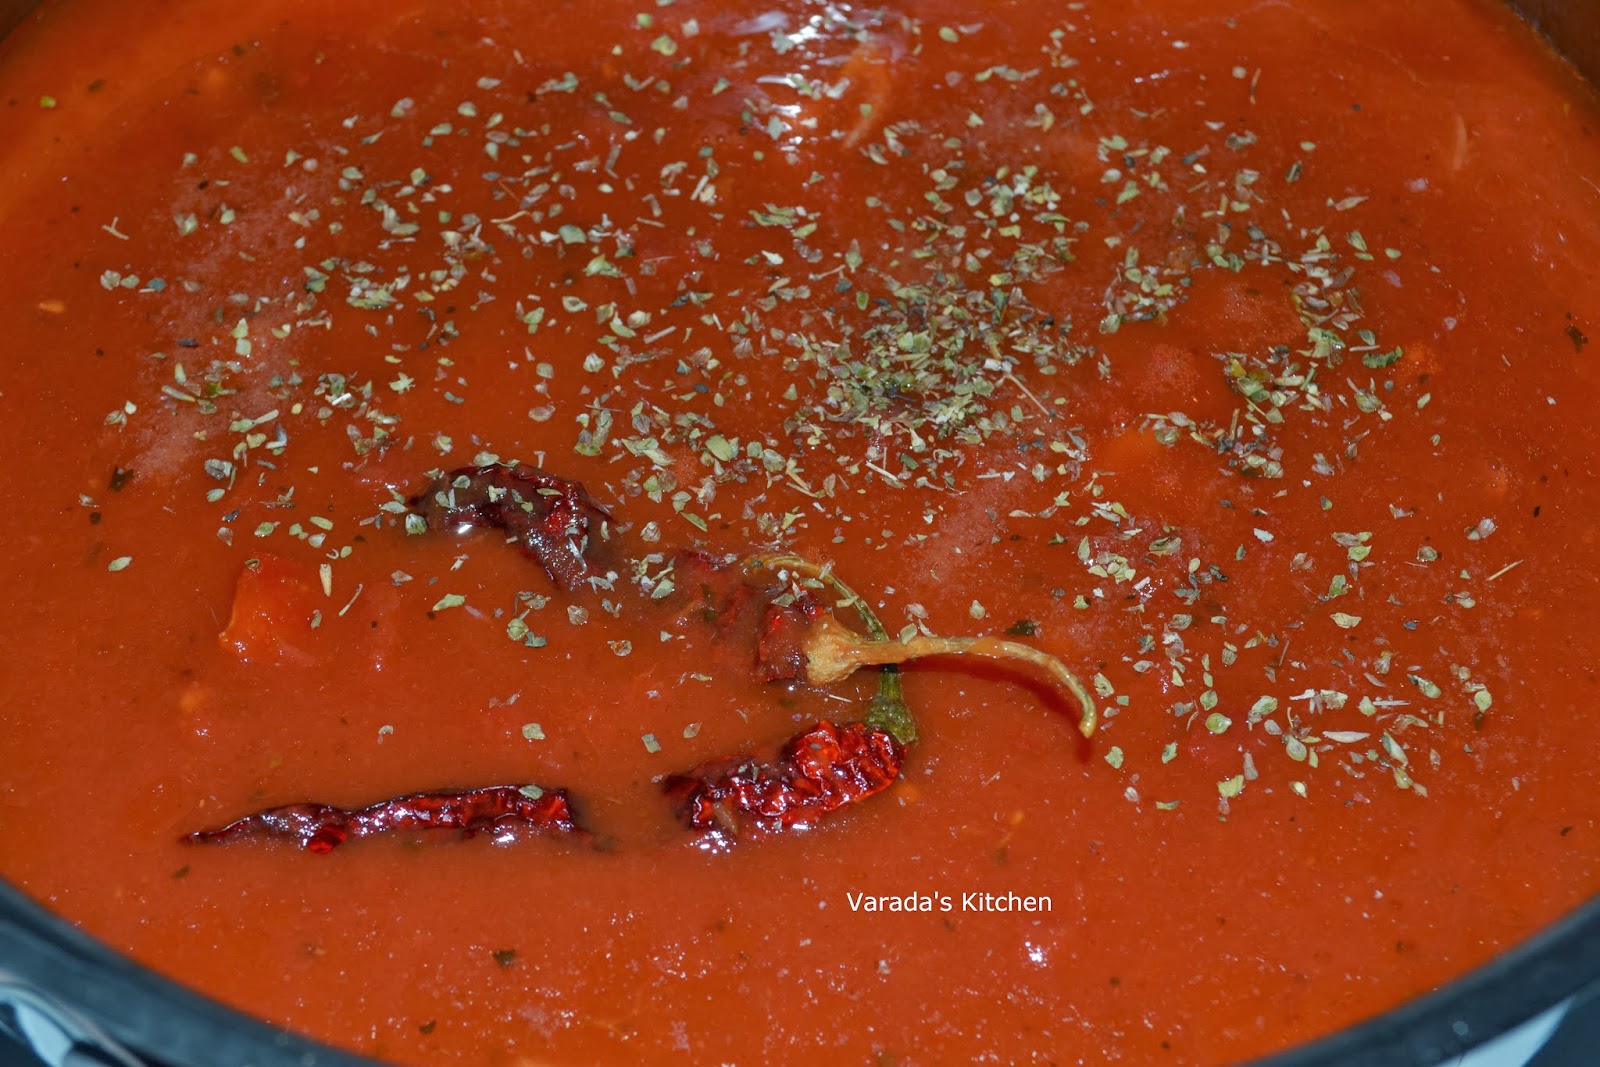
Marinara Sauce

Marinara sauce is the most popular Italian sauce known the world over. It is a vegetarian sauce supposed to date back to 17th century Naples. The name marinara appears to be derived from 'marinade' rather than 'marine'. However, people from Australia may beg to differ. Their marinara contains seafood.

Marinara is the simplest of the basic sauces and takes less than half an hour to prepare. To make good marinara you need good quality tart tomatoes. Try to find good quality ripe tomatoes to provide the tart flavor. Unless you grow tomatoes in your yard or have a really good source you might want to use canned tomatoes. Use good olive oil. You can substitute fresh basil for the dried oregano if you wish.


This sauce is used as a base or starting point for other tomato based sauces. It is used in stews, as a dip for bread sticks and nuggets or to top pizzas. However, it is most commonly used to top cooked pasta.


This sauce can be stored without refrigeration for a few days thanks to the acid in the tomatoes. It lasts longer when refrigerated.

You will need
6 large tomatoes
3 tbsp. olive oil
3 pods garlic
1 tbsp. oregano
2 dried red chilies
salt to taste

Bring  water to a boil in a large pan. Score and put the tomatoes int he water. Take them out after 5 minutes and let them cool a little. Peel the skin off, you can remove the seeds if you like. Dice the tomatoes and keep aside. Remove the shell from the garlic and slice it. In a large skillet heat the olive oil. Add the garlic slices to the hot oil and let them sizzle. Do not let them brown.


Add the tomatoes, red chilies and oregano. Season with salt to taste.


Bring it to a quick boil and let it simmer for about 15 minutes. Taste and adjust salt and oregano. Turn off the heat and remove the chilies.


Use as needed.

Tuesday, February 11, 2014

Vegetable Stock

Vegetable stock is used to add flavor and body to a lot of dishes. Soups and stews taste a lot better with fresh stock. Most store bought stock is full of preservatives and even if one were to find preservative free stock the flavor may not be to your liking. Making fresh stock at home gives you the ability to control the flavors in the recipe in which the stock is to be used.


I love this recipe because it produces flavorful stock every time that does not overpower your final dish.

You will need
1 potato
2-3 stalks celery
1 carrot
1/2 onion (optional)
5-6 sprigs fresh thyme
1 bay leaf

Chop the potato, celery, carrot and onion (if using) into cubes.


Bring 8-10 cups of water to a boil. Lower the heat and add the chopped vegetables, bay leaf and thyme. Do not add salt or oil.


Let the liquid simmer for about 40 minutes. Turn off heat.


Let it cool completely before straining. Store in the refrigerator for up to 5 days.

Note:
If you need to use the stock immediately, you do not have to wait for it to cool completely. Allowing the liquid to cool allows more of the flavors to seep into it.

You can adjust the proportions of the vegetables to change the flavor of the stock.