Thursday, December 4, 2014

Baked Samosa

Samosas are a popular Indian snack and one of the well known items on menu cards in restaurants that serve Indian food. The spicy, tangy filling in the samosa is what makes the dish. However, it is traditionally deep fried. If you have ever visited my blog before you would know I don't deep fry anything. But we all love samosas in my house and so I make baked samosas. They taste just as heavenly with all the usual fix-ins.


This recipe is a Maharastrian recipe with no onion or garlic. I add chole masala to add a new flavor to the spice mix. The mix of spices are chosen to add a tangy, hot and sweet taste to the samosas. The chutneys highlight these tastes.


For the shell I used whole wheat flour, all purpose flour and semolina (rava) in a 1:1:1 ratio. For my Indian readers, if you do not have access to all purpose flour please do not use maida. Instead use regular chapati flour.

You will need
For the filling
1 large russet potato
1 cup peas (I used frozen)
1 large carrot
1 tbsp. olive oil
1 tsp. cumin seeds
1 tsp. turmeric powder
1 green chili pepper, minced (or more according to taste)
1 tsp. amchur powder (mango peel powder)
1 tsp. chole masala
1 tsp. cumin coriander powder
1 inch piece ginger, peeled and minced

For the shell
1 cup whole wheat flour
1 cup all purpose flour (you can use whole wheat flour)
1 cup semolina (rava)
3 tbsp. olive oil (or vegetable oil)
1 tsp. salt
3/4 cup water (adjust as needed)

To make the filling
Boil the russet potato in the microwave or pressure cooker. Peel and dice. Wash, peel the carrots and dice. In a microwave safe dish cook the diced carrot and peas until tender but not mushy.

Heat oil in a pan and add the cumin seeds. When they sizzle lower the heat and add the turmeric powder, green chili pepper, amchur powder, chole masala, cumin coriander powder and minced ginger. Saute for a few seconds. Now add the potatoes, carrots and peas. Mix the spices well with the vegetables and allow to cook until the vegetables are tender and everything comes together. Keep aside to cool.


To make the shell
In a mixing bowl combine the flours, semolina and salt. Heat the oil in a small pan and add it to the flour. Mix well together. Add the water and mix together. Use more water if needed. Form a soft dough and knead well for a couple of minutes. Cover and keep aside for 30 minutes.


To make the samosa
Preheat oven to 400 F. Knead the rested dough and break off a small portion the size of a lime. Keep the rest covered. Knead the portion of dough in your palm and place it on a work surface. Roll it into a 6 in disc. Using a knife or a dough cutter cut it into two equal halves.


Pick up one half and form a cone.


Fill the cup with the filling.


Moisten your finger with water and run it over the edge of the cone. Seal the edges.


Place the finished samosa on a baking sheet covered with parchment paper. Continue making samosas until the baking sheet is full. Warm a few tablespoons of milk in a bowl. Wash over the surface of the samosas. Bake them for 20-25 minutes or until the tops are beginning to change color.


Enjoy with tamarind chutney and mint chutney.
Wednesday, December 3, 2014

Eggless 100% Whole Wheat Laadi Pav / Dinner Rolls

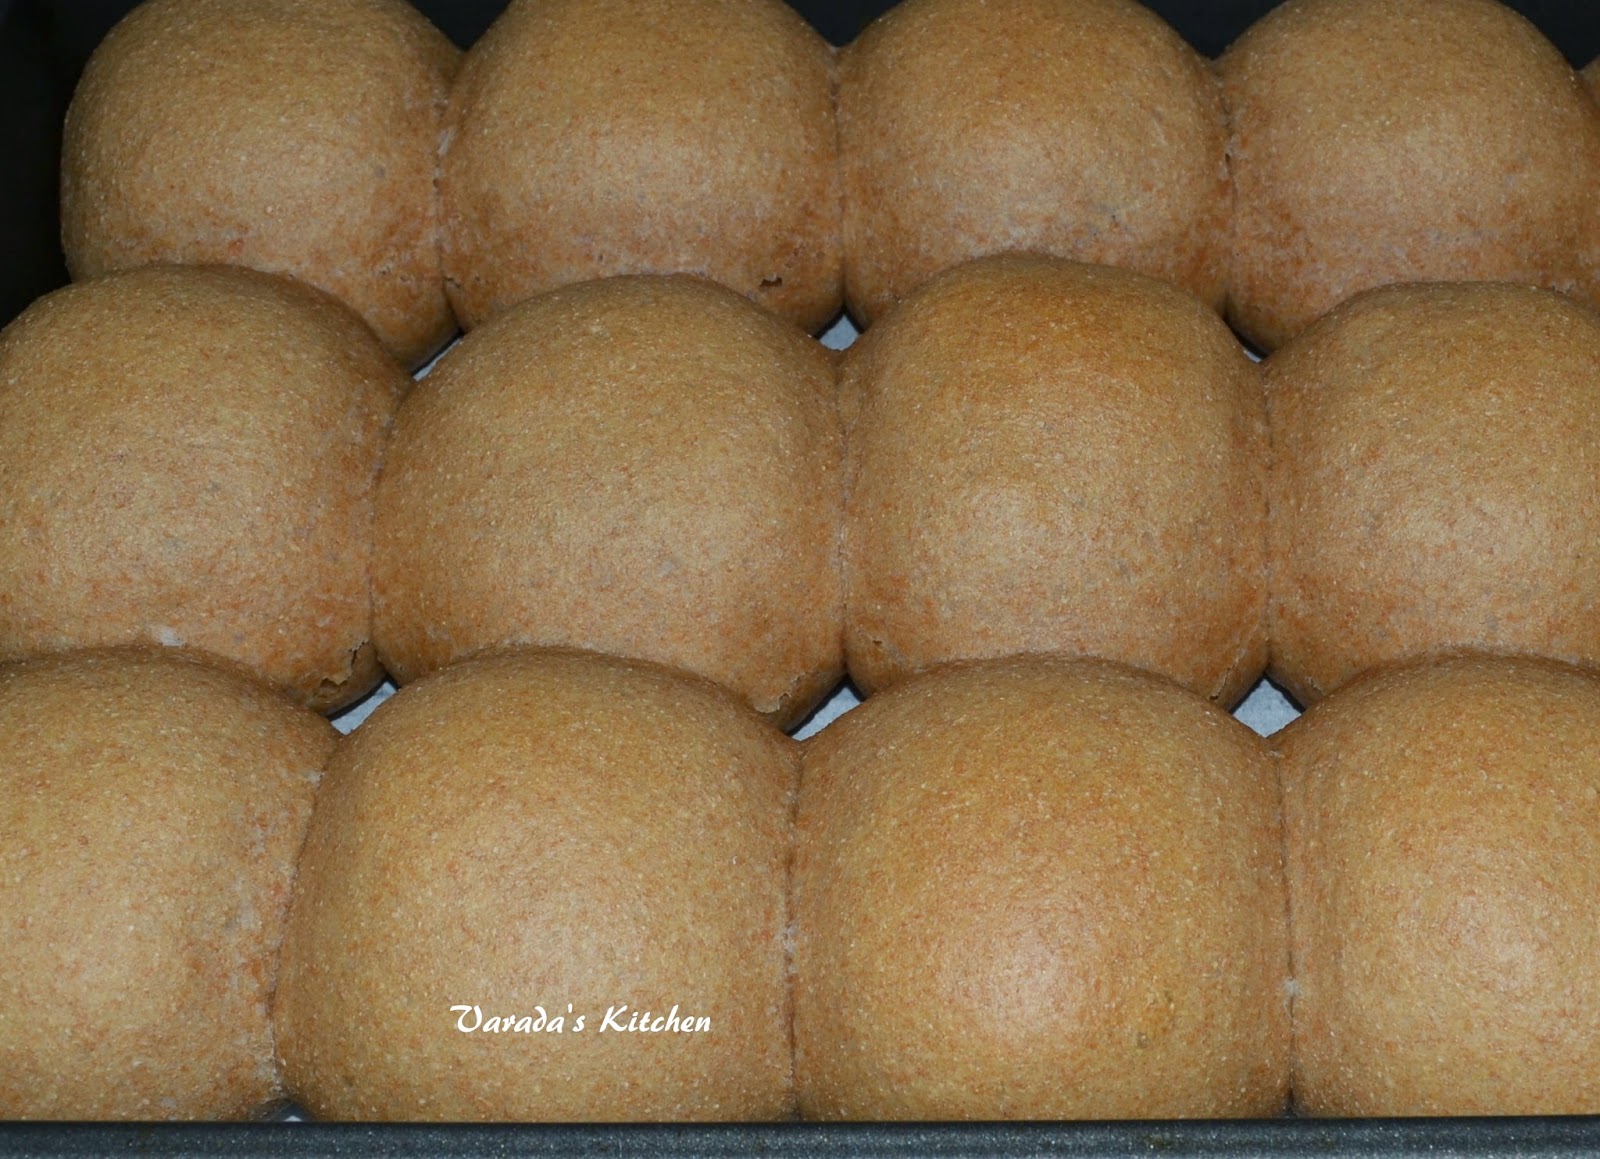
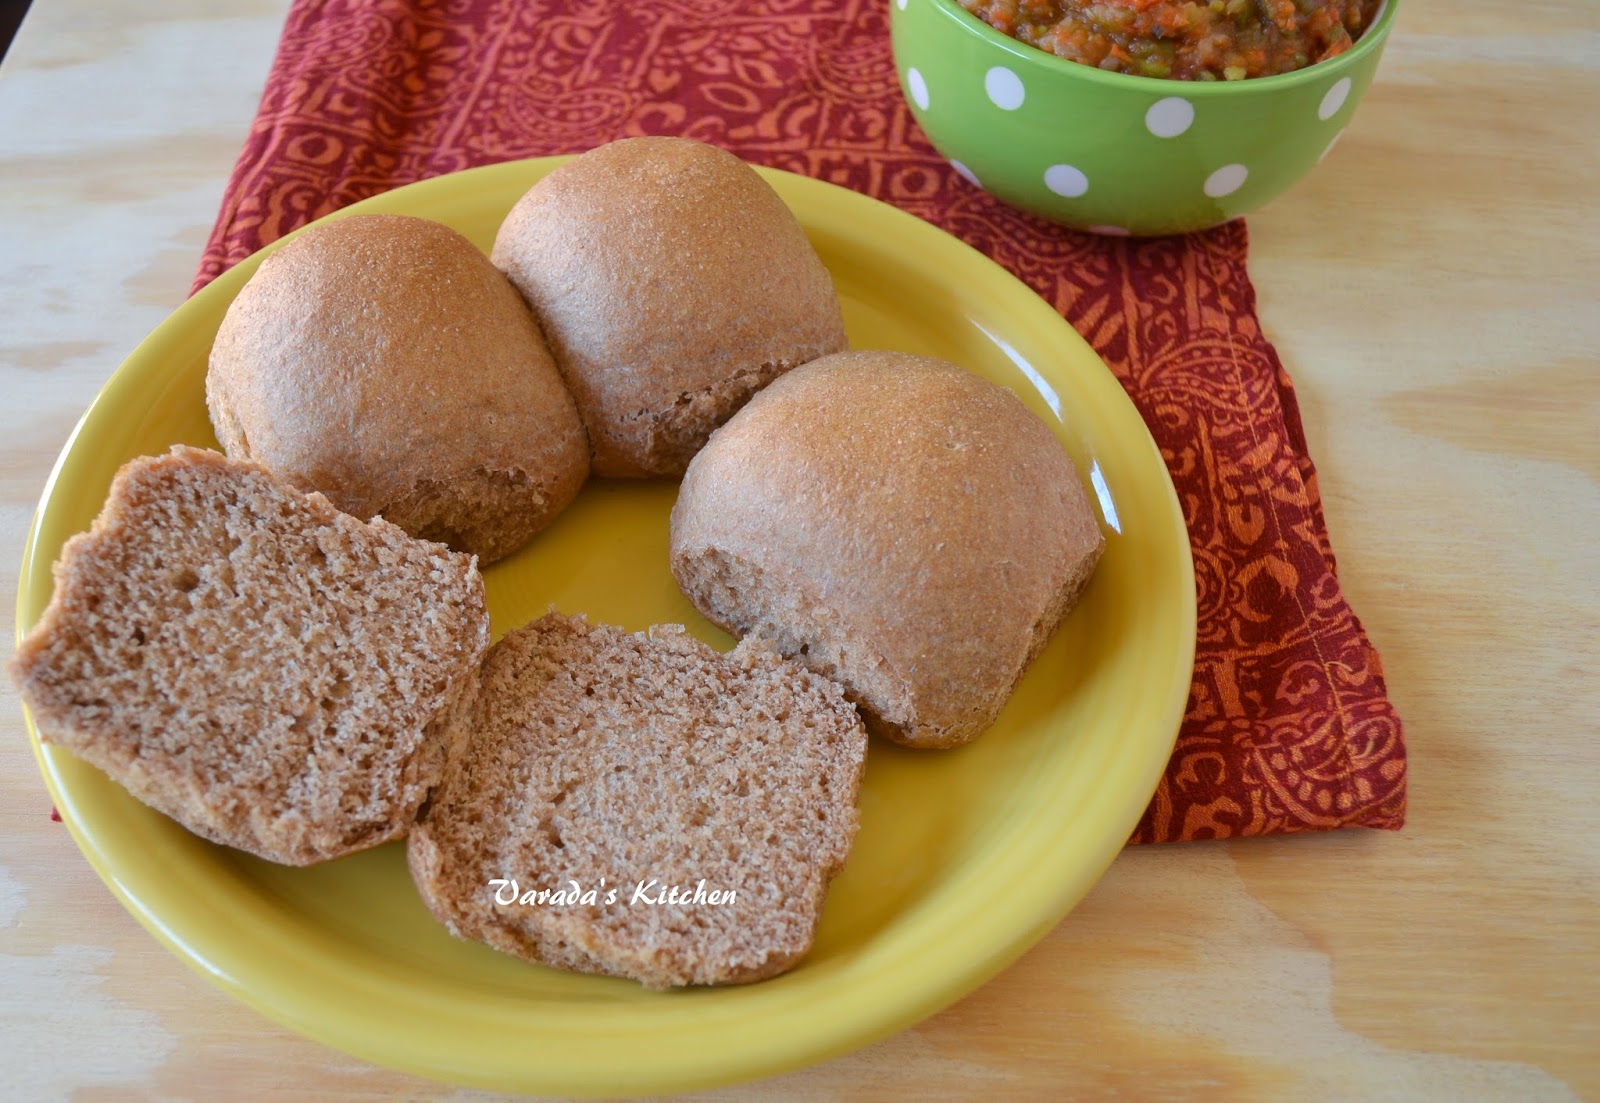
I have posted dinner rolls with 50% whole wheat in this space. These rolls are made with 100% whole wheat flour. I used King Arthur organic white whole wheat flour. It is an organic high protein flour and produces very tasty dinner rolls. My daughter is very willing to munch on a hot roll without anything added to it.


I make these rolls often as we have Pav bhaji almost every weekend. Homemade and made 100 % whole wheat these rolls are very healthy. Whole wheat rolls are usually dense but I wanted them to be really soft. So I substituted eggs with yogurt and pinch of baking soda. The crumb was tight but the rolls were really soft.

You will need for 15 pav
5 cups whole wheat flour
1/2 cup yogurt
1 pinch baking soda
1 tbsp. sugar
1 1/2 tsp salt
2 tsp. yeast
2 tbsp. olive oil
1 1/2 cup lukewarm milk
1 cup warm water
1 tbsp milk for brushing the rolls

Sift the flour in a large mixing bowl. Add the sugar, salt and yeast. Whisk the yogurt with baking soda in a separate bowl.


When it starts to bubble add to the flour and mix well. Heat the milk and water in a microwave and add it to the flour along with the oil. Mix together to form a dough. Knead for a few minutes until smooth and elastic.


Place the ball of dough in the bowl, cover and allow to rise for 1-2 hours until it doubles in volumes. On a hot day this process might go faster.


Flour your hands and your working surface and transfer the dough on to it. Do not punch it. Be gentle as you work the dough into a rectangle. Using a pastry cutter cut equal portions of the dough. I got 15 rolls of ~76 gm each.


Shape the roll to get the smooth top. Fold in all the sides of the cut portion of dough.


Squeeze together.


Turn over. The under side now on the top should be smooth. Cup your palm around the ball of dough and rotate your arm such that the bottom of the balls rotates on the work surface. This seals in the bottom of the pav and creates tension on the top surface.


Place the rolls a half inch apart on a baking sheet covered in parchment paper. Cover loosely. Allow the rolls to rise for 20-30 minutes.


In the last 10 minutes preheat the oven to 350 F. Brush the tops of the rolls with a little warm milk.


Bake for 20-30 minutes or until the tops are brown and a tester inserted in the center comes out clean. Transfer to a cooling rack for a couple minutes.


Enjoy!


Pav Bhaji

Pav bhaji is classic street food from Mumbai. Mixed vegetables cooked in butter served with fresh butter roasted rolls. Pav bhaji is now available in restaurant menus. It is also very popular on the party or potluck menu. I make pav bhaji almost every weekend to finish all the weekly leftover vegetables before I go grocery shopping again.


Pav bhaji is very loved in my house. I bake the pav or buns fresh for the day and everyone loves the spicy bhaji with the hot pav. I usually cook the bhaji in oil and use butter very sparingly if at all. You could however, use butter instead of the oil. Since the pav is hot and fresh I do not roast it on the pan in butter. However, if you are using store bought pav or day old pav you might want to brown them in butter on a hot griddle.

You will need
For the bhaji
1 large russet potato
3 carrots
2 large handfuls of green beans
1 onion
3 tomatoes
1 tbsp. olive oil (vegetable oil)
1 tsp. ginger garlic paste
1 tbsp. pav bhaji masala
1 tsp. sugar
1 green chili pepper, minced
salt to taste
1 lemon

For the Pav Bhaji
Laadi pav
Bhaji from recipe above
garnish with raw onion and lemon juice

To make the bhaji
Wash, peel the carrot and cut into big chunks. Wash the green beans and cut the ends to remove the side strings. Cut in big pieces. Wash and clean the potato, Boil the vegetables in a pressure cooker for 5 minutes. You could also cook them in a steamer like I do.

Meanwhile dice the onion and tomatoes separately. Heat oil in a pan and add the onions. Saute on medium low heat until they are translucent and change color. Add the ginger garlic paste, pav bhaji masala, sugar and green chili pepper. Saute for another minute. Then add the tomatoes along with a cup of water. Cook the masala on medium heat until mushy and falling apart. Using a masher mash the masala. Do not grind in a blender. Continue to cook on low heat.

Peel the cooked potato and mash it. Mash the carrots and green beans.


Add the vegetables to the pan with the tomato masala.


Combine well so that the vegetables and masala are mixed together. Add salt to taste and continue to cook for another 5 minutes. Turn off heat. Squeeze the juice of a lemon over the top and mix together.


The bhaji is ready.

To put it together
Cut the pav in half and toast them on a heated pan. Heat the bhaji and garnish with lemon wedges and onion slices.


Alternately, if using oven fresh pav serve hot pav with hot bhaji.


Enjoy!

Tuesday, December 2, 2014

Chinchechi Chutney / Imli Chutney / Tamarind Chutney

A very versatile chutney that is used to flavor chaat. It has a tangy sweet flavor that makes it finger linking good. I have wanted to add a separate post for this chutney for a while now but every time I make it I forget to click pictures. Today I finally decided to take picture with whatever was left over.


I used dates and jaggery in the tamarind chutney. I like the thick sweet texture and taste of the dates. You could add sugar if you did not have dates on hand.

You will need
1 orange size ball tamarind
12 dates
1 tsp. paprika
1 tsp. cumin powder
1/4 tsp. kala namak or rock salt
salt to taste

In a microwavable mixing bowl bring 2 cups of water to a boil. Break up and add the tamarind to the water. Keep aside for 30 minutes. In another microwavable bowl bring a cup of water to a boil. Add the dates and let them soak for 5-10 minutes. Blend the dates to a puree in a blender. Keep aside.

After 30 minutes rub the tamarind in the water to squeeze out all the pulp. Pour the liquid through a strainer and discard the pulp. In a pan bring the tamarind juice to a boil. Add the date puree, paprika, cumin powder, rock salt and salt. Add half a cup of water.


Let the chutney cook until it thickens and the flavors blend together. Adjust seasoning. If the chutney is too tart you may add a little sugar. Turn off heat and cool completely.

 
Enjoy!

Monday, December 1, 2014

Sourdough Whole Wheat and Rye Boule

For the longest time I would drool over the artisan loaves online and in real bakeries. I wanted that bread coming out of my oven. But I had no clue how to go about baking bread that looked as appealing as it tasted. Then earlier this year I learnt about sourdough artisan bread. I found a group of bakers who were willing to help a newbie like me. They were baking the kind of artisan loaf I wanted to bake. A loaf with good oven spring, color, shape and score lines. And of course open crumb when cut.


To bake artisan bread I had to get over a few hurdles. I needed a starter. Then I needed to learn the basic artisan baking technique - recipes that use nothing but flour, water, salt and sourdough starter. Some hurdles I created for myself. I knew that these loaves are baked at very high temperatures but I was afraid to crank up the oven past 475F. I few online friends talked me out of this fear last week and I agreed to set the oven at 500 F. Nothing bad happened. The last hurdle was scoring. Without scoring I would never bake the beautiful loaves that I admired so much.


Recently I got a very useful tip online. Using a sharp razor blade to score the shaped dough works just as well as an expensive lame. I knew that the score lines should be deep enough to cut the surface but not so deep as to scar the bread. A razor blade held almost horizontal to the surface does the job. This sourdough whole wheat and rye bread is the result of my ongoing experiments.

You will need the following bakers percentage
50% white whole wheat flour
10% rye flour
40% all purpose flour
82% water
2% salt
10% fed starter

Refresh your starter as given here. I used 100 gm of fed starter. In a large mixing bowl mix together all the flours and water. Let it rest for half and hour.

Add the salt and the fed starter and mix together well. You may need to break up the dough with your fingers and reform it again a couple times to get all the salt and starter incorporated. Cover and keep aside.

Refer to this recipe for details on how to fold, turn and then shape the dough.

Over the next hour and a half fold and turn the dough three times. Let it rise covered for another hour and a half.

Flour a working surface and transfer the dough to the surface. Shape the dough as a boule. Transfer to a clean bowl seam side down. Cover and keep refrigerated overnight.

Next morning preheat the oven to 500 F along with the dutch oven. When the oven is preheated removed the shaped loaf from the refrigerator. Transfer it to a work surface. Using a sharp razor blade score a pattern of your choice.


Remove the dutch oven carefully from the oven. It will be very hot. Drop the loaf in the oven. I use a parchment paper on the bottom. Cover and return it to the oven as quickly as possible. Let it bake covered for 15-20 minutes. Remove the cover and allow the loaf to bake/brown for another 15-20 minutes.


Transfer to a cooling rack. Let it cool completely before you slice it.


Enjoy!


Pudina Chutney / Mint Chutney (2)

Chutney with the fragrance of mint or pudina is very refreshing and adds a lovely flavor to chaats. I already have one recipe for pudina chutney in this space. This is a variation without peanuts.


You will need
1 bunch pudina (mint) leaves
1 bunch cilantro leaves
1 Serrano pepper (or more if you like it really hot)
salt to taste

In a blender grind the pudina, cilantro and Serrano pepper with a little water. Add salt to taste. This chutney should be a little watery so it can be mixed into the bhel.

Wednesday, November 26, 2014

Cranberry Muffins

Cranberry is a fall/winter berry that is really tart. In fact it is the only berry whose tartness increases as it ripens. It is typically paired with nuts or orange juice to bring out its flavor. My daughter does not like nuts in recipes so I usually leave them out.


During Thanksgiving we usually have family visiting us. While the focus is on the main Thanksgiving spread it is nice to have snacks and some goodies prepared for the other meals. These muffins are great for breakfast or a snack.

Recipe adapted from here
You will need
2 tbsp. butter, softened
1/2 cup + 2 tbsp. sugar
1 egg
1/4 cup milk
1 cup flour
1 tsp. baking powder
a pinch salt
1 cup cranberries, chopped coarsely
1/4 cup walnuts, chopped coarsely (I skipped them)

Preheat oven to 350 F.

In a large bowl combine the butter with the sugar. Add the egg and whisk using an electric blender or a whisk. In a separate bowl mix the flour, baking powder and salt. Add the milk and the flour alternately to the butter mixture. Add the cranberries and the nuts, if you are using them.


Combine using a spatula and transfer to a greased 6 muffin pan.


Bake for 15-20 minutes.


Transfer to a cooling rack. Muffins taste best when hot.


Enjoy!


Tuesday, November 25, 2014

Mini Pumpkin Tart

Pumpkin is available in abundance during the fall season and it features prominently in Thanksgiving menus. Pumpkins can be used for savory as well as sweet dishes. This pumpkin tart makes a perfect dessert. The recipe makes one mini tart.


The crust on the tart is made with ginger snaps. It is just as delicious as the filling and complements the pumpkin perfectly. I baked ginger snaps for this recipe. But before I knew it they were all gone. Luckily my daughter had put two ginger snaps in a little box to take to school as a snack and had forgotten about them. I used those two for the crust. I had to supplement them with two digestive biscuits. Digestive biscuits are mildly flavored and did not affect the taste. Ginger snap recipe will be a future post.


You can increase the recipe four times to make a regular sized tart. I used applesauce in place of an egg in this recipe. The applesauce sufficed as this is a one serving portion. If you want to bake a tart in a regular tart dish then you will have to use two egg in place of the applesauce.

You will need (for one mini tart)
For the crust
5 ginger snaps (or 2 ginger snaps and 2 digestive biscuits)
2 tbsp. butter, melted

For the filling
3 tbsp. pumpkin puree
2 tbsp. condensed milk
1 tbsp. applesauce
1 pinch cinnamon powder
1 pinch clove powder
a pinch of salt

To make the crust preheat the oven to 375 F. Place your tart dish on a baking sheet.

Crumble the cookies on a flat surface. Pound with a pestle or roll over with a rolling pin to crush the cookies to a near powder. Do not crush them too fine. Mix in the melted butter. Transfer to the tart dish and push down to form an even layer along the bottom and sides. Bake for 5-8 minutes. Remove from the oven and allow it to cool completely.


Mix the ingredients for the filling in a bowl.


Transfer to the cooled crust. Ensure you leave an edge of the crust above the filling so it does not overflow.


Bake for 15-20 minutes or until the filling sets and turns a light brown color.


Cool in the refrigerator overnight.


Enjoy!


This is my entry for week four, day two of BM #46 for the theme Festivals. Check out the Blogging Marathon page for the other Blogging Marathoners doing BM#46.