Monday, March 10, 2014

Mexican Enchiladas in Verde Sauce

Over a month ago I had promised my daughter I would make enchiladas. But something kept coming up and I could not keep my promise. This week I finally decided to make enchiladas on three consecutive days from three different countries.


Enchiladas are usually made of corn tortillas with a protein/vegetable mixture topped with cheese and a sauce. This basic concept is served in very different ways in the three countries I chose. The first is from south of the border, Mexico. The other two are from Honduras and Guatemala. I will post those recipes over the next two days.

When we lived in Arizona, our favorite restaurant was a Mexican place that specialized in food from Mexico city. Most other restaurants served Sonoran Mexican food that we were not really fond of. Sonora for those who do not know is the Mexican state adjoining Arizona. The enchiladas I made today are very similar to those from our favorite restaurant. My daughter simply adores them.


These enchiladas are not smothered in cheese. What makes them so flavorful is the verde sauce made from tomatillos and roasted poblano pepper. The sauce goes very well with the Cotijo cheese, black beans and corn tortillas. If you can find it use Mexican Cotijo or Chihuahua cheese. If not then cheddar will do. This recipe calls for a lot of little steps but the end result justifies everything.

You will need
3/4 cup dry black beans or 1 can black beans
1 small onion
a handful cilantro
2 cloves garlic, divided
1 poblano pepper
6-7 tomatillos
1 serrano pepper
1 cup Queso Cotijo, grated
12 corn tortillas (I got mine at Whole foods, refrigerated section)
vegetable oil to fry the tortillas

Soak the black beans overnight and pressure cook them until tender. Skip this step if using canned beans. Dice the onion, cilantro and 1 clove of garlic.


In a pan heat the cooked black beans, onion, garlic and cilantro with half a cup of water.


Cook on medium heat until all the water is absorbed, about 5 minutes. Ensure the mixture is dry. Turn off heat, cover and keep aside.


Meanwhile in a pan roast the poblano pepper until the skin is charred. When done wrap the pepper in aluminum foil and let it sit for a few minutes.


Cook the tomatillos, remaining clove of garlic and the serrano pepper in 2 cups of water. If you like a little heat in the sauce use two serrano peppers.


When the tomatillos are completely cooked turn off the heat.


Take the poblano pepper out of the foil and scrape the charred skin off. Cut it open and remove all the seeds.


Chop it up and put it in a blender along with the cooked tomatillos, garlic and serrano pepper. You may want to remove the seeds of the serrano pepper to cut down the heat. Blend with a little of the water that was used to cook the tomatillos. Season with salt and paprika as needed. The verde sauce is ready.


Grate the cheese. Divide the bean mixture into 12 portions. Preheat oven to 350 F. Prepare a casserole dish and line it with a third of the verde sauce.


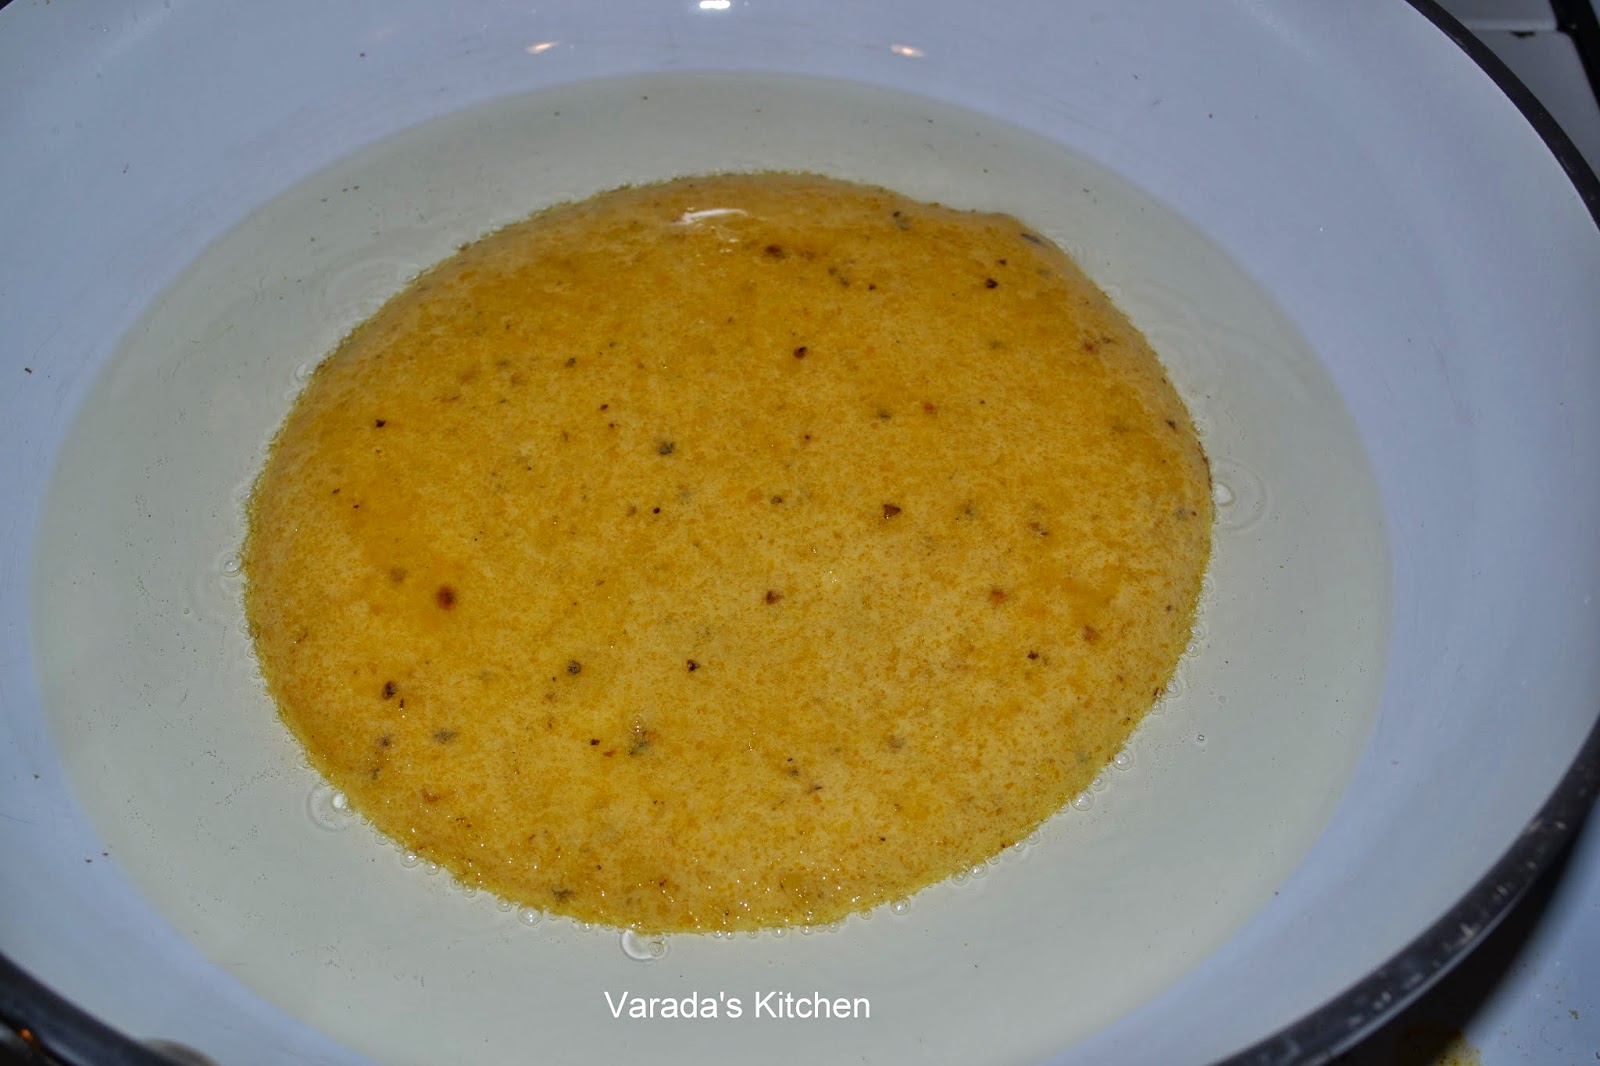
Heat a little vegetable oil in a pan. I used olive oil but made sure the heat was low enough to keep it from getting too hot or smoking. Put one tortilla in the pan and let it sizzle for about 15 seconds. Turn it over and repeat for the other side. Remove from the oil and drain. Do not fry for more than 15 seconds, you do not want crisp tortillas. Repeat for another 5 tortilla. Turn off the heat. Work quickly to prevent the tortilla from drying out.

On a work surface place one tortilla. Fill it with one of the 12 portions of the bean mixture and a little grated cheese.


Roll it up tightly and place in the prepared casserole dish. Repeat for the remaining 5 fried tortillas.


Pour half of the remaining verde sauce over the top of the tortillas and sprinkle with cheese.


Fry the remaining 6 tortilla, stuff with beans and cheese, roll and place in the casserole dish to form a second layer. Pour the remaining verde sauce over the top and sprinkle the remaining cheese. Do not cover the enchiladas completely with cheese, use just enough to flavor the dish.


Bake in the oven for 25 minutes or until the sauce is bubbling and cheese is just melted. Remove from oven and let it rest for 5 minutes.


Serve hot on its own or with Mexican rice.


Enjoy!

Thursday, March 6, 2014

Missi Roti (Besan Roti)

Missi roti is made largely with besan. A small amount of wheat flour is added for stability. The roti is flavorful on its own. They are a easy variation to the regular poli. I make them when I feel like I need a change.


The besan boosts the protein content of the poli, something we are always looking out for in a vegetarian diet.

You will need
1 1/2 cup besan
3/4 cup whole wheat four
1/4 cup onion
1/4 cup cilantro
1 tsp. turmeric powder
1 tsp. amchur powder
salt to taste
olive oil

Mix all the ingredients except the oil in a mixing bowl.


Using water make a dough and knead it well. Keep aside for 20 minutes. After 20 minutes pour a tablespoon of olive oil on your hand and knead again. Divide into lemon size portions.


Take one ball of dough and roll out on a working surface that has been dusted with wheat flour. The flour will be sticky so use wheat flour as needed to roll out the roti to about 6-7 in diameter.


Cook on a hot griddle pan with a few drops of olive oil until cooked through on both sides.


Repeat for all the balls of dough.

Wednesday, March 5, 2014

Lemon Posset

Lemon Posset is a medieval cream based dessert. It has a strong lemon flavor and a smooth creamy texture. Letting it sit in the refrigerator really brings out the lemon flavor. The candied lemon peel garnish enhances the taste.


This is my third recipe from the 'How to make a perfect...' series that runs in the Guardian Newspaper. I served this dessert after a meal of black bean burger and salsa. The recipe can be found here.


According to the linked post the recipe as written produces a grainy texture. The recipe calls for the cream mixture to be added to the lemon and not the other way around which may cause the grainy texture. As I read through the comments on the post I found a recipe posted in one of the comments that produces the expected smooth texture. The trick is to boil the cream for exactly three minutes and add the lemon to it. That is the recipe I followed and the texture was amazingly smooth.


You will need
half pint whipping cream
50 gm sugar
1 lemon
candied lemon peel for garnish (recipe here)

Bring whipping cream and the sugar together to a boil in a pan. Mark a timer for 3 minutes and whisk the mixture on medium high heat for the entire 3 minute duration. When the timer goes off take the mixture off the heat. Allow it to cool for about 5 minutes.

To this warm mixture add the juice of a little over half a lemon and stir. Taste and add more if needed. The mixture should thicken but not curdle. Pour it into molds and allow it to cool completely. Refrigerate for 5-6 hours.


Serve chilled garnished with candies lemon peel.


This is my entry for week one, day three of BM #38 for the theme How to make the perfect... Check out the Blogging Marathon page for the other Blogging Marathoners doing BM#38.

Tuesday, March 4, 2014

Vegetarian Black Bean Burger

Black bean burger patti is in my opinion the best tasting vegetarian burger patti. It is also usually the only option for a vegetarian in a burger joint. It has evolved over the years as the demand for a vegetarian patti has increased. The earlier avatars of this patti tried hard to replicate the taste of their non-vegetarian counterparts making them close to unpalatable.


The best black bean patti I had was in California. I was on a business trip to the El Segundo business district, right next to LAX airport. I had to go out for a business lunch to a burger place. I do not remember the name but they served up the most delicious black bean burger. Since that trip I have tried to replicate the recipe at home many times.


You will need
1 large potato
1 1/2 cups dry black beans
1 small onion
1/2 red pepper
1 Serrano pepper
a handful cilantro
1 tbsp. coriander cumin powder
salt to taste
8 tbsp. olive oil, divided
1 tbsp. paprika (adjust to taste)

Soak the black beans overnight. Pressure cook the beans and the potato in a pressure cooker separately. Cook for 5 minutes with pressure on or 1 whistle. Turn off heat and let the pressure go down. Peel and mash the potato. Drain the water from the beans and mash half the beans.


Add the remaining beans and mash roughly. Do not overdo it. You do not want a paste.


Dice the onion, Serrano pepper and red pepper. Heat 2 tbsp. olive oil in a pan and add the onion and red pepper. Cook until tender. Add to the potato bean mixture.


Add the spices and salt to taste.


Form into 5 patti and place in a refrigerator for at least 30 minutes. This helps the patti firm up and hold up to the browning process.


Heat a griddle pan and drizzle some olive in it. Place one or more patti on the hot pan. Let it brown before flipping over. Brown the other side and remove from heat. Repeat for all the patti.


Serve on a burger bun with lettuce/spinach, tomato. Or serve on a plate with salsa.


Enjoy!

Monday, March 3, 2014

Lamingtons

Lamingtons are coconut and chocolate covered sponge cake squares very popular in Australia.


I had no idea how ordinary sponge cake would be transformed after being coated with chocolate and coconut. Delicious!

To make the Lamingtons
I used the recipe for the sponge cake from the King Arthur website. I followed it exactly and I got a 9x9 sponge cake. I cut it into 9 squares.


To make the chocolate icing put 1 tbsp. butter, 1/2 cup warm milk, 1 cup powdered sugar (I ran regular sugar through the grinder) and 3 tbsp. cocoa powder in a double boiler. Heat until all ingredients are combined and melted.


Dunk the sponge cake square into the chocolate using forks and put it on the cooling stand.


Sprinkle desiccated coconut over the chocolate.


It looks messy because it is very messy.


Leave the squares to dry off. Enjoy!

Friday, February 28, 2014

Swedish Coffee Bread

17 years ago I met a group of fabulous gals online. Last month we decided to bake together once a month. Kneading Bakers emerged out of this thought. Every month we plan to bake the same dish. Our very first venture is Swedish Coffee Bread.


I had a lot of fun shaping this bread. I had never used a kitchen scissors on dough before. If I were to make this again I would probably go deeper with the cuts to have a very pronounced end result. But I am happy with this bread. I learnt a lot.


The dough was very sticky and my palm and fingers hurt kneading it. But the resultant bread as so soft it was a pleasure to munch on.

The dough is not very sweet, just the way I like it but the bread is super soft. This will be my stand by sweet bread dough recipe for the further.

For the dough
1/4 cup butter, softened
1/4 cup sugar
1 large egg
1/2 tsp. cardamom powdered
1/2 tsp. salt
3/4 cup milk, lukewarm
1/4 cup water, warm
1/2 oz. Fleischmann instant yeast (2 packets)
2 1/2 cup bread flour
1 cup all purpose flour

For the filling
2 tbsp. melted butter
1/4 cup brown sugar
2 tsp. cinnamon

3 tbsp. milk

In a large mixing bowl whisk together the butter, sugar, egg, cardamom and salt. Warm the milk and add it to the bowl.


Warm the water and dissolve the yeast in it. Whisk it into the contents of the bowl. Now add 2 cups of the flour and start forming a dough.


Add more dough as needed. The dough will be sticky. Continue to knead and add more flour as needed. I needed all 3 1/2 cups before the dough came together. Transfer the dough to a clean greased bowl.


Turn the dough around to coat with oil and keep it aside covered for an hour or two until it doubles in size.


Grease a baking sheet and keep aside. Mix all the ingredients for the filling and keep aside. Transfer the dough to a floured work surface and roll into a large rectangle about 15 x 9.


Spread the filling on the rolled out dough up to a forth of an inch from the edges. In winter you may have to keep the filling warm to prevent the butter from solidifying. You could put it in the microwave for 5-10 seconds if the butter does solidify and you are unable to spread the filling.


Starting from one of the short ends start rolling the dough.


Roll all the way to the end to form a smooth long roll. If the thickness of the roll is uneven, use your fingers to even it out the best you can.


Seal the edges by pinching them together, like this.


Transfer it to the greased baking sheet with the edge on the bottom. Form into a ring and seal the two ends together.


Using a kitchen scissors cut into the ring about 2/3 of the way in. Do not be afraid to go deeper than what I have here. Just make sure you do not cut all the way to the end.


Go all around the circle making cuts every inch.


Now pick up one of the cut pieces and turn it upwards. 


Repeat all the way around going clockwise. When done cover with a greased sheet of plastic and allow to sit for about 45 minutes. The dough will rise again.


Meanwhile preheat the oven to 375 F. Warm 3 tbsp. of milk in a bowl and wash the surface of the bread with the milk using a pastry brush. You could use egg yolk wash but I do not like the egg smell so I use milk. Bake the bread for about 15-20 minutes.


Allow it to rest for 5 minutes before transferring it to a cooling rack.


Enjoy!