Tuesday, April 14, 2015

Salsa Verde Vegetable Lasagna / Pasta Bake

Under pressure from my daughter I bought tomatillos for salsa verde sauce. A couple of days later I realized I was not going to have time to make enchiladas. But I did not want the tomatillos to go to waste so I made the salsa verde sauce, put it in the refrigerator and bought myself another day. The next day I had to use it up. I happened to have colored bell peppers and zucchini in the refrigerator. I also had some left over paneer.  So I whipped up this lasagna with the ingredients I had.


The taste was great. All the vegetables made it filling too. The paneer added the protein and the salsa added the taste. Next time I make it I will make a thicker salsa. There was some liquid left over on the bottom. I like all the liquid to be completely absorbed. An alternative to this recipe would be using penne or a fusilli pasta instead of the lasagna.


My daughter was not happy when she saw me use up her favorite salsa for something other than enchiladas. But once she tasted the dish she was fine.

You will need
6-7 lasagna sheets or 1 cup dry pasta (penne or fusilli)
1/2 cup yogurt
1/2 tsp red chilli pepper powder
1/2 tsp. black pepper
4 oz. paneer, cubed
1 red bell pepper, sliced
1 yellow red pepper, sliced
2 zucchini, sliced in rounds
2 carrots, sliced in rounds
1 serving salsa verde sauce
1/4 cup cotijo or mozzarella cheese, shredded
salt to taste

In a bowl mix the yogurt, red chili pepper powder, black pepper and salt. Add the cubed paneer and keep aside for 15 minutes or a few hours. I kept this overnight because I had prepped the paneer for another dish.


Dice and slice the vegetables.


Put it all together. Preheat the oven to 375 F. In a oven proof casserole dish start building the layers. Heat some water and place it in a wide pan. Take it off heat. Place the lasagna noodle in the pan until it is just soft. Do not cook it. You just want it to be flexible so that it does not break. Ladle a little salsa on the bottom of the casserole dish. Place a few sheets of lasagna to cover the bottom. Add half the sliced vegetables.


Over the vegetables add the marinated paneer pieces. If desired you can add a layer of cheese. I added cheese only to the top. Pour half the remaining salsa over the paneer.


Place a layer of the softened lasagna sheets over the salsa.


Then repeat all the layers, the vegetables, the paneer and the remaining salsa. Shred the cheese over the top.
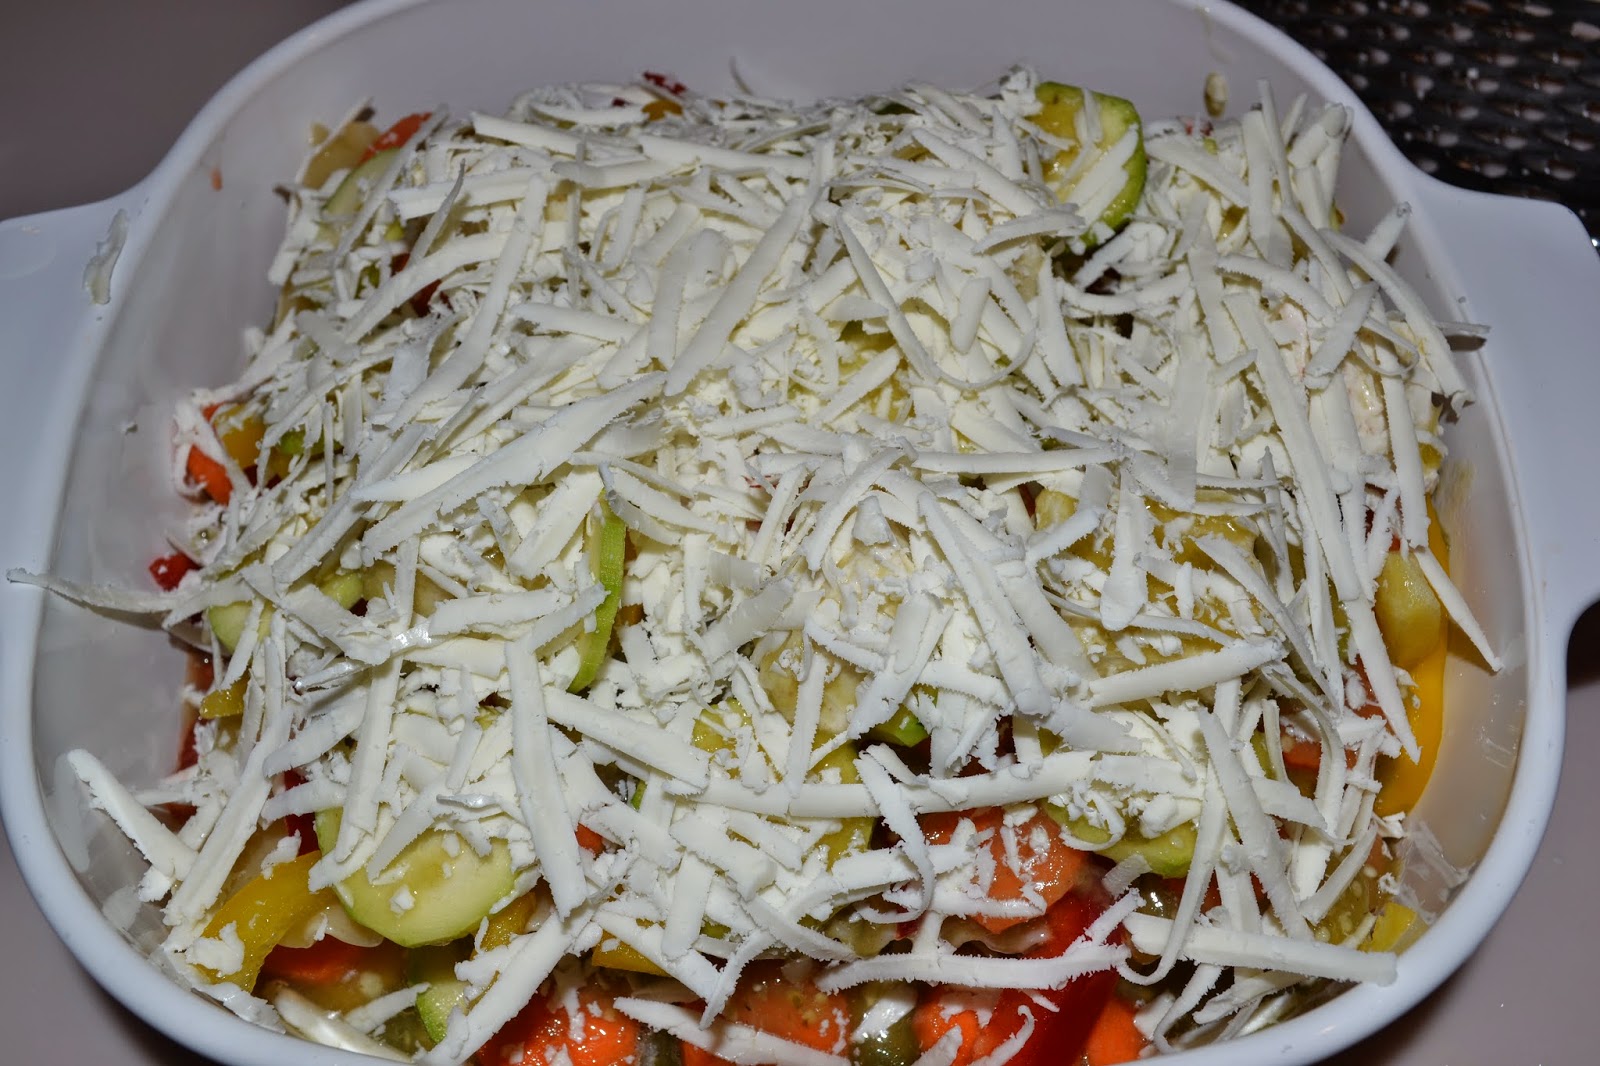

Cover with foil and bake in the preheated oven for 30-40 minutes. Then uncover and bake for another 10-15 minutes or until the cheese has melted and is starting to brown,


Enjoy!


Monday, April 13, 2015

Savory Galette

Visual appeal and color contrasts make food appetizing. I am one of those people who eats with my eyes as much as with my mouth. I like colorful food and especially when the outdoors is full of color I like the food to match too.


This was the idea behind this colorful galette. A couple months back I posted a Tomato and goat cheese galette. It was delicious but I wanted to try one with vegetables. And so I carefully picked the vegetables to create a colorful palatte. By the time I was done everyone was waiting for dinner. I barely had time to click pictures before it was all gone.


This month is all about baked recipes and this week I will post main course recipes. Those that can be served as a meal.

You will need
For the pastry shell
1 cup whole wheat flour
1/2 cup all purpose flour
1/2 tsp. salt
1/4 cup cold butter
~ 1/4 - 1/2 cup cold water
1 tbsp. Parmesan cheese
Black pepper to taste

For the filling
2 large carrots
2 zucchini
1 red bell pepper
1 yellow bell pepper
1 oz. goat cheese
2 oz. feta cheese, crumbled
1 tbsp fresh thyme
5-6 leaves basil
black pepper to taste
salt to taste
1 tbsp. grated Parmesan cheese

Follow the recipe for the pastry in the tomato and goat cheese galette.. Keep the rolled out pastry shell refrigerated. Meanwhile prepare the vegetables. Preheat oven to 400 F. Cut the zucchini and carrot in circles. Chop the red and yellow bell peppers. Spread all the vegetables on a baking sheet. Sprinkle a little salt and pepper. Bake for 15-20 minutes until the vegetables are browned but not fully cooked.


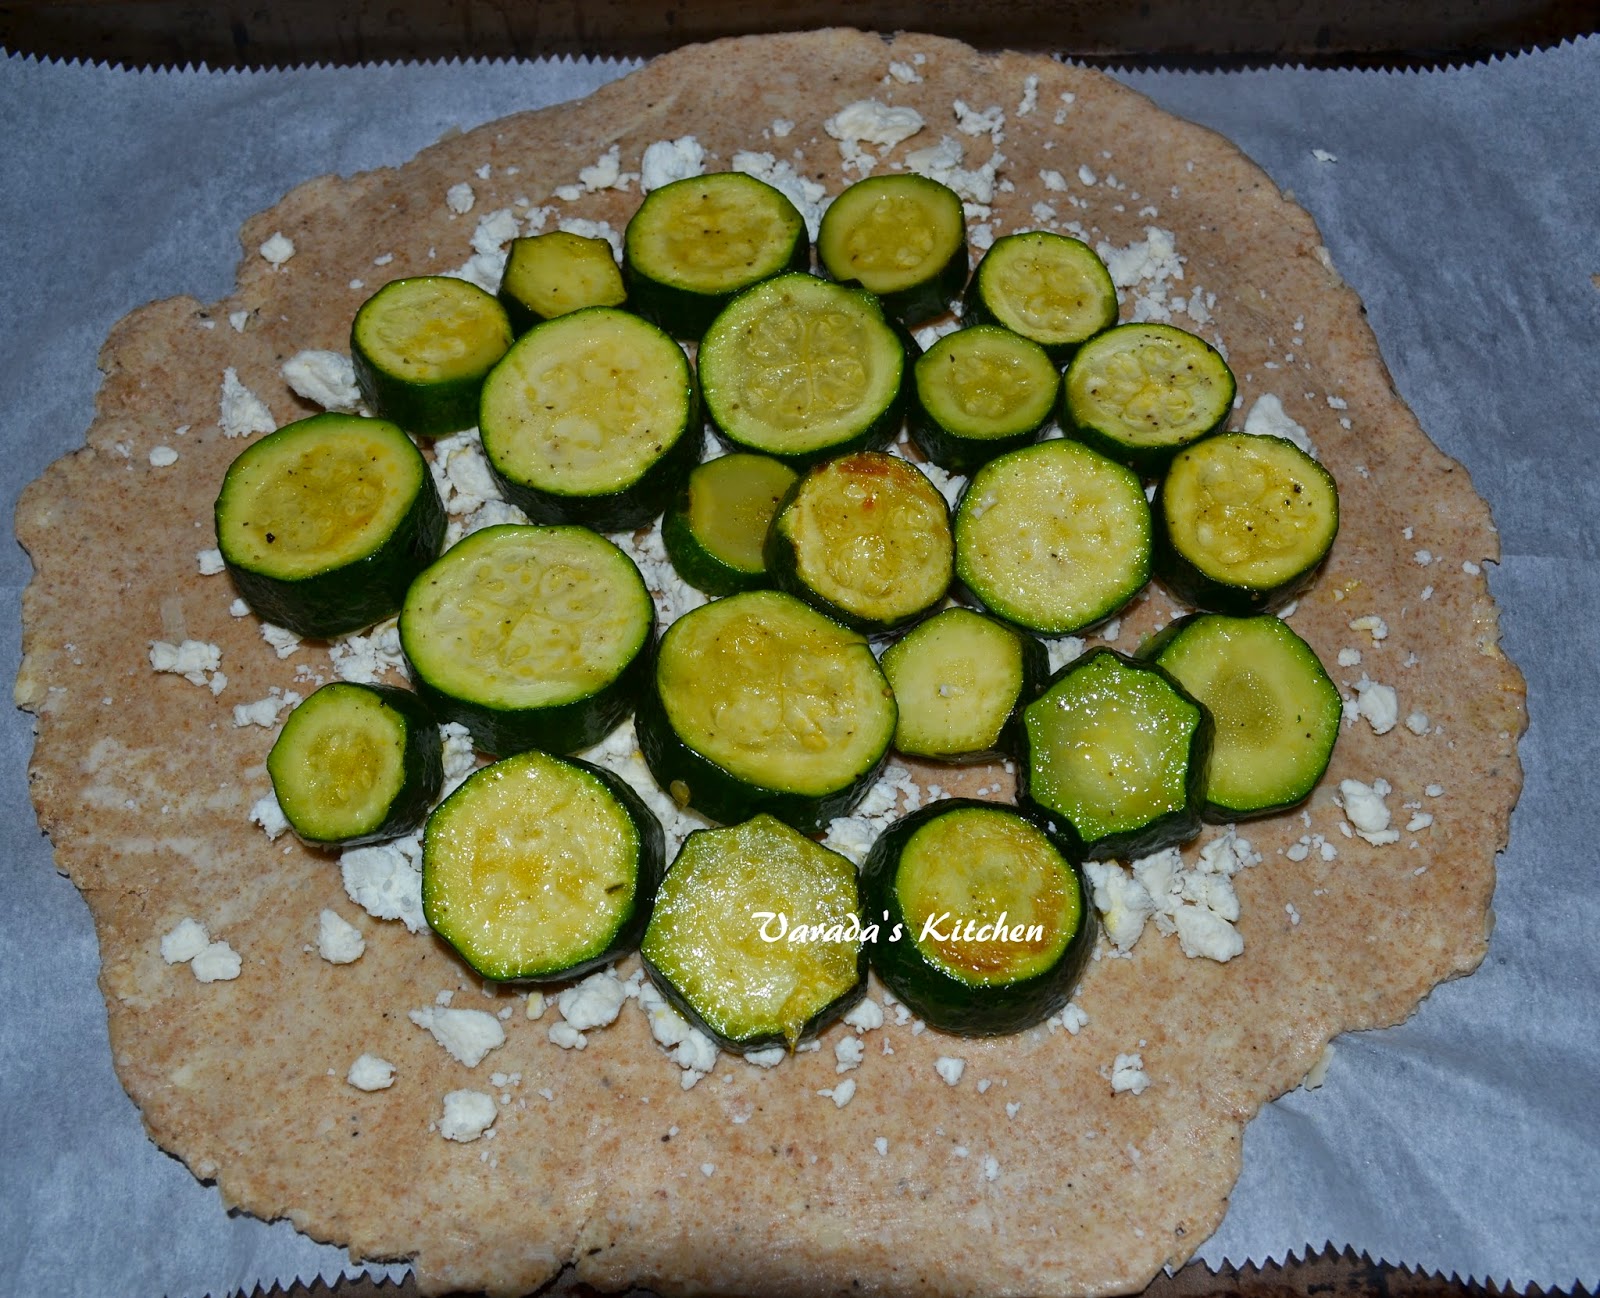
Let the vegetables cool. Change the temperature on the oven to 425 F. Then take the pastry shell out of the refrigerator. Place half the feta cheese in a layer on the shell. Place the vegetables in whatever order you like. I started with the zucchini.


Then the carrots.


Finally the bell peppers. Sprinkle the remaining feta over the top along with the parmesan cheese.


Bake for 30-40 minutes or until the galette is fully cooked and starting to brown. The vegetables should be cooked as well. Cool on a rack for a few minutes before digging in.


Slice like a pie to serve.


Enjoy!

Saturday, April 11, 2015

Croissant

Croissants are made with a super enriched dough. This is one bread I wanted to try for a very long time but never felt like I was ready. It takes a long time to prep, took me 24 hours from time I fed the starter to the time they were baked and ready. The outer crust is crisp but the inner layers are soft. It is this sinful soft flaky goodness that made me want to try the croissants.


The bread dough is enriched using a lamination technique. A layer of butter is sandwiched in the layers of dough. The dough is rolled and folded over and over again. The resultant dough has very thin alternating layers of dough and butter. This process converts the bread dough into a flaky pastry dough.


Lamination, done right, results in a soft mesh on the inside of the croissant. While I was able to get some of that effect towards the ends of the croissant the middle is far from perfect. But given how rich the dough for this recipe is I will give it a few months before I attempt the croissant again.


I used the Tartine recipe from the book Tartine bread by Chad Roberston. I had heard from fellow artisan bakers that his formula results in a very flavorful croissant. I have to say the flavor of the bread was awesome. My daughter had it for breakfast over several days and the flavor did not diminish at all. For the exact recipe refer to the book. The recipe is heavy on butter but I rarely bake dishes that are rich. And I wanted to try to replicate the authentic recipe so I went all out. My daughter sure thought it was worth it. For about a 1000 gm of dry and wet ingredients I used about 200 gm of butter. Here is how I did it.

In a large mixing bowl put together all the wet ingredients - fed starter, the poolish and milk.


Add the dry ingredients - flour, yeast, salt and sugar.


Combine to form a soft dough. Stretch and fold over an hour and a half. Keep aside for the bulk fermentation for a few hours.


Using a pastry cutter combine the cold butter with the remaining flour. Until it has the consistency of the flour. Refrigerate.


Roll the dough on a floured working surface.


Place the chilled butter / flour slab over the dough.


Fold the dough over the butter on both sides.


You will have a long rectangle.


Roll it out into a long rectangle in the opposite direction as the folds.


Fold one side over the top.


Then fold the other side. Place it on a parchment paper in a baking sheet and refrigerate for an hour.


Take it out of the refrigerator and roll it out into a rectangle in a floured work surface.


Fold one side over the top.


Fold the other side.


Refrigerate overnight.


Transfer the dough to a floured working surface.


Roll it out thin to about a half inch. Cut into triangles as shown below.


Roll up the triangles starting from the wide end.


Repeat for all the triangles.


Let then rest for another two hours to almost double in size. Brush with cream and egg wash. I skipped the eggs and used just the cream.


Bake in a 425 F preheated oven for about 30 minutes or until brown and flaky.


Enjoy!


Friday, April 10, 2015

Ciabatta

Ciabatta is of Italian origin and is one of the lightest bread you can bake. The bread dough is made with almost 85% hydration. It is wet, sticky and very tricky to work with. When the dough is placed in a very high temperature oven the water evaporates leaving behind a well risen and extremely light loaf. Ciabatta makes a great sandwich bread.


I like working with high hydration dough but most of mine are about 75%. Working with 85% is something else altogether. It is hard to shape as it does not hold the shape very well. The dough is sticky but you cannot add too much flour as it absorbs the flour quickly.


I searched for a good formula for this bread but did not find any. Finally I made my own. I mixed just enough dough for one loaf. I used 200 gm of flour and calculated everything else. I mixed the dough very late one night, after 11:30 pm and left it in the refrigerator for the bulk fermentation. Next day I shaped the dough and gave it a short proofing time (about three hours). I then baked it in my dutch oven. I am really pleased with the result.

You will need
200 gm bread flour
170 gm water
3 gm instant yeast
3 gm salt
2 gm sugar

Combine all the ingredients in a mixing bowl with wet hands. Form a very wet dough. Knead for about 5 minutes until  you feel the texture of the dough change. It will be smooth and elastic and not as sticky. It will be very wet and will not form a shape. Cover and keep for 6-8 hours for the bulk fermentation.


Transfer to a lightly floured working surface and shape like a slipper. Pull the dough along the length and fold over.


Place on a parchment paper sprinkled with flour and keep aside for an hour.


Preheat the oven with the dutch oven inside to 500 F. Place the shaped dough on a parchment paper inside the dutch oven. Put the lid back on and bake for 15 minutes. Remove the lid and bake another 20-25 minutes until you get the desired color. Remove from the oven and place on a cooling rack to cool completely before slicing.


Enjoy!

Thursday, April 9, 2015

Sourdough Bread Rolls

Small single serve crusty rolls go very well with soup. I have always admired the basket of artisan crusty loaves that accompanies dinner in nice restaurants. The crust is crunchy but wafer thin and the crumb is open, soft and chewy. The rolls add substance to the soup and make it a filling meal. This is my simple attempt at recreating that beauty.


With these loaves for the very first time I managed to get a ear. For the uninitiated, the ability to make the bread rise through the score line is good but to have the score line open up is something else altogether. It is success at scoring and takes a lot of practice. In my case it was pure accident but I was over the moon. If I can replicate this success then I will say I have mastered the technique. Until then I will be happy that I did it once. Maybe I am crazy, but then life is all about simple pleasures, right?


We really liked the flavor of the batard after I accidentally bulk fermented it for a really long time. This time I deliberately increased the bulk fermentation time from 6 hours to 12. I then shaped the rolls, put them on a baking sheet, covered it with a tea towel and put it in the refrigerator to keep overnight. Three days later I had still not baked the rolls. Weekdays are just so busy. By the time the weekend rolled around again the bread had been in the refrigerator for five days. I took it out wondering if I would have to throw it away. That was when I noticed it had started to bubble along the bottom. Very reluctantly I smelled the dough. It had a very pleasing smell. All was good. I reshaped the dough and baked the rolls. And success! Not sure how I am going to replicate that. But I think I had been under proofing the dough all along. At the very least I will increase the fermentation time or leave the dough at room temperature a little longer before putting it in the refrigerator.

For two rolls
You will need
200 gm white whole wheat flour (I used King Arthur)
130 gm water
100 gm fed sourdough starter
6 gm salt

In a mixing bowl mix all the ingredients to form a soft dough. Cover and keep aside for half an hour. Reach over and pull the dough on the far side of the dough and stretch it towards you. Fold it over the top. Turn the bowl a quarter turn. Repeat stretching and folding until you make a full turn. Cover and keep aside. Repeat stretch and fold twice more with a half hour rest. Cover and keep the dough for a 12 hour bulk fermentation. If your kitchen is hot or humid keep the bowl in the refrigerator.

Transfer the dough to a floured work surface. Divide the dough into two. Work with one portion of dough. Fold the dough in from all sides and form a ball. Roll it on the work surface and keep it on a baking sheet covered with parchment paper. Repeat with the other portion. Cover the rolls and put them in the refrigerator overnight. 

The next morning preheat the oven to 450 F. Put a baking sheet in the oven to heat it. Just before you are ready to bake score the top of each roll end to end along the length. Place the rolls on the hot sheet and bake for 15 minutes. Lower the temperature to 400 F and bake another 15 minutes.


Enjoy!