Tuesday, March 10, 2015

Tomato Koshimbir

This is a dish that showcases tomato. Tomato is a very special ingredient in my book. It was rarely or almost never used in the house when I was growing up. Onions and tomatoes were never stocked in the house. My father has very few dislikes but tomato is one of them. My sister is not fond of them either and I like tomato only when it is mixed with something else. Most Maharashtrian recipes do not call for tomatoes so we never bought them unless my mother made one of her specials just for me. This salad was one of her specials. It has onions, powdered roasted peanuts and cilantro in addition to the tomato. There is a variation of this salad that I will post another day.


As luck would have it my daughter loves tomatoes. She is so fond of them she eats them raw as a snack. She swipes slices when I chop them. From the time she was two I have planted cherry tomatoes in the garden every summer. She helps herself to tomatoes whenever she wants. When she was little she would lovingly offer me some and I would tell her there would not be enough for her if I took some. I did not want to tell her I did not like them and influence her tastes. Now she wonders how anyone can dislike tomatoes.


My husband too is fond of tomatoes so I use them a lot. But some dishes like this one will always be special.

You will need
2 large tomatoes
1/2 onion
a handful cilantro
1/4 cup roasted peanuts
1/2 tsp. sugar
salt to taste
1 tbsp. oil
1/2 tsp cumin seeds
1 green chili pepper or Serrano pepper

Dice the tomatoes, onion and cilantro. Grind the roasted peanuts to coarse powder. In a bowl combine the tomatoes, onions and cilantro with the ground peanuts. Add salt and sugar. Break up the green pepper into small pieces. In a small pan heat the olive and turn off heat. Add the cumin seeds and the pieces of pepper. Let the oil cool completely. Pour the cooled oil over the tomato mixture. Combine and let it sit for 15 minutes before serving.


Enjoy!

This is my entry for week one, day one of BM #50 for the theme One Ingredient three dishes. Check out the Blogging Marathon page for the other Blogging Marathoners doing BM#50.

Thursday, March 5, 2015

Methi Vade in Appe Pan

I had some left over methi leaves after I used most of the bunch to make something else. I wanted to made methiche vade in the appe pan. It was a great day to make them. There was fresh snow on the ground and the sun had come out. Everyone was happy to see the sun after so many gloomy days. The cats would not budge from near the window. As the snow began to melt there was hope that we would be able to get out of the house. At the time same we knew the temperature was only in the upper 30s. And something like vade are perfect for a cold wet day.


I do not deep fry anything in my kitchen. If I have to eat something that is usually deep fried I find an alternative. I either bake it or cook it in my trusty appe pan.

You will need ( for about 10)
1/2 cup coarsely chopped methi leaves
1 cup besan
1 tsp. cayenne pepper powder
1 tsp. turmeric powder
1/2 tsp. sugar
salt to taste
oil as needed

Mix all the ingredients in a bowl.


Add water to make a thick batter. It should be pouring consistency. When the vada are deep fried the batter is made thicker. But in the appe pan it is easier to use thinner consistency batter to allow it to cook completely. Heat the appe pan over medium heat. Add a few drops of oil in the bottom of each well. Pour the batter in the well until about 3/4 full. Let the bottom set. Then using a knitting needle or a skewer turn the vada half way. The batter will pour out.


Let it set a little and then turn the vada all the way such that the done side is on the top. Let it cook on low medium heat until completely cooked through turning frequently.


Enjoy the vada while they are hot.

Wednesday, March 4, 2015

Methi Thepla

Methi thepla is something my mother used to make. I never knew it was a Gujarati recipe until I moved to Mumbai for work. My mother grew up in Gujarat and like her kadhi, these parathas were from Gujarat. March is a month I think of my mother a lot. It was her birthday month. I tend to remember the songs she liked or things she said a lot more during this month than any other. These are in her memory.


These parathas are great to take along when travelling. They taste great even when cold. They are great as packed lunch too.


I used a silicon brush to apply a little oil to give them the classic texture and color. I made these on my cast iron griddle and I think that adds a special something to the texture.

You will need (16-18)
1 bunch fresh methi
4 cups whole wheat flour
1/4 cup besan
2 tsp. cayenne pepper powder
1 1/2 tsp. turmeric powder
1 tsp. sugar
2 tbsp. oil
salt to taste

2 tbsp. oil to brush on when cooking

Separate the methi leaves from the stems. Discard the stem. Wash the leaves and chop roughly. Add the chopped leaves to a bowl with all the other ingredients.


Using water as needed knead into a soft dough. Keep aside for 15 minutes. Divide the dough into lemon ball sized portions.


Heat a cast iron griddle or a griddle pan of your choice. Using a little flour to prevent sticking roll out the one thepla. Place it on the hot griddle. Flip it over when the under side is cooked and brown spots appear on its surface.


Brush on some oil to the cooked surface. Flip over when the second side is done. Brush a little oil on the second surface. Flip over one more time and let it cook for a few seconds.


Take off the heat. Repeat for the remaining portions of dough.


You can use these in place of regular poli/roti in a meal. Or you could enjoy it with pickle.


Tuesday, March 3, 2015

Methi Gola Bhaji / Methi Dal

Waking up at 5 in the morning to cook is hard in winter but waking up to cook in a cold kitchen is way worse. So why is my kitchen so cold? Let me start at the beginning. This winter so far has been cold or wet but not both at the same time. Two weeks back everything changed. We got our first winter storm with ice, freezing rain and thunder sleet (yes there is such a thing). A day after the ice melted we had another winter storm with more sleet. And a day later a third one brought 3 inches of snow over 6 hours. It was like mother nature was trying to catch up for lost time. And right in the middle of the snow storm out furnace blew. To  add to our woes that day my daughter forgot to close the garage door on the way home. That helped the temperature on the first floor to drop overnight to the low 50s. That was of course on a Friday with the weekend ahead of us. Luckily the second floor furnace is working so we can all huddle upstairs. But the kitchen is on the first floor and hence cooking has been a challenge.


I have found that once the food is on the stove the kitchen does warm up. And this recipe is perfect to heat up the kitchen. It takes a little time to get to the right consistency. Methi gola bhaji is a pithala like dish made with toor dal. It can be made with any green leaves, I used methi. It has simple ingredients and makes a nice variation for dal and is a handy side dish. Given my cold kitchen, my family got this bhaji and poli (chapati) for dinner. And in case you are wondering today we are heading for warmer temperatures. We will be in the 60s. Tomorrow there will be sleet but we all enjoyed the moderately warm, very gloomy, cloudy and foggy day that was today.

You will need
1 cup toor dal
one bunch fresh methi
1 tbsp. oil
1 tsp. mustard seeds
1/4 tsp. asafoetida
1 tsp. turmeric powder
1/2 tbsp. jaggery
1/2 tbsp. tamarind juice/paste
1 tsp. garam masala
1 tsp. cayenne pepper
salt to taste

Cook the toor dal in a pressure cooker for 10 minutes (or 3 whistles). Let the pressure drop before opening the pressure cooker. Meanwhile separate the methi leaves from the stems and wash thoroughly. Chop the methi leaves and keep aside.

Heat oil in a pan and add the mustard seeds. When they crackle add the asafeotida and turmeric powder. Then add the methi leaves. Let them cook on low heat until they wilt but are not mushy. Now add the jaggery, tamarind, the coriander cumin powder, garam masala and cayenne powder. Combine well with the cooked methi leaves.

Now add the cooked dal and if need 1/4 cup water. Let it mixture cook on medium heat until it thickens. Continue cooking until the water is all gone and the bhaji can be served with a spoon and not a ladle. Turn off heat.


Enjoy with poli and pickle.

Friday, February 27, 2015

Herbed Leek, Carrot, Broccoli and Potato Stuffed Buns

Stuffed bread or buns make an easy one dish meal. They are portable and can be easily taken along on day trips. I have a stuffed bun recipe with paneer filling here. I make them often but today I decided to try something different. I had one leek and some broccoli in the refrigerator that I wanted to use up. So I made some dough with the newly fed wild yeast starter and stuffed it with the herbed vegetables. The results were delicious.


I made the filling based on look and feel rather than a recipe. Actually the dough was mixed up based on look and feel too. I let the dough ferment overnight, shaped and stuffed it in the morning. I baked the buns in the evening. I used mostly whole wheat flour so the buns are a little dense. 


After I had added the turmeric powder, some basil, crushed black pepper, some thyme and cayenne pepper powder I decided I needed something sour. I thought of adding lemon juice but settled on mango peel powder instead. A pinch of sugar and the flavor profile was complete. The family enjoyed the buns a lot. At 110 gm each they were pretty filling too.

You will need (for 6 buns)
For the bun
100 gm 100% sourdough starter
190 gm water
20 gm sugar
30 gm olive oil
330 gm white whole wheat flour
8 gm salt

For the filling
2 tbsp. olive oil
1 leek, white part only
2 medium potatoes
2 carrots
1 small head of broccoli
1 tsp. thyme
1 tsp. basil
1 tsp. cayenne pepper powder
1 tsp. crushed black pepper
1 tsp. turmeric powder
1 tsp. amchur or mango peel powder (or use juice of half a lemon)
1 tsp. sugar
salt to taste

The night before combine all the ingredients for the buns in a mixing bowl and form a soft dough. Cover and keep aside for 30 minutes. Uncover, reach down to the bottom of the far side, pick up the dough and fold it over the top towards you. Turn the bowl 90 degree and repeat. Continue until you have gone around twice. Cover and keep aside. Repeat this stretch and fold procedure two more times every half hour. Finally cover and keep aside for at least 4-5 hours. Alternately, keep refrigerated overnight. 

In the morning prepare the filling. Clean the leek and discard the green. Dice the white. Heat oil in a pan and saute the leek. Meanwhile peel and dice the potatoes. Add them to the pan. While they cook, peel and dice the carrots. Add them to the pan. Sprinkle some water if the mixture if too dry. Cover and let it cook. Meanwhile clean and break up the broccoli heads in tiny florets. Add them to the pan. Cover and allow the vegetables to cook completely but do not let them get mushy. Add the herbs and spices. Mix well, cover and cook for another few minutes. Turn off heat and allow it to cool completely.


If refrigerated, take the dough out and place it on the counter. Allow it to come to room temperature. Transfer it to a floured working surface and divide it into 6 portions. Using your fingers flatten each portion. Stuff with the filling.


Pull the sides up together and form a ball. Roll the ball in a little flour to help seal the bottom. Then place it on an un-floured board and pull it towards you letting the bottom slide on the board. This is done to increase surface tension and give them a smooth top. Repeat for all the portions.


Place the prepared buns on a baking tray and allow them to proof for 4-6 hours. You could refrigerate them overnight. When you are ready to bake preheat the oven to 375 F. Brush the top with a little milk, or egg white or butter. Bake for 30-35 minutes.


Cool the buns on a cooling rack for a few minutes. 


They taste best when hot out of the oven.


Enjoy!


Thursday, February 19, 2015

Cocoa Crinkle Cookies

A while back my daughter asked me to make her some chocolate chip cookies. I do not make cookies often but my daughter begged so I gave in. I thought I had some left over chocolate chips but I was wrong. There were none. I did have a bar of cocoa so I decided to use it. The resulting cocoa cookies had deep crinkles that gave it a nice crunch. They were very tasty and they were the color of dark chocolate.


I have made these several times. And they are always a hit. I used a 100% cocoa bar. You could use cocoa powder if you do not have access to a bar. The better the quality of the cocoa the better the cookies will taste.


You will need
1/2 cup butter, room temperature
3/4 cup sugar
1 egg
1 tsp. vanilla
1 cup + 3 tbsp flour
1/3 cup cocoa powder or shavings
3/4 tsp. baking soda
1/2 tsp salt
1 1/2 tbsp hot water

Preheat oven to 375 F. Prepare a baking sheet with parchment paper. Cream the butter and sugar. Beat in the egg. Add the vanilla and beat again. Fold in the dry ingredients. Finally add the hot water. Using a melon baller or a tbsp measure scoop out the batter and transfer to the baking sheet two inches apart. Bake for 10-12 minutes. The cookies will be very soft when baked. Let them cool on the sheet for a couple minutes before transferring them to a cooling tray. Let them cool completely before storing. Should keep for a couple of weeks.


Enjoy!

Wednesday, February 18, 2015

Colorful Black Bean Salad

Several years ago I watched Rachel Ray put together a black bean salad on her new food show. I tried it and it was a hit in my house. Everyone loved it. My daughter was young enough to count the colors in this salad. Unfortunately, I made it too often and about a year later we grew very tired of the salad. No one liked it anymore and I took it out of my regular rotation. About 4-5 years later I made it again and we all liked it once again.


I do not make this salad frequently but when I do we all love it. I don't always use the same ingredients. I mix them up a little. I usually add some greens but I ran out so I skipped them. The dressing is really simple. Salt, freshly ground black pepper and lime juice.

You will need
3/4 cup dry black beans or 1 can
a handful of frozen corn
30 cherry tomatoes
1 avocado
1 zucchini
1 bunch of greens either torn or cut into bite sized pieces (I skipped these today)
salt and black pepper to taste
juice of half a lime

Soak the black beans overnight. The next day cook them in a pressure cooker until cooked through but not mushy. Alternately, you can cook them in a pan with 2 cups of water on medium heat. It will take about 30 minutes to cook. Drain and add to a large mixing bowl.

Cut the ends of the zucchini. Slice in rounds, sprinkle a little salt and keep aside for a few minutes. Wash the corn and heat in the microwave for 30 seconds with a half cup of water. Drain and add to the bowl of black beans. Wash the cherry tomatoes, slice them and add them to the bowl. Now drain the zucchini, slice finely and add it to the bowl. Finally cut the avocado in half around the seed. Discard the peel and seed. Dice finely and it to the bowl. Add salt and fresh ground black pepper as needed. Squeeze the juice of half a lime over the bowl. Mix it up and serve.


Enjoy!

Tuesday, February 17, 2015

Heirloom Tomato, Zucchini and Goat Cheese Galette

Everyone at home had the day off yesterday, President's day. My teenage daughter spent a good deal of the long weekend with friends. Yesterday she was going out with a friend for lunch and then to work on a project. I decided to entice her with a dish that she would simply not be able to resist.


Galette is a rustic French pie. It is baked on a sheet instead of a pie dish and the edges are folded in instead of being intricately shaped. I have always wanted to try the galette. Goat cheese seems to be the recommended cheese in most recipes so I knew I was going to use that. A few months ago I found vegetarian goat cheese at Whole Foods that I love. For vegetables I knew I wanted to use heirloom tomatoes but they are available only in Spring and summer. So when I found the first of these heirloom tomatoes in the market yesterday I decided I was going to bake a galette. I got some organic zucchini at Whole Foods along with some fresh basil.


I made the pastry crust at home using mostly whole wheat flour. I used cold butter and water to get the crust flaky. For added flavor I grated some parmesan cheese into the dough for the crust. I drained the sliced zucchini and tomatoes for half an hour so the galette would not get soggy. I mixed in fresh thyme with the goat cheese and added lots of black pepper to everything. The galette came out of the oven 15 minutes before my daughter was to leave. As expected she asked for a small slice and one bite later asked if she could have a bigger slice.


You will need
For the pastry shell
1 cup whole wheat flour
1/2 cup all purpose flour
1/2 tsp. salt
1/4 cup cold butter
~ 1/4 - 1/2 cup cold water
1 tbsp. Parmesan cheese
Black pepper to taste

For the filling
2 large heirloom tomatoes
2 zucchini
3 oz. goat cheese
1 tbsp fresh thyme
5-6 leaves basil
black pepper to taste
salt to taste
1 tbsp. grated Parmesan cheese

In a mixing bowl and using a pastry cutter mix the cold butter with the flour until the flour is grainy in texture. Sprinkle the salt. Now working in small sections moisten the flour using a tablespoon of cold water. Move to the next section to moisten it. Repeat until the flour is moistened and can be worked in a dough. Do not add too much water. The amount of water will depend upon the amount of whole wheat flour used. Add the parmesan cheese and black pepper. Roll up the dough in plastic wrap and refrigerate for 15 minutes. Remove the cold dough from the refrigerator and roll it out to the desired size. Place a parchment paper on a baking sheet. Place the rolled dough over the top. Cover with the plastic wrap and place the sheet in the freezer for 15-20 minutes.


Preheat the oven to 425 F. Slice the tomatoes and zucchini separately. Sprinkle a little slat and allow it to drain. Meanwhile in a bowl mix the thyme with the goat cheese. Add a little black pepper and mix with a fork until crumbly. Keep aside until needed.

Remove the sheet from the freezer. Spread half the goat cheese over the top. Arrange a layer of sliced zucchini over the goat cheese. Add a layer of sliced tomatoes. Repeat the three layers. I used lots of vegetables so I got two layers. If you use fewer slices of vegetables you can arrange a single layer of tomatoes, zucchini and cheese.


Fold in the sides over the vegetables. Grate some Parmesan cheese over the top.


Bake for 30-40 minutes or until the crust looks brown and flaky, the vegetables are cooked and beginning to brown. Make a chiffonade of basil. You do this by placing the leaves one over the other, rolling it up and then slicing as finely as you can. Separate the strands and sprinkle over the baked pie.


Let it cool for a 5 minutes before cutting and serving.


Enjoy!

Sunday, February 15, 2015

Kid's Delight - Colorful Dishes - Event Announcement

Nature is colorful whether it is flowers, birds, animals or fruit and vegetables. Color is good for us. A blooming colorful garden makes us happy. On a hot sunny day a deep green canopy of evergreens feels cool and pleasant.

But did you know the same is true for colorful food? Our body needs naturally colored food. Not only does such food look appetizing but is provides us with a wide array of nutrients. How many times a week do you to cook, bake, steam or in any way prepare food that is naturally colorful?


This month I am hosting Kid's Delight an event started by Srivalli of Spice your life. As part of this event I challenge you to cook dishes that are colorful and have the stamp of approval from a child. I understand this 'approval' can be subjective. My child has a mature palate and will try anything. Your child may be picky. I will accept all entries as long as they are vegetarian (eggs okay).

Here are the rules.
Prepare a colorful dish and blog about it between the 16th of February and 15 of March 2015.
Link to this post and Srivalli's Kid's Delight post.
Entries should be colorful but without the use of artificial colors.
Multiple entries are allowed.
Children in your life should have approved this dish.
The dish should be vegetarian (eggs okay)
Archived entries will not be accepted.

Bloggers and non-bloggers are invited to send in their entries to varadaskitchen@gmail.com with the subject line 'Colorful Dishes'. Please include the following in your email.
Your name and the name of your blog
Name of the recipe
URL of the post
Picture of the dish

I look forward to all your colorful dishes

Thursday, February 5, 2015

Bhajri Bhakri

Bhakri is flatbread that is patted into shape rather than being rolled into shape. It can be made with a wide variety of flours. Today I made it with Bajri or Pearl millet. This is a rustic version that I served with a dry cauliflower side.


This flour does not last very long. I bought it from the Indian store last week and did not get time to use it. By this week it was close to its use by date. My daughter asked me if I was making the cement poli again. But once she started on the puffed bhakri she did not complain. There are very few food that she does not like but loves to give them weird names. I think I am a picky eater compared to her.

You will need
2 cups bajri flour or pearl millet flour
cold water as needed

Using water as needed knead the flour into a soft dough. Now using some elbow grease knead the dough until it is supple and does not crack when pressed down. This is easier to achieve with freshly ground flour.

Heat a cast iron griddle pan. Divide into lemon sized portions. Using a ziploc bag as the base pat one of the portions into a flattened disc.

Place it on the hot pan. Cook both sides. The bhakri should puff up. To finish cooking it place it on direct heat for a few seconds. Flip to second side for another few seconds.


Take it off heat. Repeat for the remaining portions.


Enjoy it hot with fresh butter and a side of your choice.


This is my entry for week one, day three of BM #49 for the theme Indian Bread Basket.

Wednesday, February 4, 2015

Cauliflower Parathas

Once a week for lunch I make some kind of stuffed flat bread. It is quick, tasty, filling and great as packed lunch. Parathas are my absolute favorite on weekdays and I have a huge collection on this space. 'Not again' is how my daughter greets me when she realizes what I am up to in the morning. But she enjoys eating them.


My daughter usually packs this paratha as a roll. The filling stays inside and it is easier to eat. When eating it at home she makes this huge mess on the plate, complains how messy the parathas but enjoys them just the same. Addition of potatoes makes them less messy but I prefer not to add them. You may choose to add a small boiled and mashed potato to the filling. It will help bind the filling to the dough.

You will need
For the dough
2 cups whole wheat flour
water as needed

For the filling
1 head cauliflower
1 tbsp. olive oil
1 tsp. mustard seeds
1/2 tsp. asafoetida
1 tsp. turmeric powder
1 tbsp. kalonji (onion seed)
1/2 tsp. black pepper powder
salt to taste

Clean the head of cauliflower and cut the florets. Dice finely. Heat oil in a pan and add the mustard seeds. When they crackle add the asafoetida and turmeric powder. Next add the diced cauliflower. Saute until cooked. You may sprinkle a little water if it gets too dry. When almost cooked add the remaining ingredients. Let it cook completely. Turn off heat and let it cool.


In the meantime, add the whole wheat flower to a mixing bowl and using water as needed knead into a soft dough. Keep aside.

Once the cauliflower cools heat a griddle pan on a stove. I use cast iron. Divide the dough into lemon sized portions. Roll one portion on a work surface using a rolling pin to a large disc and keep aside. Roll another portion. Now add 2 tbsp. of filling to the rolled dough and spread it around leaving a half inch border.


Place the first rolled portion of dough over the top. Press down the edges to seal them.


Place the paratha on the hot griddle.


Flip over and cook the under side. The dough changes color and brown spots appear. Flip over and cook the first side. Take off heat. Repeat with the remaining portions.


Enjoy with pickle.

Tuesday, February 3, 2015

Makka Methi Bhakri

Bhakri is flat bread that is shaped using the palm of your hand rather than a rolling pin. Bhakri was a dinner staple in my grandmother's house. My mother was not too fond of bhakri, she preferred her whole wheat poli/chapati. So we used to have bhakri only when we were visiting my grandmother in Pune. We usually had it for dinner.


Bhakri is a nice variation to everyday wheat based poli. The most common bhakri is made with jowar or jwari or sorghum. But it can be made with other flours like bajri (pearl millet) or maaka (maize). With methi or fenugreek leaves available in abundance during the winter months I decided to add some methi to bhakri for some flavor.


I used store bought corn flour so I added a little wheat flour to it. If you can source fresh corn flour you can skip the wheat flour.

You will need
2 cups corn flour
1/2 wheat flour (skip this if you can source fresh corn flour)
a handful of methi (fenugreek) leaves, chopped
1 tsp. salt
1 tsp. cayenne pepper
1/2 cup water or as needed

Mix all the ingredients together to form a soft dough. Knead well until it is soft and pliable.


Divide into lemon sized portions. Heat a griddle pan (preferably cast iron) on medium heat. I used a ziploc bag to shape the bhakri. When the pan is hot take one of the portions of dough and using your palm flatten it on the ziploc bag. Continue patting it down until you have the desired size.


Place it on the hot griddle. Flip it over when one side is cooked. Flip again to cook the other side.


Enjoy!
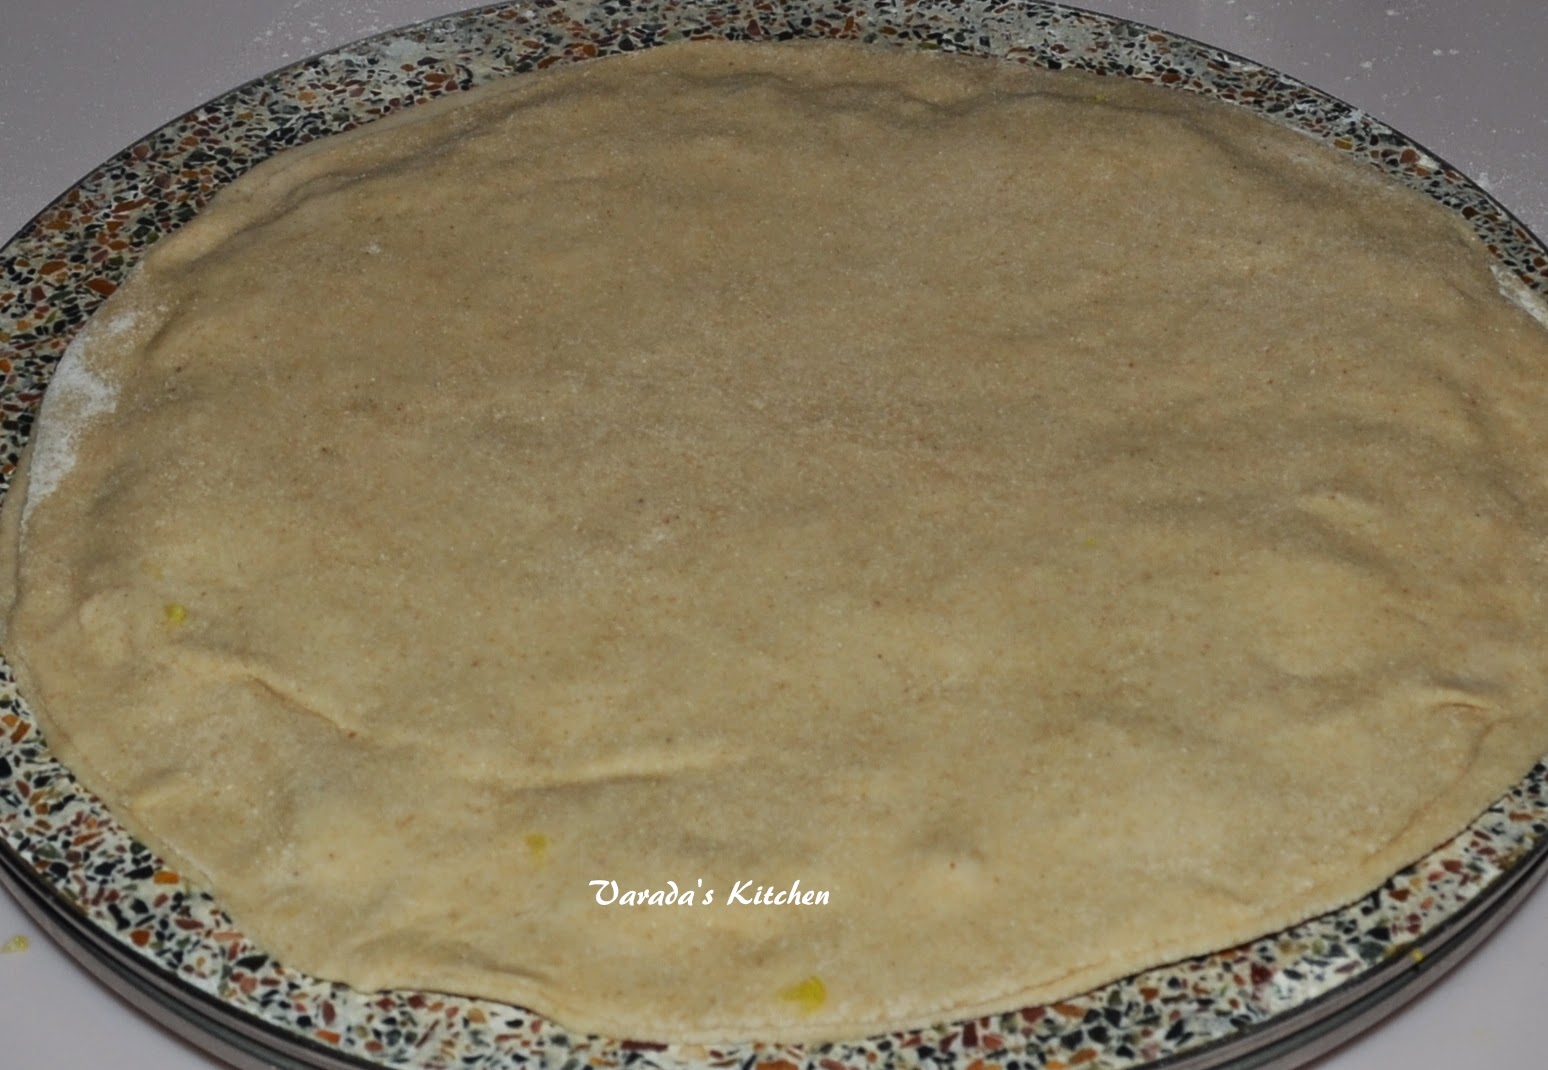
This is my entry for week one, day one of BM #49 for the theme Indian Bread Basket.