Showing posts sorted by relevance for query crackers. Sort by date Show all posts

Wednesday, December 12, 2018

Savory Besan/Chickpea Flour Crackers

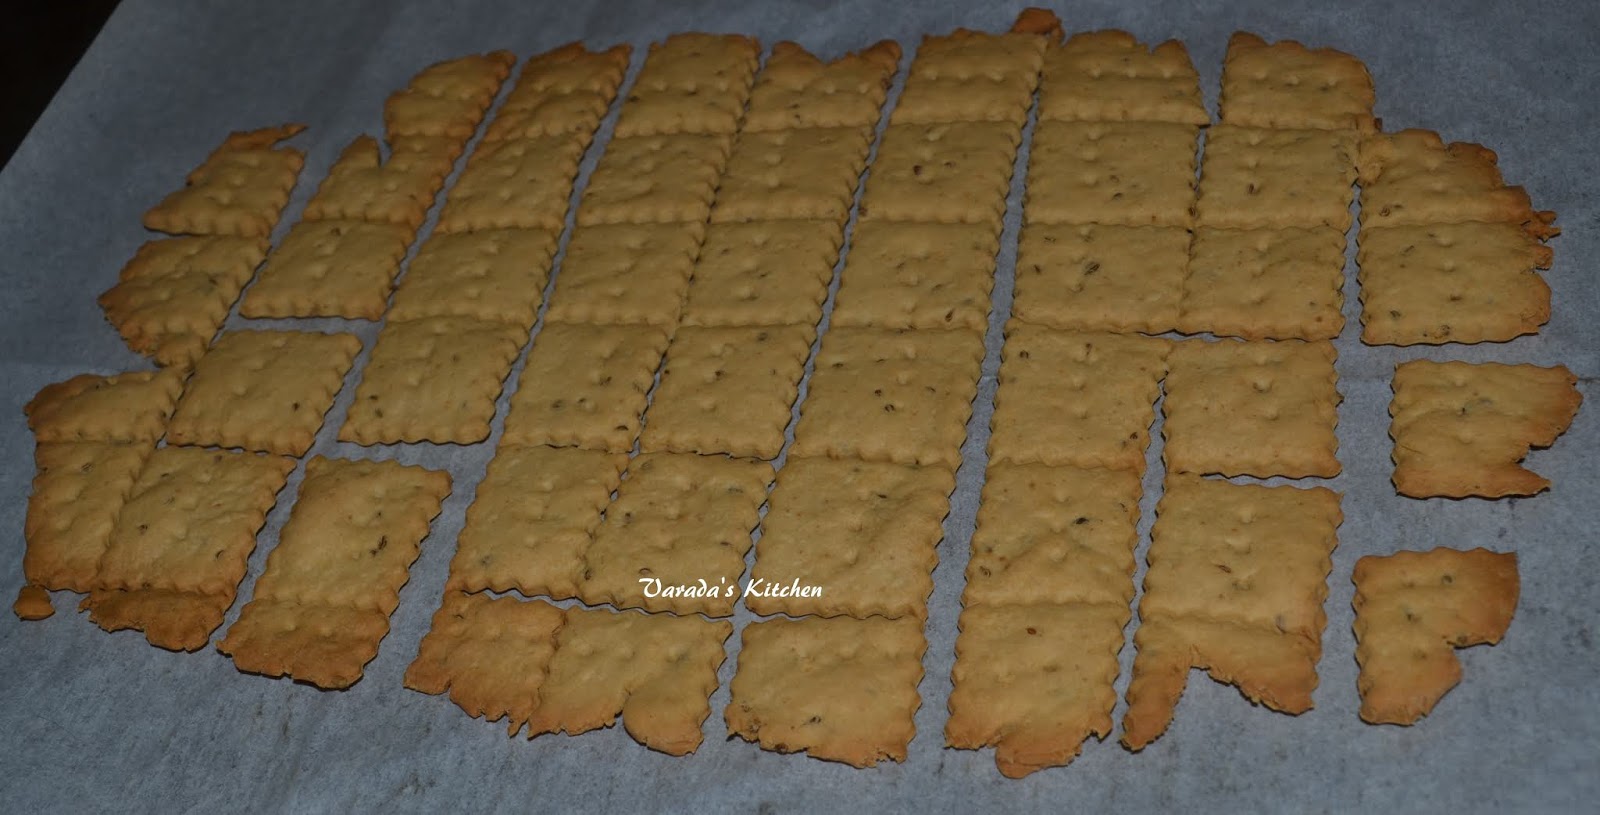
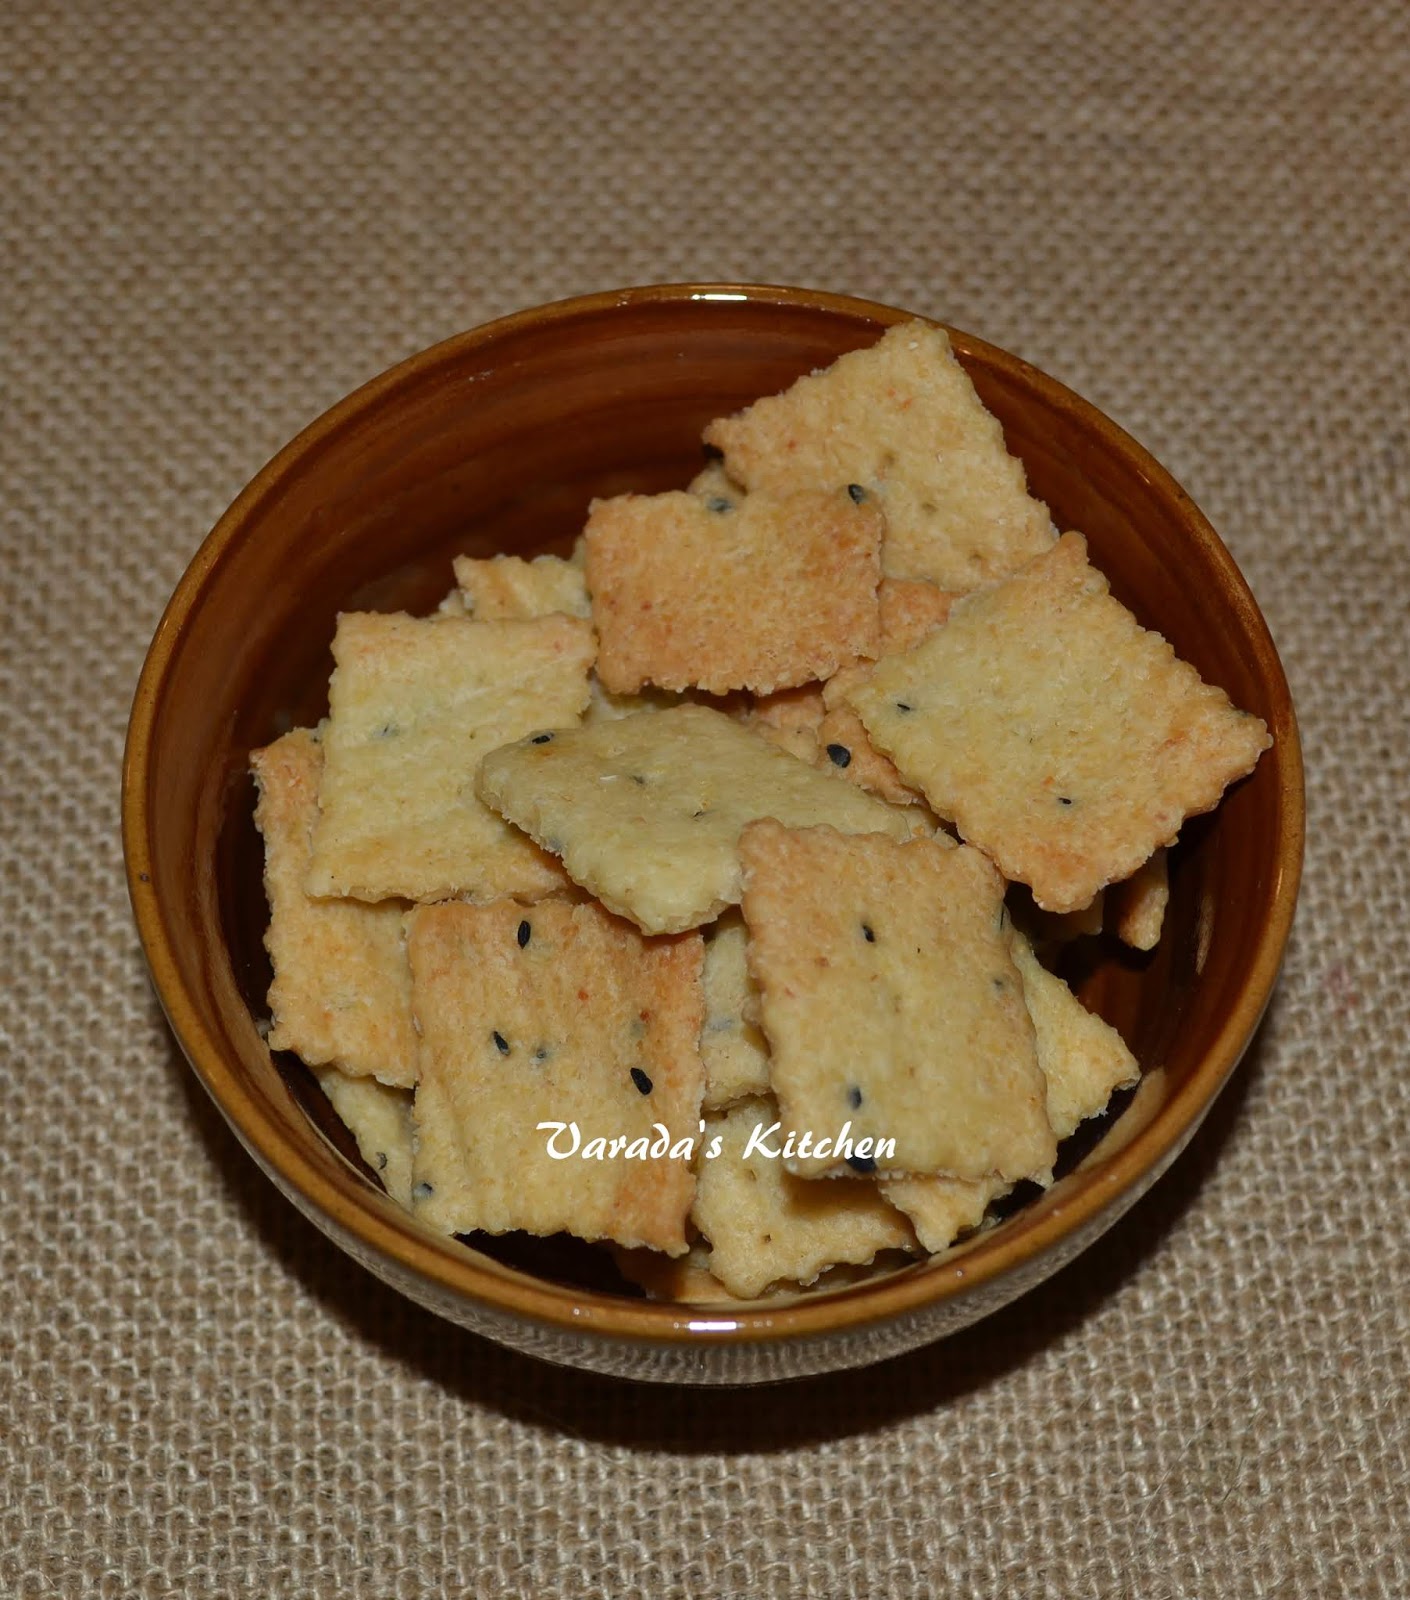
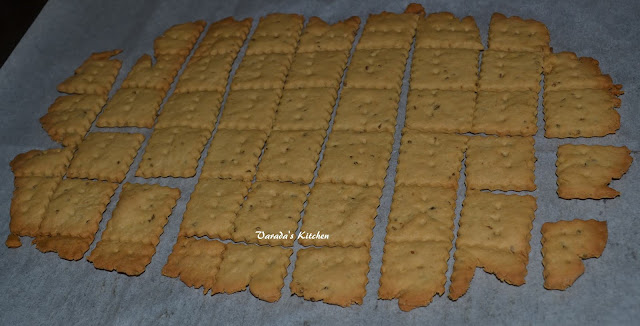
My post today is another version of crackers. I have few versions on this space already. Crackers are make a perfect snack with a cup of tea or coffee. After baking crackers with wheat flour I decided to try others flour combinations. Two days back I baked semolina crackers. Next I tried crackers with besan or chickpea flour. These were harder to perfect. I first tried with uncooked flour and realized the flour does not cook completely in the oven. The next time I used oil to roast the flour but that did not work either. Finally I tried ghee and it worked out. The crackers are crunchy and delicious.


Everyone at home loved the flavor but I think they have had too many versions of my baked crackers. I think I will have to finish these myself. Need to give these cracker experiments a break for a while. But now I have four perfect cracker recipes.

You will need (~50 crackers)
1 1/2 tbsp. ghee, melted

1/3 cup chickpea flour
1/3 cup unfed sourdough starter (100%)
1/4 tsp. salt
1 tsp. ajwain or carom seeds

Heat the ghee in a pan. Add chickpea flour and on low heat roast the flour until cooked. You could do the same in a microwave checking and mixing the mixture every 30 seconds until the flour is cooked. Let it cool. Combine with all the remaining ingredients. Place it in a bowl, cover and put it in the refrigerator for an hour.

Preheat the oven to 350 F. Remove the dough from the refrigerator and roll it on a parchment paper to about an eighth of an inch. Using a knife or roller cut into 1x1 inch pieces. Pierce with a fork. Bake in the preheated oven for about 15-20 minutes. Check often as these burn quickly.


When done transfer to a cooling rack and cool completely.

Store in an airtight container.


Enjoy!

Saturday, June 4, 2016

Masala Crackers

Rain is welcome as the temperatures soar. However, we have been getting way too much rain over the last few weeks. Rainy lazy summer evenings call for crunchy snacks with a warm beverage. These crackers fit the bill perfectly.


I already have sourdough crackers on this space. This recipe uses the same base recipe but different flavoring ingredients. I used onion and carom seeds in these crackers. These seeds make the crackers a perfect companion for a cup of tea.

You will need (70 crackers)
1/2 cup whole white wheat flour
1/2 cup unfed sourdough starter
1/4 tsp. salt
2 tbsp. butter
1 tsp. onion seeds (kalonji)
1 tsp. carrom seeds (ova or ajwain)
1/2 tsp. olive oil

The recipe is the same as that for the sourdough crackers. Mix all the ingredients except the oil. Cover and place in the refrigerator for an hour.


Preheat the oven to 400 F. Place a parchment paper on your rolling surface. Take the dough out of the refrigerator and roll it out on the parchment paper to the desired thickness.


Cut it into squares using a knife or a pizza cutter. Brush lightly with oil. Then prick each square with the tines of a fork. 


Bake for up to 20 minutes or until the edges begin to brown. Transfer to a cooling rack.


Allow them to cool completely before storing them in an airtight container.


Enjoy!


Thursday, January 17, 2019

Millet, Chickpea and Buckwheat Flour Crackers

I buy whole millets, buck wheat groats, oats and anything else that catches my eye in the Whole Foods bulk bins. I lightly roast, cool and grind each one to a fine powder in my Vitamix dry grinder. I combine all the flours and use as needed mostly for crepes/dhirdi. Lately I have used it to make crackers. When I started experimenting with different flours for crackers this mixed flour seemed like a good candidate. Last month I posted the recipe for Besan or Bengal gram flour crackers and Semolina crackers. This post was supposed to be the third of that series but for some reason I forgot to schedule it to post. So I am posting it today.


I blog with a group of fellow bloggers for a monthly event called Blogging Marathon. Posts are based on themes and one of the themes I picked this month is Elevenses. A quick google search says Elevenses is a meal from the Lord of the Rings. I have read all the books but I could not remember Elevenses. Luckily for me I now have the books on Kindle and there is a search option. The only reference was to the 'expected party' but even that was so vague I wondered why the series show up in a google search for Elevenses. Then I found it has to do with the movies and not the books. As I am a fan of the books let us leave it at that.


So what is Elevenses? Is it food eaten at eleven? The answer is yes and no. If you lived and followed the meal pattern of the country in which Elevenses originated then food you ate at eleven would be Elevenses. This would include a very light snack with a drink like tea or coffee. So would it be okay to have this meal at ten? Of course! Elevenses is really a light mid morning snack. A snack that keeps you going till lunch but is light enough to not ruin your appetite for lunch. This week I will post some light snacks.

You will need (45 crackers)
1 cup flour (I used combination of millets, buckwheat and oats)
1 cup sourdough starter 100%
1 tsp salt
1 1/2 tsp paprika
1 tbsp. dried basil or any combination of dried herbs
2 tbsp. oil (I used olive oil)

Combine all the ingredients in a bowl and knead into a ball of dough. Cover and refrigerate for an hour.

Preheat the oven to 400 F. On a piece of parchment paper roll out the dough into a think sheet. Using a pizza cutter or a specialized roller cut into the desired size. I cut the dough into rectangles.


Bake in the preheated oven for 20 minutes. Cool on a cooling rack.


Enjoy!

Thursday, February 4, 2016

Sourdough Crackers

These crackers are a great way to use your sourdough starter. The crackers have a distinct sourdough taste and texture. They are really easy to make and do not take up too much time.


I got this recipe from the King Arthur flour website here. The recipe calls for unfed starter but since I changed to a new process of maintaining a starter I have no unfed starter to discard. For this recipe I let the fed starter sit in the refrigerator for a week before using it. In summer I would let it sit out for a few hours or maybe two-three days in the refrigerator.


Maintaining a sourdough starter is easy and though it takes planning baking with sourdough is therapeutic. If you are on the fence about a starter go ahead and make one.

You will need (30 crackers)
1/2 cup whole white wheat flour
1/2 cup unfed sourdough starter
1/4 tsp. salt
2 tbsp. butter
1/2 tsp. mixture of dried oregano and basil
1 tsp. olive oil

Let the butter soften to room temperature. Preheat oven to 400 F. In a mixing bowl combine all the ingredients except the oil to form a smooth ball of dough.


Wrap the dough in plastic wrap and leave it in the refrigerator for about an hour. Lay a piece of parchment paper on a board or counter top. Lightly flour a rolling pin and the parchment paper. Place the cold dough on the board and roll it out to the thickness of a cracker.


Using a pizza cutter or knife cut out the rectangular crackers as below. Brush with the olive oil.


Bake for 20 minutes or until the crackers brown at the edges. Take them out of the oven and let them cool completely before storing.


Enjoy!

Monday, December 10, 2018

Baked Semolina Crackers

I usually take a small afternoon snack with me to work. Whole wheat crackers are my favorite. About 10 1x1 inch crackers usually suffice. I would bake the crackers over the weekend. They would make a filling snack.


After a few weeks I began to crave variety. So last month I began experimenting with different flours. Some experiments were failures and some were successful. One Saturday my husband decided to make upama for an evening snack. When I saw the fine semolina I realized it was a good candidate for my experiment. Unfortunately the experiment failed. The flavor was really good but you could taste the gritty semolina as an after taste. I realized I had to roast the semolina before I made the dough. The next attempt was a roaring success.

You will need (~50 crackers)
1/3 cup fine semolina 
1/3 cup unfed sourdough starter (100%)
1/4 tsp. salt
2 tbsp. oil
1 tsp. onion seeds (kalonji)

Place the semolina in a pan and roast it on low flame until it begins to change color. Turn off the heat and let it cool. Mix all the ingredients in a bowl to form a ball. Cover and refrigerate for an hour.


Preheat the oven to 350 F. Take the ball of dough from the refrigerator and place it on a sheet of parchment paper. Roll it to an eighth of an inch. Using a pizza cutter, a knife or a decorative roller cut the dough into 1"x1" squares or diamonds. Pierce each cracker with a fork.


Place the parchment in a baking sheet. Place the sheet in the preheated oven for 20-25 minutes. The crackers will be soft when taken out of the oven. The will harden and turn crispy as they cool.


Perfect as a snack or with a cup of tea.


Enjoy!

Tuesday, June 5, 2018

Olive Tapenade

Olive Tapenade, the name sounds so exotic! And the ingredient list is mouth watering. The first time I tasted it I fell in love. I had never used capers at home back then but I wanted to try the tapenade. My homemade version came out pretty good. And then I forgot all about it. A couple weeks back my daughter came home for summer. I spent a good deal of time listing all the dishes I would cook while she was home. I came across this old recipe and decided it had to go on the list.


As it happened I made sourdough crackers the day I made the Tapenade. It made the perfect spread for the crackers for an afternoon snack. I am glad I got all my pictures before I let the family eat it because there wasn't enough left for pictures!


When my daughter was little I worked hard to help her broaden her palate. Living in the US we have access to a variety of foods from all over the world, both restaurants and grocery stores. Luckily for me most Moms I interacted with were like me and that made it so much easier. Today she can appreciate a variety of tastes and foods. She is always excited to try something new and that makes it a pleasure to cook.

 You will need
6 oz Black medium olives
6 oz Green medium olives
5 tbsp. capers
1 clove garlic
2-3 sprigs flat leave parsley, I used cilantro
fresh ground black pepper

Mince the olives, capers, garlic and parsley. Combine with the other ingredients.

Update: I tried this again with a few variations and liked it even better. Added 1 6 oz. can of black and 1 6 oz. can of green medium sized pitted olives. These were minced and added to the recipe. Instead of 2 tbsp. capers I used 5 tbsp. of capers. The rest of the ingredients remained the same. This added a lot of depth to the Tapenade as the flavors of the different olives and finally the capers and garlic unfolded with each bite. I have updated the ingredient list.


Enjoy!

Monday, January 19, 2015

French Style Cheesecake

Cheesecake or a cake baked with cheese is usually rich and dense. It is delicious and not overtly sweet. My daughter is fond of cheesecakes and I have always wanted to try one at home. She likes the New York style cheesecake but that is truly rich. I wanted something light and so decided to bake this French style cheesecake. French cheesecakes are light and fluffy though they may be very rich too.


This cheesecake is made with a cream cheese called neufchatel. This cheese is from the Normandy region of France and is under EU protection. The version of neufchatel sold in the US is lighter than regular cream cheese. That got me interested in it and I went looking for it in my neighborhood Whole Foods. I was surprised to find it in the Whole Foods brand. I guess it is really popular here in the US.


The cream cheese was easy to work with and combined with the sour cream gave the cheesecake a lovely flavor. Using sour cream instead of whipping cream helped lighten the cake too. I debated whether to use fresh fruit compote to garnish the top but in the end settled for some kiwi slices. I baked the cheesecake in individual serving bowls. When the cake came out of the oven the aroma spread through the whole house.

You will need
For the crust
6 Digestive biscuits or graham crackers
2 tbsp. sugar
1 tbsp. butter, melted

For the filling
1 8 oz. packet Neufchatel cream cheese
1/2 cup sour cream
1/3 cup sugar
1 egg
1 tsp. vanilla extract

Preheat oven to 350 F. Break the digestive biscuits or graham crackers in small pieces and place them in a plastic sealed bag. Using a rolling pin roll over the bag to crush the biscuits. In a mixing bowl combine the crushed biscuits with the sugar and melted butter. Place the mixture on the bottom of the baking dish or bowls. Press down such that it rises up about an 1/2 inch on the side.


Let the cold ingredients sit on the kitchen counter until they reach room temperature. It is a lot easier to work with. Beat the cream cheese with a hand mixer for half a minute. Add the other ingredients and beat again for another half minute. Ladle the mixture over the crumb crust. Place the bowls on a baking sheet.


Bake for 20-25 minutes or until the cake is jiggly but set. Let the cake cool slightly before placing the bowls in the refrigerator. Cool completely for about an hour or two. Garnish with fruit or chocolate.


Enjoy!


Thursday, May 15, 2014

How do I Maintain Sourdough Starter / Once a Week Baking with Sourdough Starter / Baking Schedule

Updated: 10/26/2018
I have had the starter for almost 5 years now. Yesterday a blogging friend asked a question about maintaining starters and that prompted me to revisit this post. Everything in this post holds true today too but my baking habits have changed. I do not bake every week anymore. Sometimes I bake weekly, other times I bake after 2-3 months. My starter works perfectly every single time. I have updated this post for the infrequent baker.

Original post:
If you are here then you have a new/active sourdough starter that is just about ready to use to bake bread or you have one that you are already actively using to bake bread. You need some help in getting the process into a schedule that fits your families needs. You have come to the right place.

If you do not have a starter yet then you should get one started. All it takes is flour, water and time. I used the book Flour Water Salt Yeast by Ken Forkish to get me started. I now have an active starter that I keep in the refrigerator to be revived when needed.

It was when I started to maintain the starter that I realized I needed a schedule to ensure I had an active and bubbling starter when I was ready to bake. While there is a lot of information available on how to schedule a baking cycle and the proportion of the flour/water for the feed there is very little on how to customize this for your needs.

Another problem is that most processes described online result in some amount of discarded or spent starter. The quantity of the feed directly impacts the amount of discarded or spent starter. A very small quantity is needed to keep the starter going, the rest is discarded. While you could find recipes for discarded and spent starter a better idea would be to work the quantities of the feed and tweak your process to never have to discard your precious starter.

When I was a weekly baker I refrigerated and refreshed the starter every week. I revived the starter on Saturday morning and mixed the dough on Saturday afternoon/evening. I returned the starter to the refrigerator after I had taken out what I needed to mix the dough. I baked on Sunday. If you do not wish to bake as frequently don't worry. The same process can work for you. Just start on the day before you are ready to bake.

NOTE:
1. ALL QUANTITIES ARE BY WEIGHT. THIS WOULD NOT WORK AS WRITTEN IF YOU WERE TO MEASURE BY VOLUME.
2. I use 100% hydration, equals parts of water and flour. This process will work with most high hydration starters. To increase hydration you can gradually, over a few weeks, increase the percent of water to flour. I had started with a 85% starter as the pictures show and increased to 100%.

My schedule is as follows

The day before I am ready to bake
I take out all 50 gm of my starter from the refrigerator and place it on the counter top for 30 minutes. It starts to bubble and is ready to be fed.


I transfer it to a mixing bowl. Feed it with equal parts of flour and water, usually 50 gm or 75 gm each, giving me 100 gm or 150 gm for use in my recipes. If I need close to 300 gm then I use larger quantities of water and flour for the feed.


Covered with a plate, it rests on the counter top for the next 4-8 hours depending upon the weather. When it starts to bubble it is ready to be used. Please note a 100% hydration starter will have a thinner consistency than the picture below. Someday I will update the pictures here.


4-8 hours after feeding, typically the same afternoon/evening
I transfer all but 50 gm of starter to a separate mixing bowl. The 50 gm left behind is to be stored.


I put this 50 gm of starter back in the mason jar and refrigerate it until the next baking day. Again please note higher hydration starters have a thinner consistency.


I use the fed starter I have moved to a separate bowl to mix the dough as needed.


Baking day
I follow the recipe for the bread or pizza. Most sourdough recipes, with the exception of crackers, call for overnight bulk rise and fermentation. The day after the dough is mixed you are ready to bake. For crackers the dough is ready in an hour.

If you are looking for ideas on what to bake, there are a lot of recipes in this space. Search for sourdough or look through the recipes to find the sourdough recipes.

Tuesday, April 21, 2015

Mini Brie en Croute

Brie en Croute is a popular appetizer served with either crackers or fruit. A slab of brie is baked inside pastry dough sometimes with fruit. The melted brie in the pastry shell is then served on a heated platter. This a mini version of the popular appetizer. The little balls of pastry have a filling made of a chunk of brie along with some apricot preserve. The pastry is baked with the filling inside. When served hot but not piping hot, it makes a great appetizer. The brie is molten and the fruit preserve adds a mild sweet flavor. The outer shell remains crunchy but is not hard.


I brought fresh French made Brie from Whole Foods just for this recipe. Imported Brie can be expensive but Whole Foods will willingly cut you a sliver the size you want. I got just enough for this recipe and to use as a snack with fresh sourdough bread. I made my own pastry dough. I have my own shortcut method for when I want a soft but not necessarily very flaky dough. It is called go easy on the butter.


Brie is a soft cheese that melts completely when heated. It is covered with a rind made of mold that I usually throw away. However, for this recipe it is better to keep the rind on the bottom to give it some added support and keep the cheese from oozing out of the pastry shell.

You will need (for 4 mini en croute)
For the pastry shell
50 gm bread flour
1 tbsp. melted butter
1/2 tsp. instant yeast
1/2 tsp. salt
15 gm water

For the filling
4 1/2in by 1 in cubes of brie
2 tsp. of apricot preserve

Whipping cream for brushing the top

In a mixing bowl combine the the butter, flour, salt and yeast. Rub the butter into the flour until it is soft. Add the water and combine to forma  really soft dough. Knead until the dough is smooth and elastic. Cover and keep aside for an hour or two.

Preheat the oven to 425 F. Divide the dough into four portions. Roll out the portions to small thick disc.


Place a chunk of brie with a 1/2 tsp of fruit preserve over the top.


Fold the pastry shell around the brie and seal it closed. Repeat for the other portions. Keep aside for 15 minutes.


Bake on a baking sheet covered in parchment paper for 15-20 minutes. Lower the heat to 375 F. Remove the baking sheet and working quickly brush the top with whipping cream. Return the baking sheet to the oven. Bake for another 15-20 minutes or until the top begins to brown. Place on a cooling rack for a few minutes before serving.


Enjoy!

Sunday, January 17, 2016

Gigantes Plaki

I had some lima beans I wanted to use up, but I wanted to try something different with them. I decided to search for a new recipe to try. My search took me to a site with a lot of Egyptian recipes and gigantes plaki is the recipe I picked. I tweaked the recipe a little based on what I had in the house. The end result was delicious. I knew this would be loved at home as it has beans and tomatoes, both favorites.


This recipes could be made with other white beans as well. It would taste great as a dip with crackers or chips. I will definitely make this again.

You will need
1 cup lima beans, soaked and cooked (alternately used canned beans)
1 tbsp. olive oil
1/2 onion, diced
2 pods garlic, peeled and minced
3 large tomatoes
4-5 sprigs cilantro
salt and pepper to taste
feta cheese for garnish

If you are using dried beans, soak them overnight, pressure cook until tender but not mushy. To pressure cook add twice the quantity of water and cook for 10 minutes. Dice the onions, mince the garlic, chop the cilantro and shred the tomatoes.

Preheat the oven to 375F. In a pan heat the oil and add the onions and garlic. Saute for a few minutes and then add the tomatoes and half the cilantro. Let the mixture cook for a few minutes so it comes together as a sauce. Mix in the cooked beans and season with salt and pepper. Transfer to an oven safe dish and bake for 20-30 minutes.


Sprinkle the feta cheese and remaining cilantro.


Enjoy!