Thursday, July 5, 2018

Kobi Wadi (Pressure cooked Cabbage cutlets)

Kobichi wadi is a Maharastrian preparation of cabbage. It is a very healthy dish with besan used as the binding agent. As is the norm with Maharastrian cooking this dish has a perfect combination of sweet, sour, spicy and savory. It is a nice alternative to cabbage bhaji. A few years back I made this recipe for the family. My daughter loved the flavors and announced this was her favorite cabbage preparation. I make it frequently and everyone loves it.


Two weeks back my daughter wanted to try coleslaw. So we added cabbage to our grocery list. The only cabbages available were large but we got one. When I did my weekly vegetable prep I shredded half  the cabbage and stored it in the refrigerator. She was supposed to make the coleslaw. Last week my daughter had a 12 hour shift on her very first summer job. She was exhausted and took it easy the rest of the week. This past Saturday morning I found the shredded cabbage was still waiting. I decided to use it up and make our favorite Kobi wadi.

You will need

For the cutlet
1 small cabbage, shredded
2 tsp. tamarind paste
2 tsp. sugar
2 tsp. ginger garlic paste
2 tsp. chili powder
2 tsp. cumin seeds
1 tsp. turmeric powder
2 cups besan
salt to taste
water as needed

For the tempering
1 tsp. mustard seeds
1/2 tsp. asafoetida
1 tsp. turmeric powder
1 tbsp. olive oil

Prep two pans that can be placed in the pressure cooker. Oil the bottom and sides of the pan. Keep aside.

Add all the ingredients for the cutlets in a bowl.


Mix it all together with about 1/4 cup of water. Add more water only if needed. It will be sticky.


Divide into two portions. Place one half in the first prepared pan and spread it evenly to cover the bottom of the pan. Repeat with the second half of the cabbage mixture in the second pan.

Pressure cook. 3 whistles if you have a pressure cooker that whistles. Mine does not so I leave it for 10 minutes on medium-high heat after placing the pressure on the cooker. Turn off heat and let the cooker depressurize. Remove the pans with the cooked cabbage and let them cool. Then cut the cutlets into cubes.


Heat oil in a flat bottom pan and add the mustard seeds. When the seeds start to crackle add asafoetida and turmeric powder. Now add the cooked cabbage cubes.


Cook till the cubes brown at the edges. Serve hot as part of a traditional meal or as a snack.


Enjoy!

Wednesday, July 4, 2018

Cucumber Raita

Cucumber Raita has to be the easiest recipe. It is perfect during the summer heat.


This raita is a little different from a cucumber koshimbir. The raita has more yogurt than solids and is better served as a side for rice based dishes. A koshimbir works well as a side to poli or Indian flatbread. In Maharashtra koshimbir can be made with or without yogurt. I tried to find the link to the yogurt based cucumber koshimbir and realized I do not have one on this space. Have to fix that soon. This is the Khamang kakdi another traditional salad made with cucumber.


My daughter loves to have a lot of raita on the rice. Adjust quantity per serving based on how much raita you like with your rice.

You will need (4-6 servings)
2 cups yogurt, do not use Greek yogurt
1 cucumber, diced fine
4-5 sprigs cilantro, minced
1/4 tsp. roasted cumin powder
1/4 tsp. paprika or red chili pepper powder
salt to taste

In a bowl whisk the yogurt till smooth. Add all the remaining ingredients and mix together. Adjust salt and heat based on taste preferences.


Enjoy!


Tuesday, July 3, 2018

Basic Kadhi

Kadhi is a simple common everyday recipe in India. It is one of those recipes where every family has their own version. This recipe is a Maharashtrian version, the way my mother made it. It is warm and comforting on a cold winter day. It is also an easy way to use up yogurt. I had a lot of fresh and sour yogurt that I needed to finish. So I made it on a hot summer day. I usually make this Kadhi with khichadi and papad. Today I made it with poli and a vegetable side. You cannot go wrong. It works with most Indian recipes.


Weekend summer lunches can be challenging. I like to go out and hang out with my daughter but that takes time away from cooking elaborate meals. The only way out is to cook first thing in the morning. In any case the cats don't let me sleep in, they need attention at the same time everyday. The best part of cooking early morning is everything is done before it gets too hot. We get to go out and come back to freshly cooked lunch.

You will need (4-5 servings)
2 cups yogurt
2 tbsp. besan
1/4 tsp. red chili pepper powder, adjust to taste
1 tsp. sugar
salt to taste

For the tempering
1 tbsp. oil, I used olive oil
1 tsp. cumin seeds
a pinch turmeric powder
1 serrano pepper, chopped into 1 inch pieces
4-5 curry leaves

Whisk together besan and yogurt in a mixing bowl. Add red chili pepper powder, sugar and salt to the yogurt mixture. Transfer to a pan with 2 cups of water and bring to a boil. The liquid should be pouring consistency.


In a smaller pan heat the oil then turn off the heat. Add the cumin seeds and when they change color add the turmeric powder, curry leaves and chopped serrano pepper. Add the oil to the yogurt, stir and turn off heat.


Serve hot as it tastes best when hot. Store leftovers in the refrigerator and warm on the stove top before serving.


Enjoy!


Tuesday, June 12, 2018

Decorative Bread with Black Bean Filling

I wanted to try out some new combination patterns on bread. Pinterest is full of designs and I really loved the mix and match patterns. I figured out what I wanted to do and was waiting for my daughter to come back home from school. The first two weeks she was home she was not interested in any new recipes. Now she is back to her normal self. And I cannot wait to try out everything in my wish list before she is off to college in fall. This is my first attempt putting a decorative element on the bread. These decorations are supposed to be baked in a different color. It is just flour and water without any yeast. I have some breads with more complex decorations in my wish list and this was a good start for me.


This bread is put together in two distinct parts. The first is a round stuffed bread roll. And the other is a stuffed long roll. The long roll is covered in a lattice pattern and every thing is baked together.


I needed a filling and asked my daughter what she would like. Together we chose each ingredient and came up with this black bean, broccoli and carrot filling. It is mildly spiced and cooked without any oil. When done it is lightly mashed so it stays together and does not fall out when the bread is cut. You can adjust the spice and heat level based on your preference.


The bean stuffing and the whole wheat made this a very wholesome meal. A small portion goes a long way.

You will need
For the dough
50 gm starter 100% hydration
20 gm sugar
10 gm oil
160 gm flour
4 gm salt
70 gm water

For the Filling
1 cup black beans, soaked overnight and cooked or canned
1 small carrot
5-6 florets broccoli
1 tsp. cumin coriander powder
1 tsp. cayenne powder, adjust to taste
1 tsp. turmeric powder
black pepper and salt to taste

For the decorative flower
2 tbsp. flour
water as needed

Wash
2 tbsp. cornstarch mixed in water

Combine all the ingredients for the dough in a large bowl. Form a ball, it will be sticky, cover and keep aside. After half an hour moisten your hand with water and fold the dough twice. Cover and keep aside. For the next two hours fold the dough with moistened hands every half hour. The sticky dough will give way to a shiny elastic ball of dough. This is the no-knead and stretch-fold method. Bulk ferment covered for another 3-4 hours.


While the dough ferments prepare the black bean filling. Heat about 1/4 cup water in a pan. Add the black beans and the rest of the ingredients. Let it cook until the vegetables can be mashed. Do not overcook, you do not want a paste. Cool and keep aside until needed.


Divide the dough. Place one small portion aside. Divide the remaining dough into equal portions. Roll out the larger portions into long rectangular sheets. Flatten the small portion and stuff with the cooled filling. Pull up the sides of the dough and close the top to form a ball.


Stuff one of the large rectangles, fold the short sides first and then the long sides to form a stuffed rope.


Adjust the length of this rope such that it fits around the small ball of dough.


Place the rope on the second large sheet and ensure its length is a little longer than the rope.


Cut the sheet with a knife, a pizza cutter or a bench scraper as shown in the figure below. Make sure you cut at an angle.


Starting from one end fold the cut strips over the rope. Before you begin seal in the edge folding the dough over the rope.


When done place the small ball of dough on baking sheet prepared with parchment paper. Place the rope around the ball. Place the baking sheet covered in wrap in the refrigerator overnight to proof. If you want to decorate it as I have done, follow the next step before refrigerating it.


Mix the flour and water for the decorations to made a soft dough. Divide into four parts. Roll one of the portions into a ball. Roll out the three portions into small discs about 3 inches in diameter. Cut each disc along the diameter to form half circles. Bring the flat end of the circle together to form a petal. Repeat for each half circle to form six petals. Place then under the small ball of dough and place the flower on the bread. Place some parchment paper under the petals so they do not stick to the main part of the bread as it rises.


Preheat oven to 400 F. Take the baking sheet out of the refrigerator and wash with cornstarch wash. Bake for 40-45 minutes.


Enjoy!


Monday, June 11, 2018

Spinach and Feta Gozleme with Yufka dough

Gozleme is stuffed flatbread from Turkey that is rolled very thin. Is is a popular street food. Spinach and Turkish white cheese are commonly used as stuffing. I have a recipe for Gozleme with potato and cheese filling in this space. But that was made as part of a sourdough challenge and that flatbread was folded differently. This time I wanted to try the more popular folding technique. So here is another recipe for gozleme, this time with a spinach and feta filling.


I blanched the spinach before use. I used cilantro in place of parsley as I am not at all fond of parsley. I used crumbled feta with the greens and added no other spice or seasoning. It did not need anything else. Family loved it.


The dough is called Yufka and it is sold by the sheets in specialty stores. The sheets are large and very thin. When you eat the finished product all you can taste is the filling. I wanted to replicate that so I rolled the dough to the point of tearing. It made the transfer to the griddle tough but enhanced the taste. I added a little sourdough starter to the dough even though the gozleme dough is not necessarily leavened. It changes the texture of the dough as you can tell on the close up pictures and gives it a really nice flavor.

You will need
For the Yufka dough
2 cup whole wheat flour
1/2 tsp salt
20 gm sourdough starter 100% hydration
Water as needed

For the filling
1 large handful spinach
10 springs cilantro
1/4 cup feta cheese

In a bowl mix combine the flour and salt. Now add water a little at a time until you have a very soft dough. Cover and keep aside.

Boil water in the microwave in a measuring cup or in a pan on the stove top. Add the spinach leaves and let it rest for a few minutes. Drain the water and rinse with cold water water. Drain the water and it dry out. Chop the cilantro and add it to the bowl with the feta and dried out spinach.


Heat a griddle pan. I used a cast iron pan. Divide the dough into 8 parts. Take one portion and using a rolling pin roll it out very thin into a 7-8" disc.


Place it on the heated griddle pan.


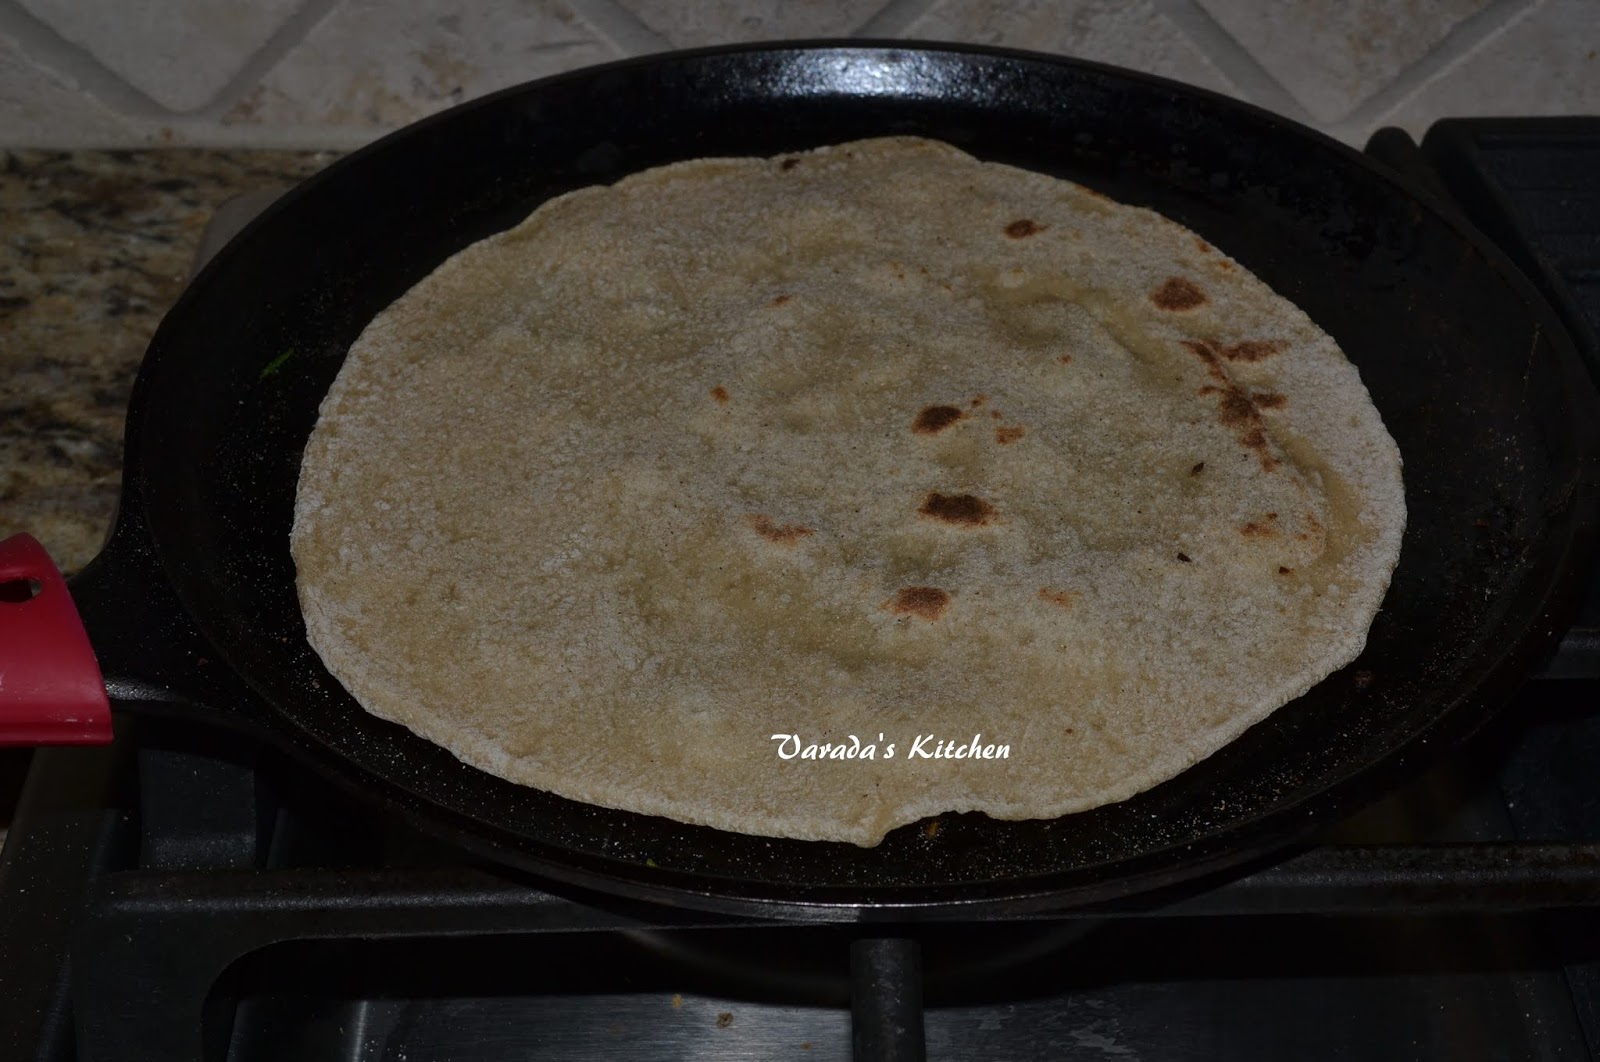
When one side is cooked flip it over.


While the second side is cooking add the filling to half the cooked side. Using a spatula fold the bread over to form a half circle.


Flip it over and ensure both sides are cooked. Remove from heat and repeat for the remaining dough.


Enjoy!


Sunday, June 10, 2018

Sourdough Feta Cheese Tutmanik / Whole Wheat Bread

The Tutmanik caught my eye when I was researching breads for the baking marathon a long time ago. I bookmarked several in languages I did not understand. Only I had them as their generic name Pogacha or flatbread. I like the concept very much and knew the flavor of feta would be loved in my house but for the longest time I did not know what it was called. I finally found out. It is called the Tutmanik. It is made with white flour and commercial yeast both of which I try not to use. So I converted the recipe to sourdough and used mostly whole wheat flour. In doing so I sacrificed the golden brown color on the finished product but I am okay with that.


As you can see the bread is shaped using stuffed layered strips of dough. Finding the right dough and stuffing recipe was a challenge. Some used a lot of oil in the dough. Some used margarine or a lot of butter in the stuffing. This is a common dish in Bulgaria and so every household has a recipe. Finally I decided to create my own based on everything I had read for a moderate hydration dough with a little oil. I used just enough butter to moisten the feta. I chose not to go to the Mediterranean store for white cheese as they usually sell it in large quantities and I needed very little. I usually feta cheese

You will need
For the dough
50 gm starter 100% hydration
5 gm oil
80 gm whole wheat flour
80 gm all purpose flour
4 gm salt
95 gm water

For the filling
1/4 cup crumpled feta cheese, adjust to taste
1 tbsp. butter

For the wash
1 tsp cornstarch
2 tbsp milk

Combine all the ingredients for the dough in a large bowl. Form a ball, it will be sticky, cover and keep aside. After half an hour moisten your hand with water and fold the dough twice. Cover and keep aside. For the next two hours fold the dough with moistened hands every half hour. The sticky dough will give way to a shiny elastic ball of dough. This is the no-knead and stretch-fold method. Bulk ferment covered for another 3-4 hours.


Place the butter at room temperature to soften it. When the dough is ready prepare the filling by combining the softened butter with the crumbled feta cheese. Keep aside until needed.


Divide the dough in three equal parts. I use a kitchen weighing scale to do this. Using a rolling pin roll out similar sized rectangles for all three parts.


Spread half the feta butter mixture on one of the flattened sheets of dough.


Place the second sheet over it matching up all the sides. Spread the remaining feta butter mixture on the top and place the third rolled out sheet over the top. Match the edges and gently roll out so they stick to each other.


Now cut strips through the three sheets of dough. I used my dough scraper. You can use a knife or a pizza cutter. Prepare the pan you wish to bake in. I used a non stick spring foam pan. If you choose no stick you may wish to place a parchment paper on the bottom. Twist one of the strips of dough without stretching it.


Place it in the center of the prepared pan rolling it around itself.


Continue with the other strips going around in growing circles.


Cover and place in the refrigerator overnight to proof. In the morning preheat the oven to 375 F. Prepare the wash with corn starch and milk. Brush the wash liberally over the dough. Bake for about 40-45 minutes or until the bread the cooked through.


Enjoy!


Tuesday, June 5, 2018

Olive Tapenade

Olive Tapenade, the name sounds so exotic! And the ingredient list is mouth watering. The first time I tasted it I fell in love. I had never used capers at home back then but I wanted to try the tapenade. My homemade version came out pretty good. And then I forgot all about it. A couple weeks back my daughter came home for summer. I spent a good deal of time listing all the dishes I would cook while she was home. I came across this old recipe and decided it had to go on the list.


As it happened I made sourdough crackers the day I made the Tapenade. It made the perfect spread for the crackers for an afternoon snack. I am glad I got all my pictures before I let the family eat it because there wasn't enough left for pictures!


When my daughter was little I worked hard to help her broaden her palate. Living in the US we have access to a variety of foods from all over the world, both restaurants and grocery stores. Luckily for me most Moms I interacted with were like me and that made it so much easier. Today she can appreciate a variety of tastes and foods. She is always excited to try something new and that makes it a pleasure to cook.

 You will need
6 oz Black medium olives
6 oz Green medium olives
5 tbsp. capers
1 clove garlic
2-3 sprigs flat leave parsley, I used cilantro
fresh ground black pepper

Mince the olives, capers, garlic and parsley. Combine with the other ingredients.

Update: I tried this again with a few variations and liked it even better. Added 1 6 oz. can of black and 1 6 oz. can of green medium sized pitted olives. These were minced and added to the recipe. Instead of 2 tbsp. capers I used 5 tbsp. of capers. The rest of the ingredients remained the same. This added a lot of depth to the Tapenade as the flavors of the different olives and finally the capers and garlic unfolded with each bite. I have updated the ingredient list.


Enjoy!

Monday, June 4, 2018

Green Bell Pepper Chutney

One day when I was looking up bell peppers I saw a chutney made with not red but green bell peppers. It looked amazing and I loved its texture. I was not very sure about the taste. I have a lot of recipes using red bell pepper on this space but I use green bell pepper sparingly. It is not my daughter's favorite so I usually use it with other vegetables, not as the star of the dish. But I knew I had to try this Green Bell Pepper chutney someday. Well, last week I was reading the Blogging Marathon group blogs and I saw this chutney on Nisha's space. She blogs at the Magic Saucepan and has some awesome recipes. I bookmarked it and asked Alexa (Amazon Echo) to add green bell peppers to my grocery list.


On Memorial Day, my daughter and I had to run out for some errands and when I got back it was too late to cook my planned lunch menu. I made a quick mixed vegetable rice and needed something to go with it. This bookmarked chutney seemed perfect and it was done while the rice cooked. I made one change to the original recipe. I added lime juice to it. The taste profile was perfect.

You will need
1 green bell pepper
1/4 white onion
a handful of roasted unsalted peanuts
1 tbsp. tamarind paste or pulp of a quarter sized ball of tamarind
2 dried chili peppers
salt to taste
1 tbsp. oil, I used olive oil
1 tbsp. lime juice

Tempering
1 tsp. oil, I used olive oil
1 tsp mustard seeds
1 tsp urad dal
1/2 tsp asafoetida
1 small dried red chili pepper
2-3 curry leaves, I ran out so skipped them

If using tamarind pulp, soak the tamarind in 1/4 cup warm water for about an hour. Squeeze out the pulp from the soaked tamarind and discard the seeds and skin. Keep aside.

Dice the onion and separately, roughly chop the green bell pepper. Keep aside until needed.

Heat the oil in a pan and add the tamarind and onion. Let it cook for a 4-5 minutes on medium heat until the onion is cooked. Remove the tamarind and onion from the pan and keep aside to cool. Add the dried red chili pepper and return the pan to heat for about a minute or two. Remove the chili pepper and keep it aside with the onion. Add the green bell pepper and roasted peanuts. Let them cook on medium heat for 5-6 minutes or until they change color. Turn of heat and let all the ingredients cool. When cooled grind them all together to a coarse paste. Do not leaves any chunks but do not grind it to a smooth paste. Keep aside.

Heat the oil for tempering in a small pan and add the mustard seeds and urad dal. When the seeds sizzle and urad dal starts to turn color. turn off heat. Add the asafoetida, chili pepper and the curry leaves. Let the pan cool. Add the lime juice and tempering to the dal and mix it well.


Enjoy!